
In this article, I will explain how to install and use Netflix on Kodi. The steps work the same for any Kodi-compatible device, including Amazon FireStick, NVIDIA SHIELD, Android TV boxes, smartphones, and PCs. First, I’ll provide some context on getting Netflix on Kodi, then show you how to get it and start using it.
Netflix is one of the most popular streaming services available. You can find everything on Netflix, from original TV shows to classic movies.
When combined with Kodi’s flexibility, Netflix becomes an even more powerful streaming experience. With Netflix on Kodi, you can take advantage of features such as library integration, watch-status syncing, and high-resolution playback.
However, because Netflix does not offer an official Kodi addon, setting it up on Kodi can be somewhat challenging. Fortunately, there are still ways to access Netflix on Kodi. In this guide, I will show you how to install the Netflix addon on Kodi unofficially, but legally.
Note: If you own an Amazon FireStick, you can install Netflix directly on FireStick.
Netflix’s unofficial Kodi addon by CastagnaIT is simple, lightweight, and blazing fast. It doesn’t offer a fancy user interface, but the interface’s responsiveness and ease of use make up for it.
Before we get started, let’s talk about the nuances of installing and using Netflix on Kodi. The Netflix addon works on Kodi 21 Omega, Kodi 20 Nexus, and Kodi 19 Matrix.
Now, let’s dive in and see how to install the Netflix addon on Kodi.
How to Install the Netflix Addon on Kodi
Installing the Netflix addon on Kodi is quick and straightforward, taking only a few minutes. For your convenience, I have divided the installation into three parts: adding the source of a new repository, installing the repository, and then installing the Netflix addon itself from that repository.
Just follow the steps below. By the end of the three parts, the Netflix addon will be installed on Kodi.
Part 1: Add a New Repository Source
First, we’ll add a source called Fusion TV, which hosts the CastagnaIT repository containing the Netflix addon. So, let’s get started:
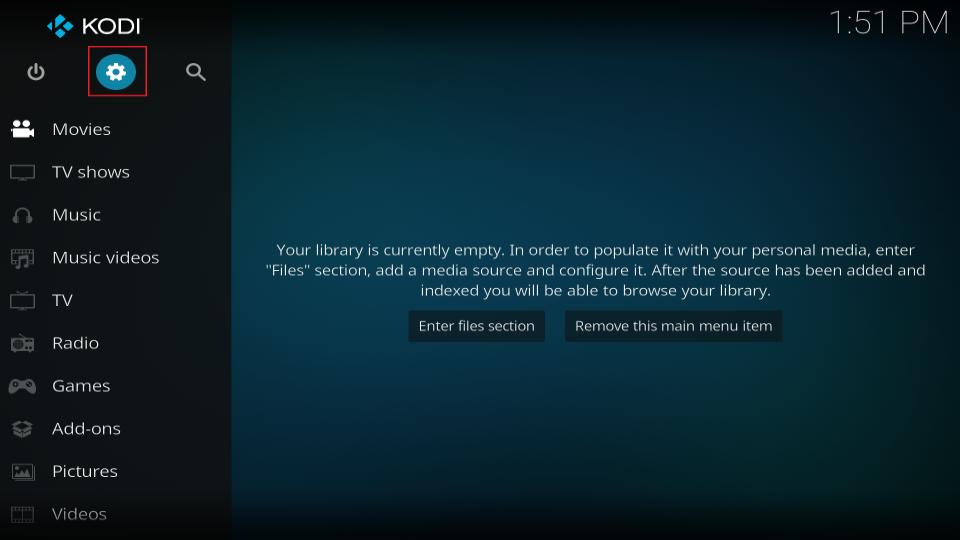
1. Launch Kodi. Click on the Settings Icon at the top left.
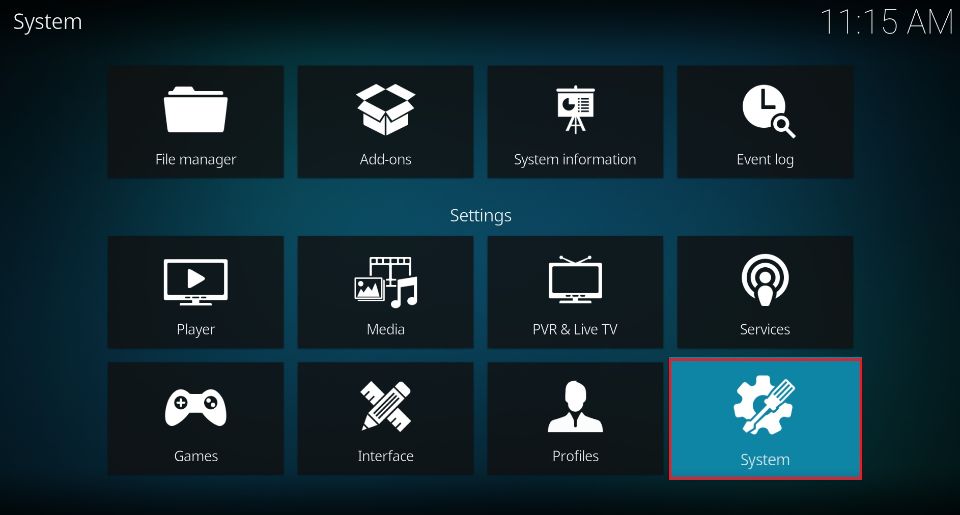
2. Click System, located on the bottom right.
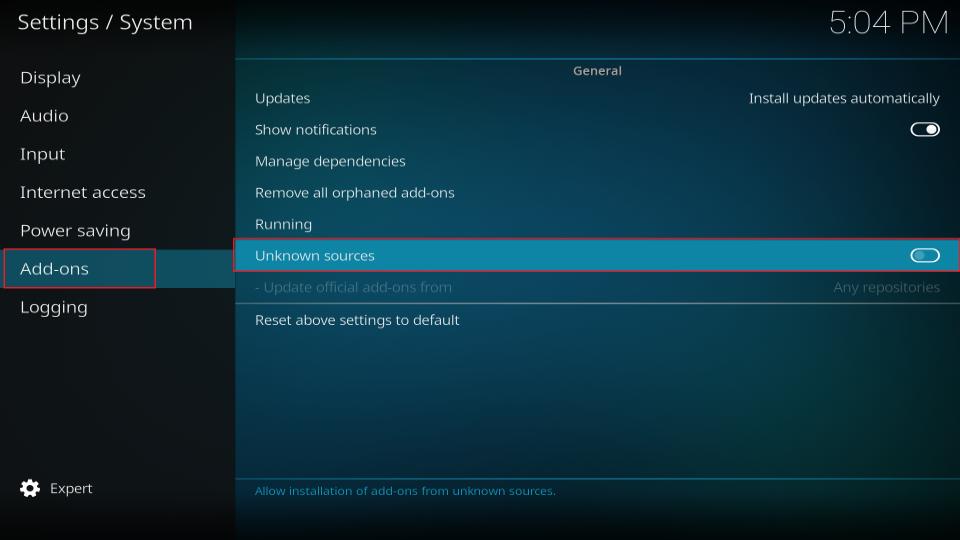
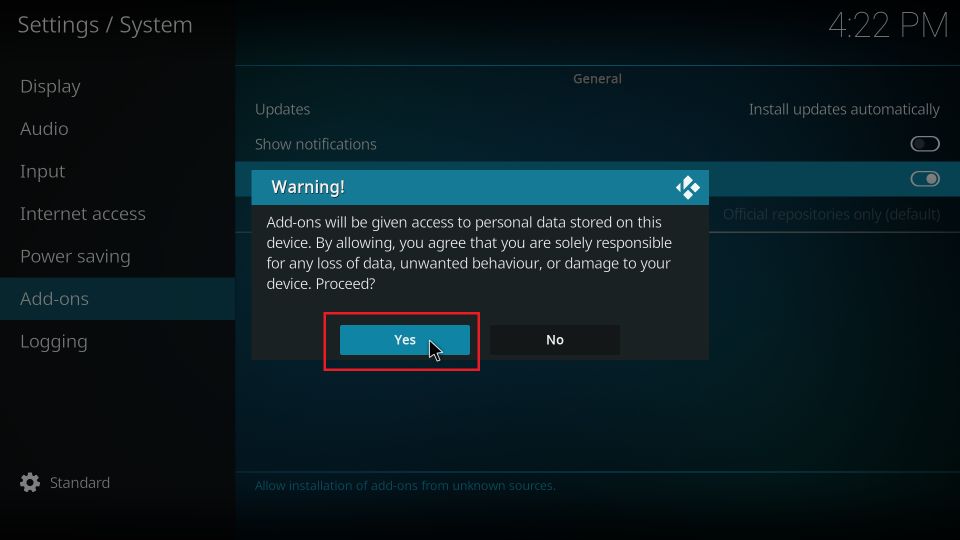
3. Navigate to the Add-ons tab in the left panel, then scroll across and turn on Unknown sources in the right panel.
4. A window will pop up to confirm your action. Click on the Yes button to continue.
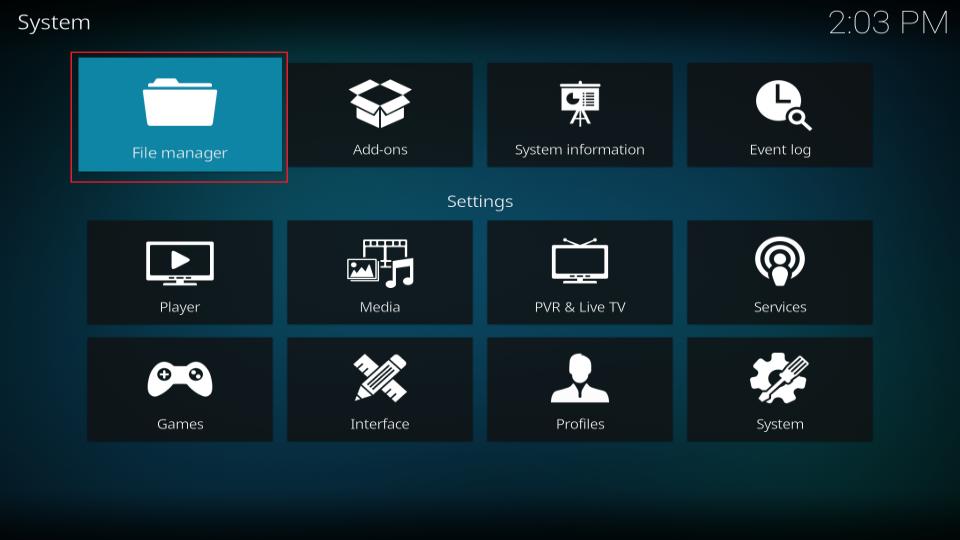
5. Press the back button on your remote to return to the settings screen. Select the File manager option.
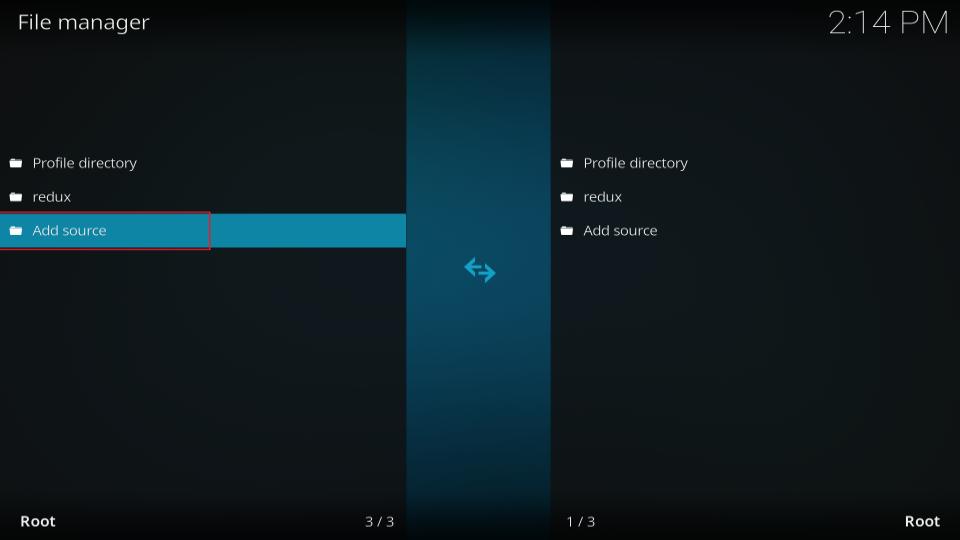
6. Click on the Add source option.
7. Select <None>.
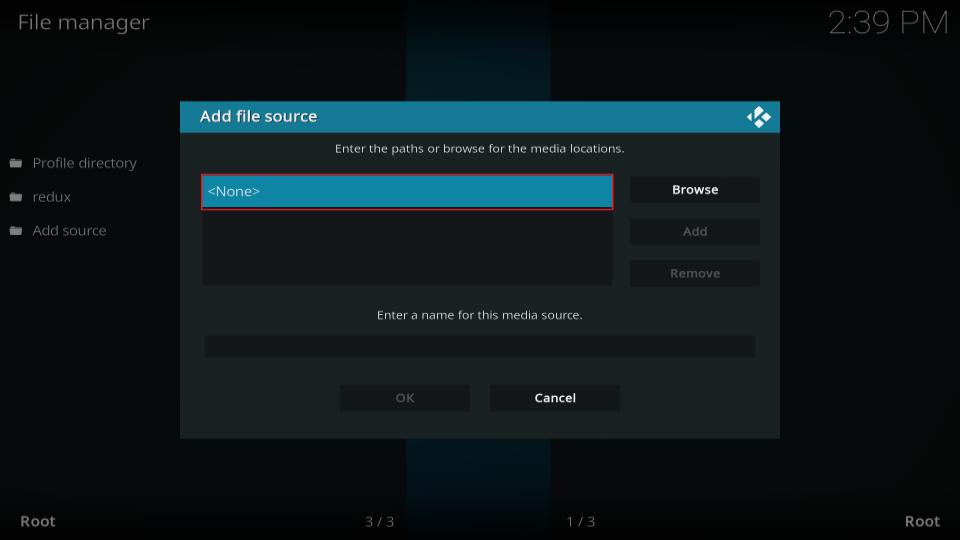
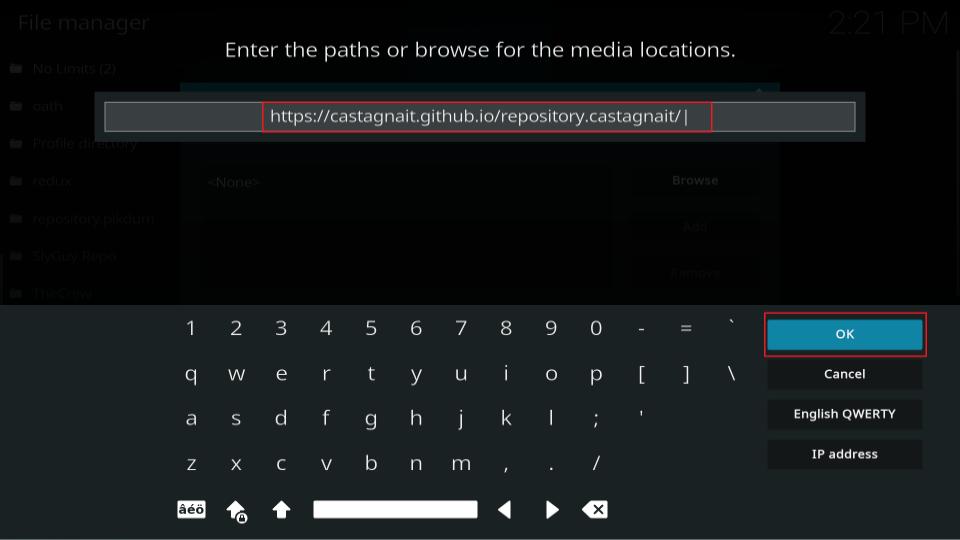
8. A window will pop up. In that window, enter https://castagnait.github.io/repository.castagnait/ and click on the OK button.
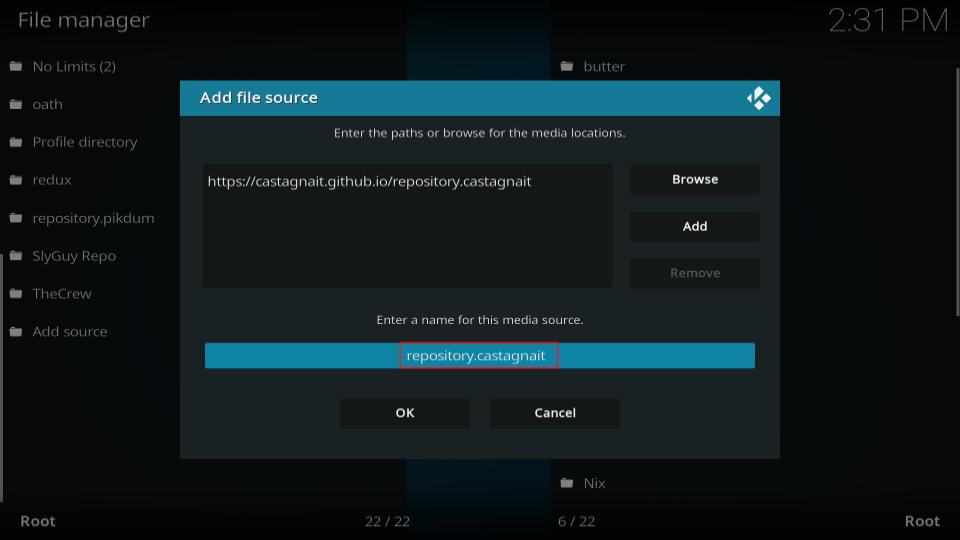
9. You will see an alias name under Enter a name for this media source. You can proceed with the default name or choose your preferred alias. I am continuing with the default alias repository.castagnait.
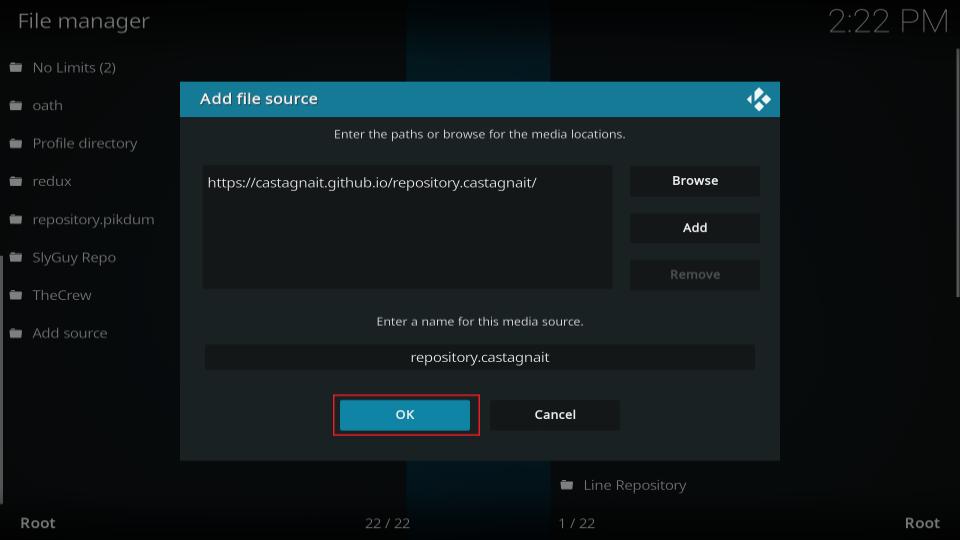
10. Once again, click on the OK button to continue.
We’re done adding the source. Let’s move on to the second part of installing Netflix on Kodi.
Part 2: Install the CastagnaIT Repository
We’ll use the source we added to install the CastagnaIT repository on Kodi. The CastagnaIT repository will then help us install the Netflix add-on.
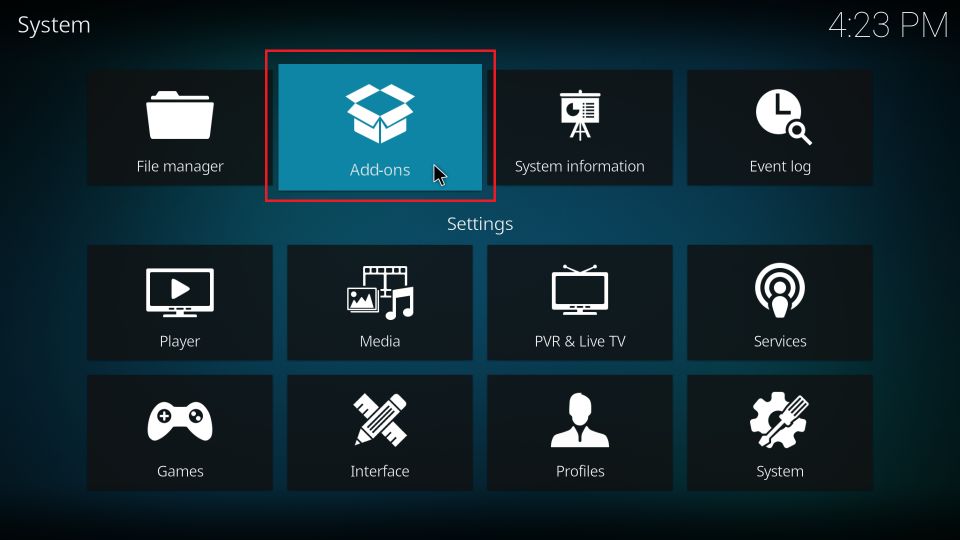
1. Click on the settings gear again on the Kodi home page.
2. Click on the Add-ons button.
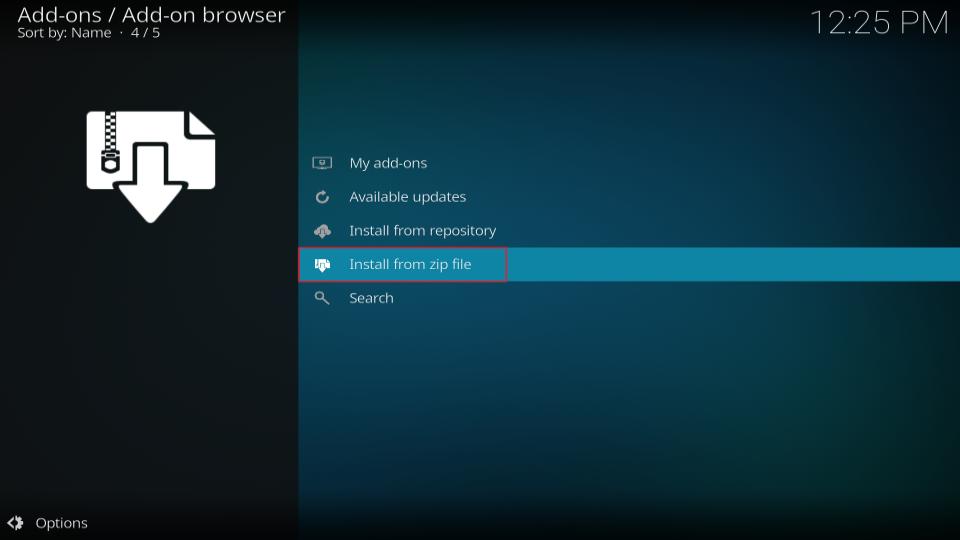
3. Select Install from zip file.
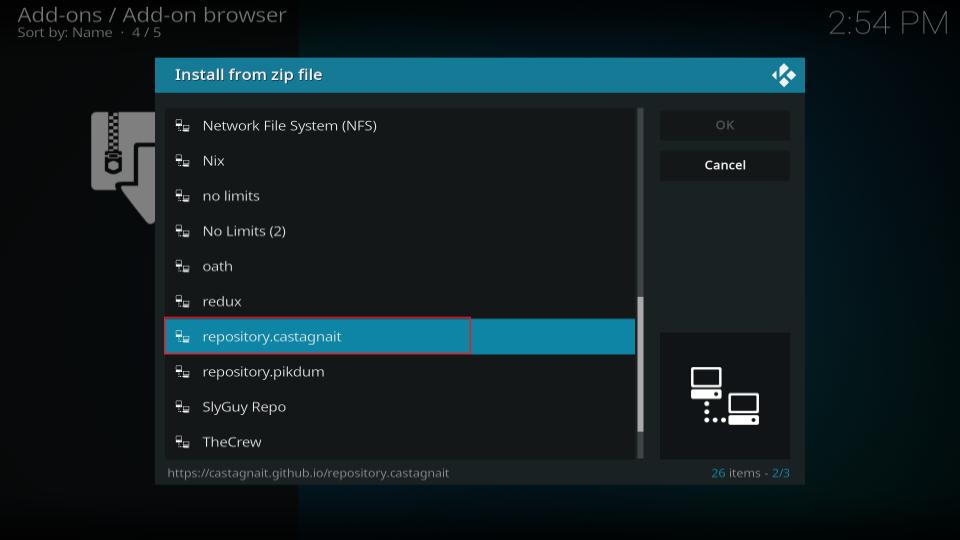
4. A window will pop up. From the list, select repository.castagnait.
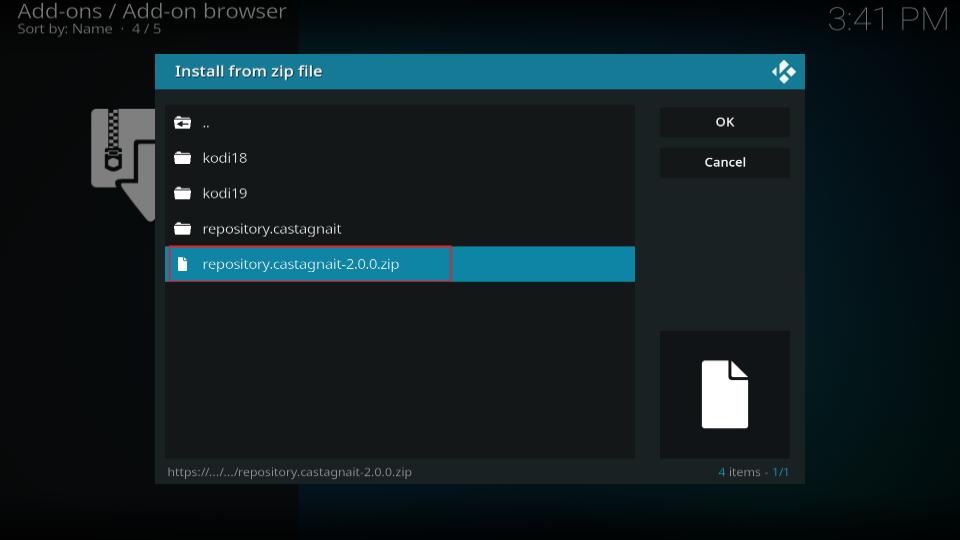
5. From the list, select the option that says repository.castagnait-x.x.x.zip.
Note: You may see different numbers before .zip. There’s nothing to worry about. The numbers change as the file version changes, and it won’t affect the installation process.
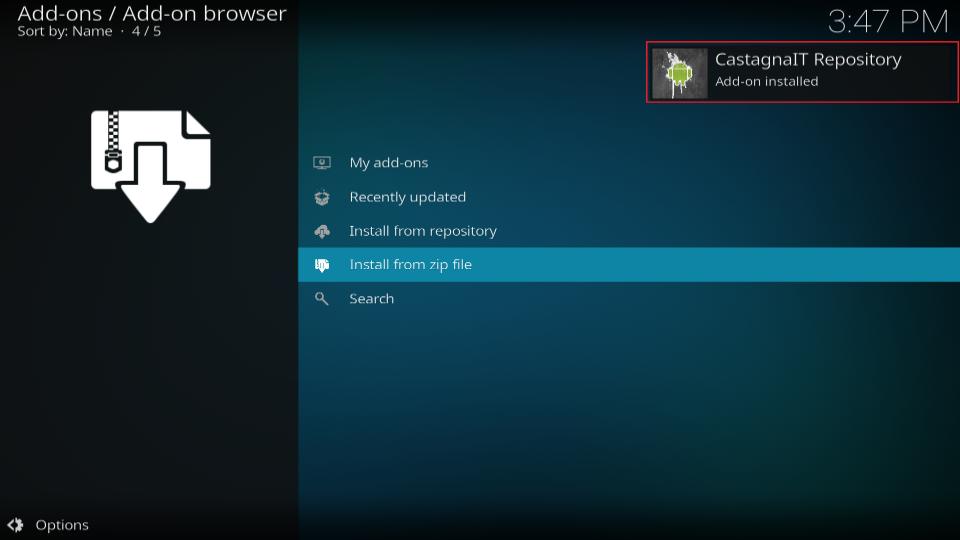
6. Wait a minute for a notification saying CastagnaIT Repository Add-on installed.
Congratulations, you have installed the CastagnaIT repository. In the third part, we’ll install the Netflix addon on Kodi.
Part 3: Install the Netflix Kodi Addon
Here, we will learn to install Netflix.
1. After installing the CastagnaIT repository in the previous step, you’ll automatically be sent to the Add-ons / Add-on browser screen.
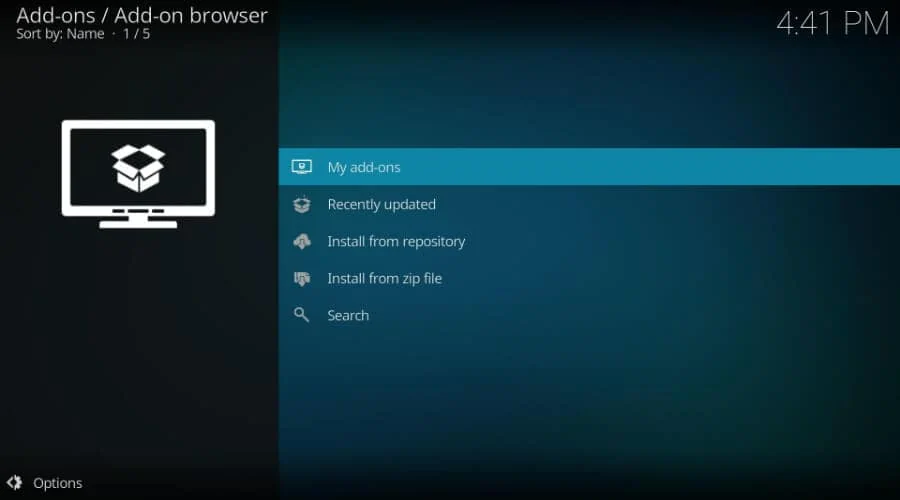
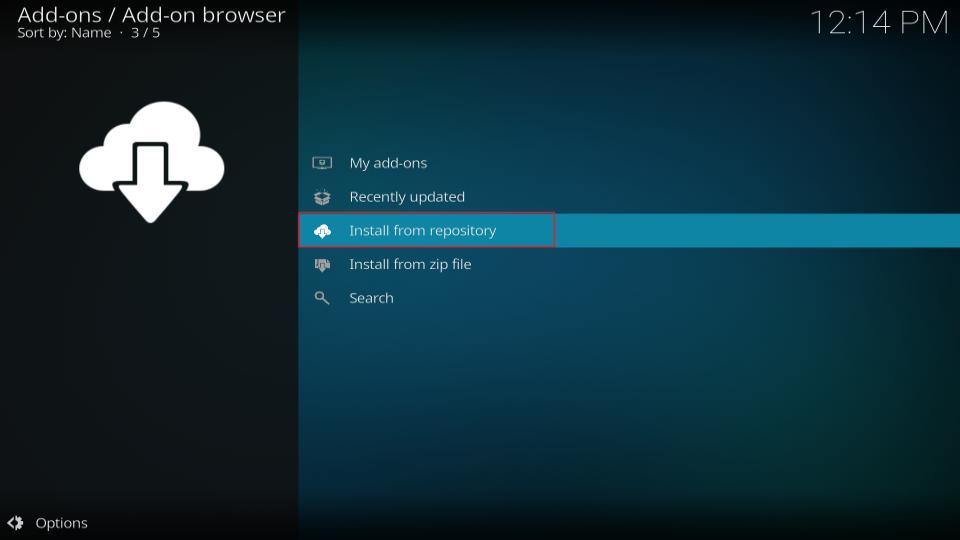
2. From there, click Install from repository.
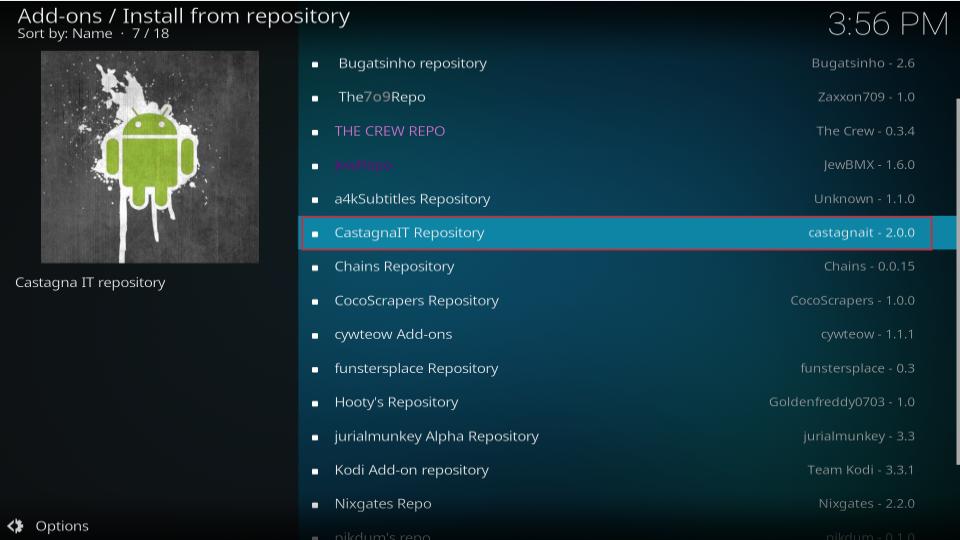
3. Select CastagnaIT Repository.
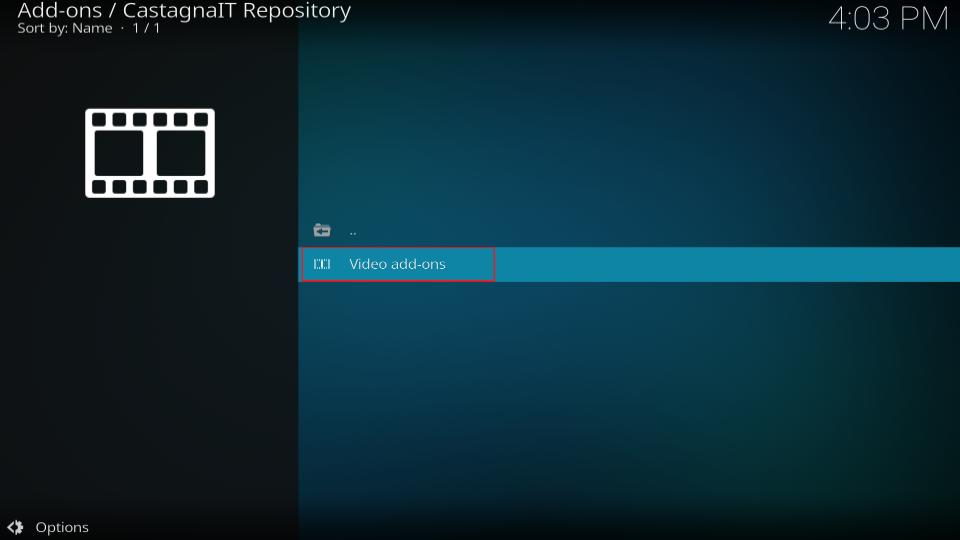
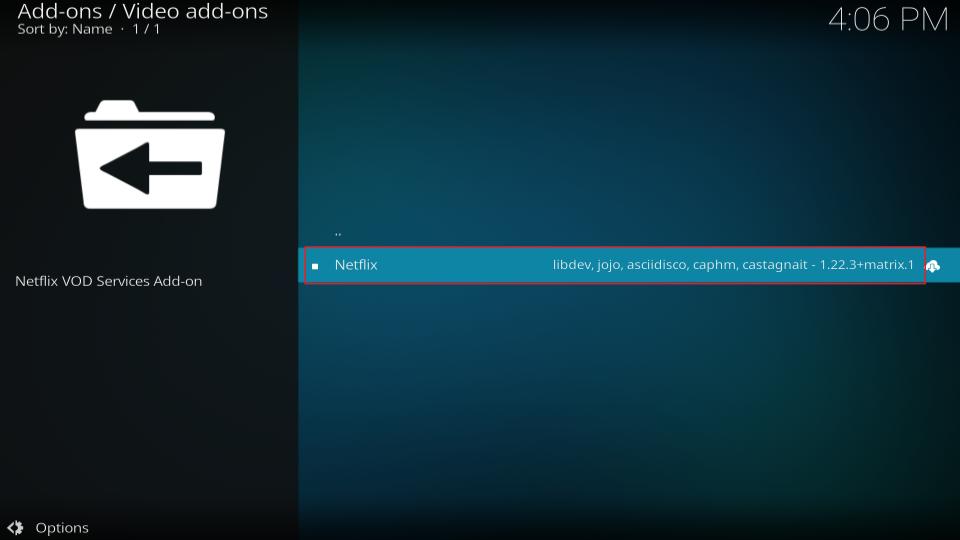
4. Click on Video add-ons.
5. Click on Netflix.
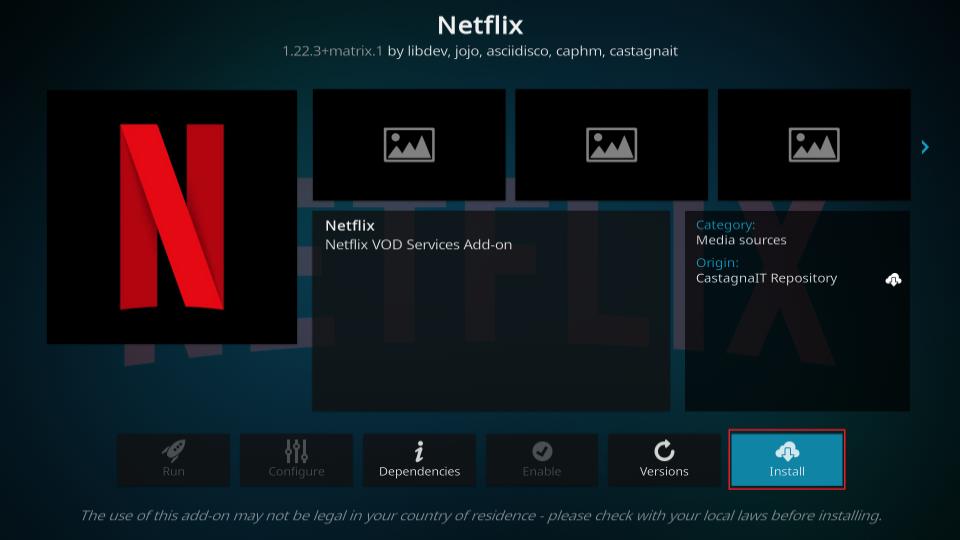
6. Now, the installation page for the Netflix Kodi addon will appear. Click on the Install button at the bottom right.
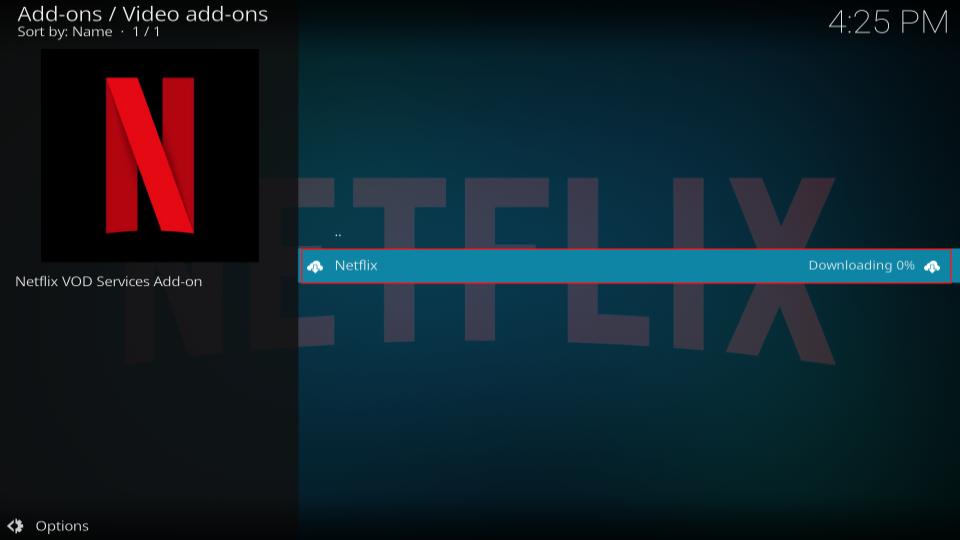
7. You will see the download progress on the screen.
8. Installation will begin. You’ll see a series of notifications about the necessary addons being installed.
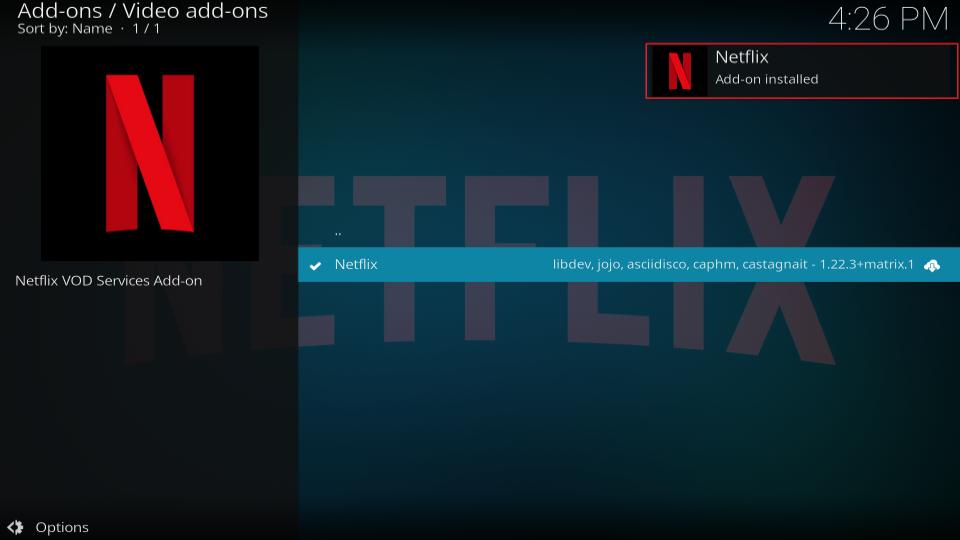
Finally, we are done installing the Netflix addon on the Kodi app. Now, you can watch content on Netflix.
You’re now all set. A quick reminder: your internet provider and many websites/apps can see your IP address and some details about your connection. Using a VPN encrypts your traffic and masks your IP address, which helps protect your online privacy.
I recommend ExpressVPN. It’s a reputable VPN with strong encryption and fast connections, and it’s straightforward to install on Fire TV/FireStick and other devices.
Next, I’ll show you how to set up and use ExpressVPN.
Step 1: Get the ExpressVPN subscription HERE. It comes with a 30-day money-back guarantee. Meaning you can use it for free for the first 30 days, and if you are not satisfied with the performance (which is highly unlikely), you can request a full refund.
Step 2: Click HERE to download and install the ExpressVPN app on your streaming device. If you are using a FireStick, I have given the exact steps starting with Step 4 below.
Step 3: Click the Power icon to connect to a VPN server. That's all. Your connection is now secure with the fastest and best VPN for Kodi.

The following steps will help you install Kodi VPN on your Fire TV devices. If you have other streaming devices, follow Step 1-3 above.
Step 4: Subscribe to ExpressVPN HERE (if you are not already subscribed).
Step 5: Go to the Fire TV Stick home screen. Click Find, then select the Search option (see image below).

Step 6: Type Expressvpn in the search bar and select it when it shows up.

Step 7: Click Download.

Step 8: Open the ExpressVPN app and Sign in using the email ID and password that you created while buying the ExpressVPN subscription.

Step 9: Click the Power icon to connect to a VPN server. That’s all. Your FireStick is now secured with the fastest VPN.

How to Watch Netflix on Kodi
As with any other app, you must set up the Netflix addon in Kodi when using it for the first time, and you’ll be ready to start streaming in no time.
I’ll show you how to set up Netflix on Kodi for the first time. Then, we’ll take a brief overview of the Netflix addon itself.
Setting up Netflix on Kodi
1. On Kodi’s home screen, scroll down the left panel and stop on Add-ons.
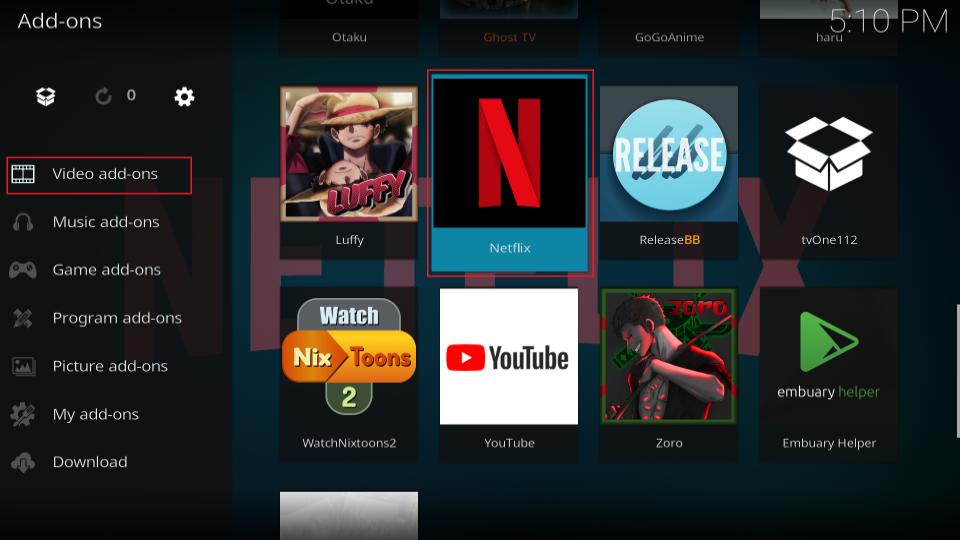
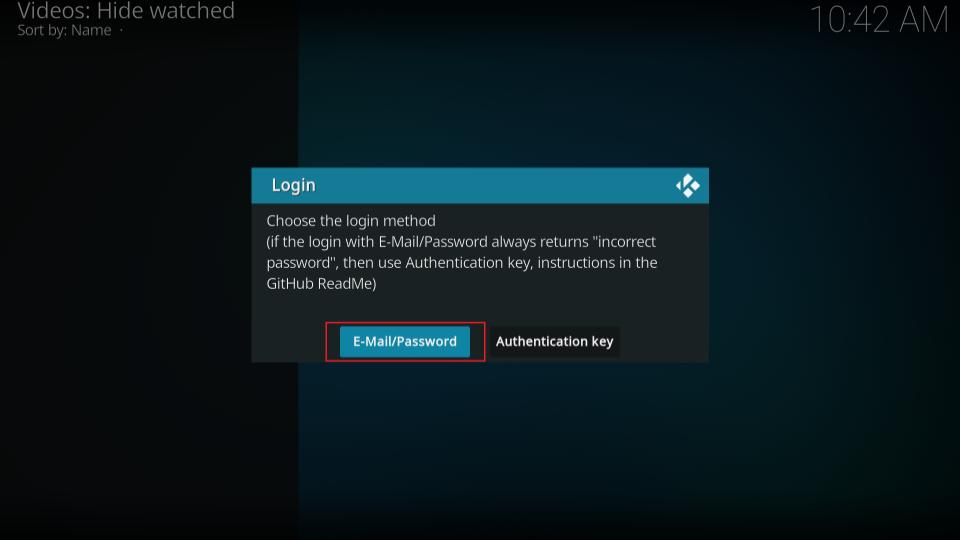
2. Click on the Netflix tile. You will have two options to log in to your Netflix account: email/password or authentication key. Click the E-mail/Password button.
3. Enter the email associated with your Netflix account and click the OK button.

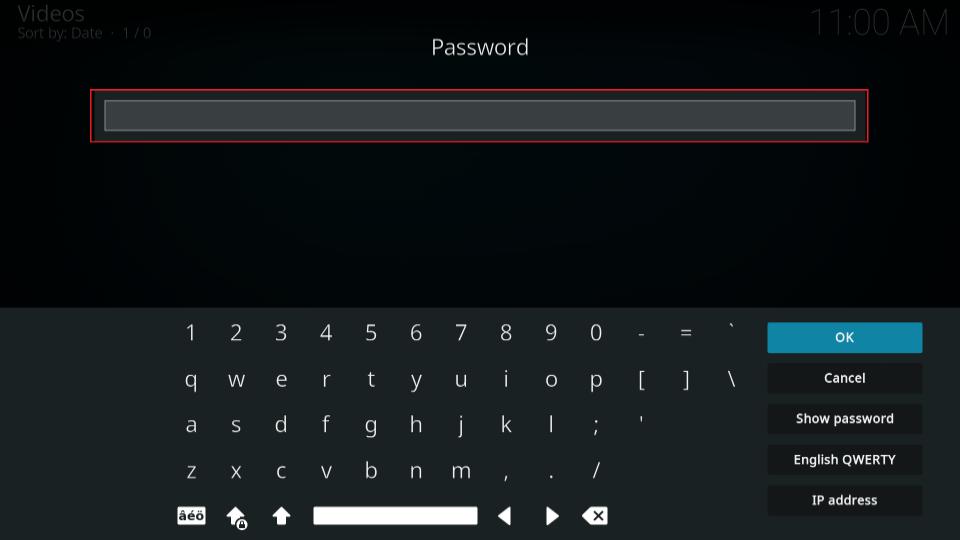
4. Type in the password for your Netflix account and click on the OK button.
5. Click on the OK button to continue. And after a few seconds, you’ll be logged in to your Netflix account.

We are now ready to use the Netflix addon on Kodi.
Using Netflix on Kodi
You’ll see your profiles once you are signed in to your account on the Netflix addon.
Just like a typical Netflix app, you can choose any user profile.

Each profile lists several folders: My List, Continue Watching, New Releases, Trending Now, Recommendations, and more. You’ll be shown content you can stream when you select a folder. For instance, click on the Top 10 folder to see your region’s current top 10 titles.
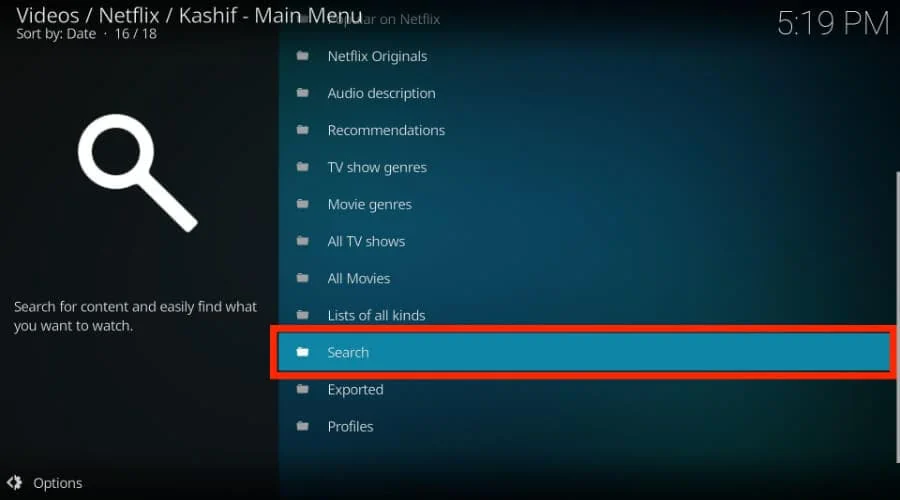
To search for any content, scroll down and select Search. Then, select New search. You can search by term, audio language, subtitle language, and genre/subgenre ID.
Using the Netflix addon on Kodi is as simple as browsing the Netflix application or website. The main downside of the Netflix Kodi add-on is that it’s not visually appealing. However, finding the content of your choice is not difficult.
Wrapping Up
With Netflix on Kodi, you get to use Netflix to its full potential. From streaming 4k content to accessing multiple profiles and maintaining your content lists, you can do it all with the Kodi Netflix addon. If you unblock Netflix from other countries, check out our guide on using a Netflix VPN.
If you encounter any problems during installation, use the comment section to ask questions.

Suberboost Your FireStick with My Free Guide
Stay Ahead: Weekly Insights on the Latest in Free Streaming!
No spam, ever. Unsubscribe anytime.

Leave a Reply