If you’re reading this post, you’ve probably found that your Kodi build is not working as effectively as it used to. It might be crashing regularly or simply running slower. Regardless of the exact symptoms you’re experiencing, the problem may be that you installed too many Kodi builds or add-ons. Your Kodi issues have probably caused you a lot of trouble, so you may be looking for a way to clean things up and start fresh. Don’t worry—in this post, I will guide you as you uninstall your Kodi build on FireStick to improve Kodi performance.
Please note that this method is only applicable to Kodi 17 and 18.
This method works on FireStick, Mac, Windows, Fire TV Cube, and any other devices that are compatible with Kodi. Make sure you meticulously follow this article and do not skip any steps. If you skip steps, you may not be able to uninstall the unnecessary Kodi builds on your FireStick to speed up Kodi.
Why Would You Uninstall Kodi Builds?
Kodi is undoubtedly one of the best and most widely used media player applications in the world. It offers boundless entertainment and does so at little to no cost. And because of all the helpful builds available, you can view free TV shows and movies, add subtitles, listen to music, and much more.
But an issue with installing all these helpful builds is that they consume a lot of storage. Especially if you are a FireStick user, you will likely struggle with storing these builds on your device, as they occupy tons of the device’s limited space.
This will slow Kodi’s performance, which can cause streaming and buffering issues. And often, the developers fail to maintain these builds, leaving you with dead and useless builds that are only wasting space.
Hence, people get rid of unnecessary builds that slow down Kodi’s performance and cause buffering. A bonus piece of advice is also to remove dead add-ons that come with builds. This will clear up some valuable space on Fire TVs and Android TVs.
Attention Kodi Users!
Governments and ISPs worldwide monitor your online activities. If you use third-party Kodi addons, you should always use a reliable Kodi VPN to hide your identity and prevent issues with your streaming experience. Currently, your IP is visible to everyone.
I use ExpressVPN, the fastest and most secure VPN in the industry. It is very easy to install on any device, including Amazon Fire TV Stick, PC, Mac, and Smartphones. It also includes a 30-day money-back guarantee. If you're not satisfied with their service, you can request a refund. ExpressVPN is offering a special NEW YEAR deal: get 4 months free and save 78% on the 2-year plan.
Install and Use Best Kodi VPN | Why you must use a VPN at all times
Guide to Uninstalling Kodi Builds
We are going to use the Fresh Start method to uninstall Kodi builds to improve Kodi performance.
Before you proceed with this method, I recommend you install the Indigo add-on to avoid complications. Without Indigo, Kodi often fails to install zip files for the repository that we need to use to install the Fresh Start plugin on Kodi. In addition, make sure to uninstall all add-ons you have on Kodi.
Fresh Start Method (Working on Kodi 17 & 18)
This method is our top recommendation, as it recovers all essential data like caches, icons, files, and thumbnails created by builds or add-ons.So, let’s get started:
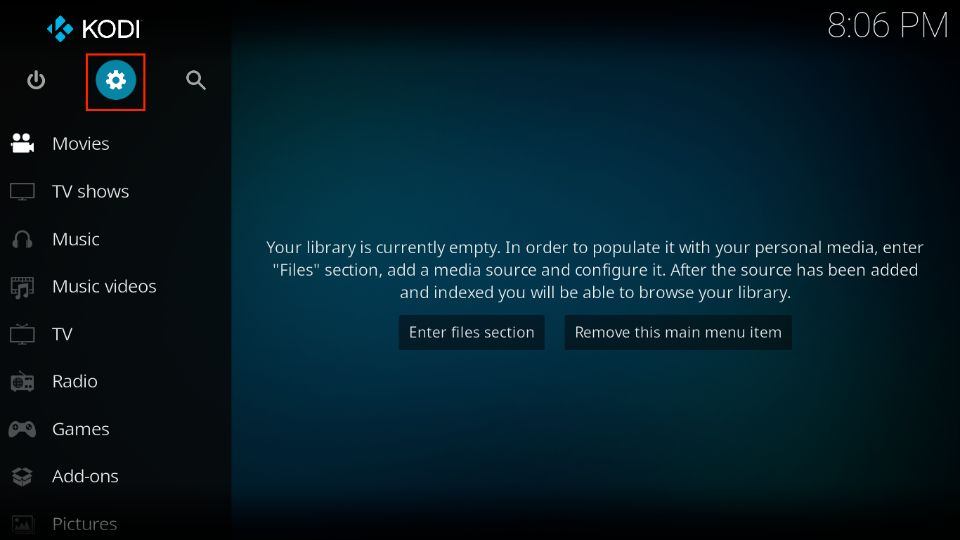
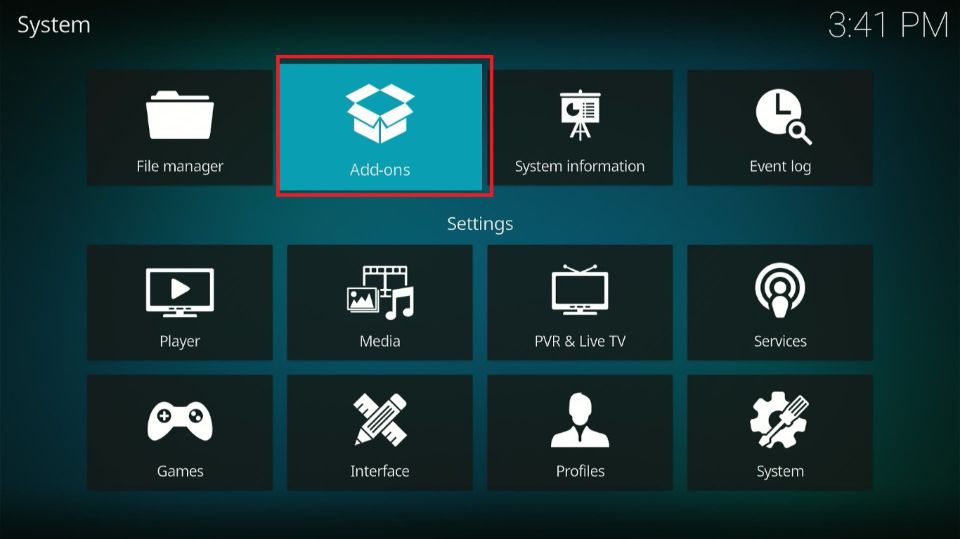
1. At the top of the left panel of the home screen, hit the Settings Gear icon.
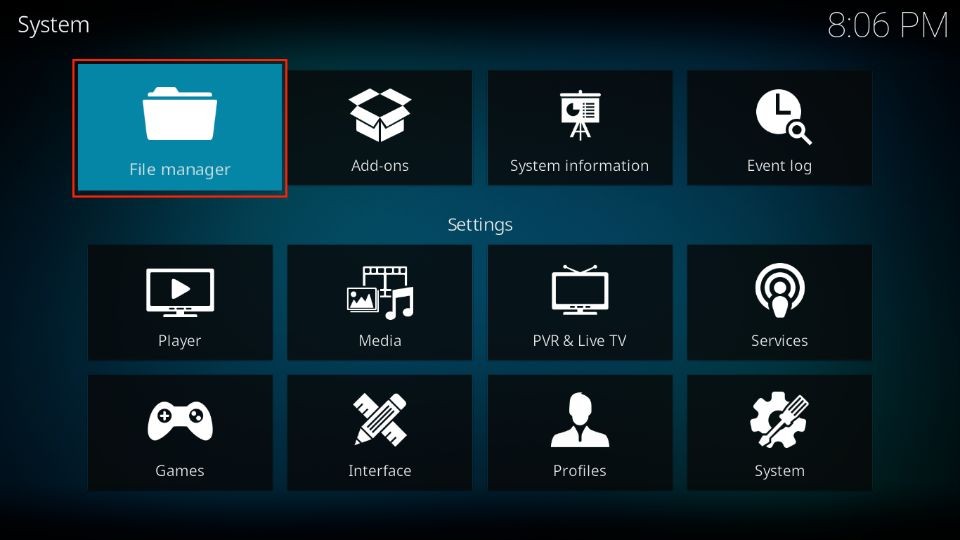
2. On the next screen, select File manager.
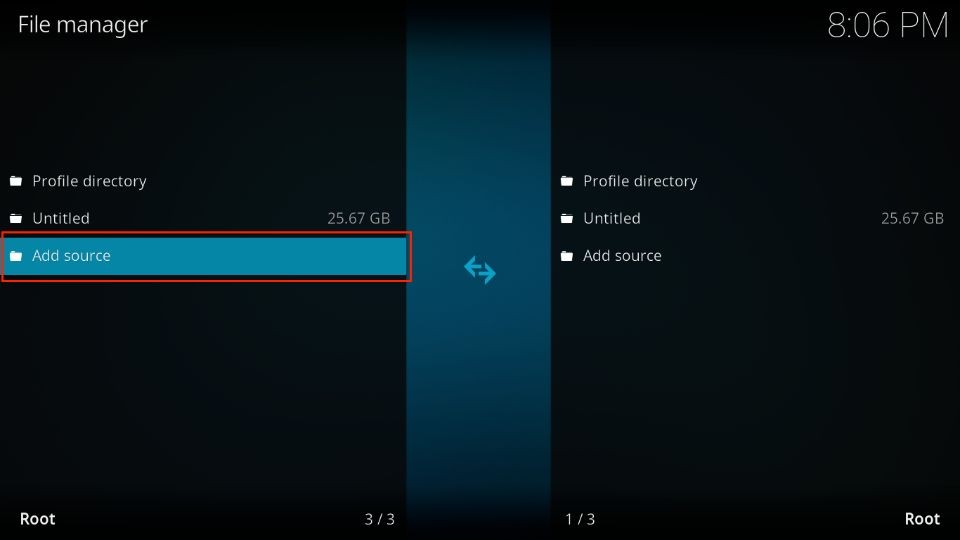
3. The interface will now present three options. Select the last one, Add source.
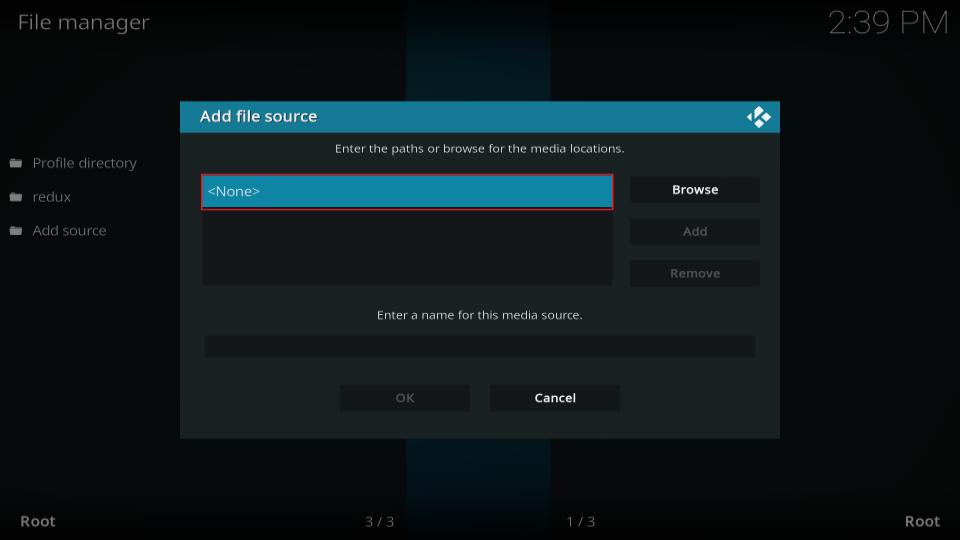
4. Kodi will open a new box with a text field. Select <None>.
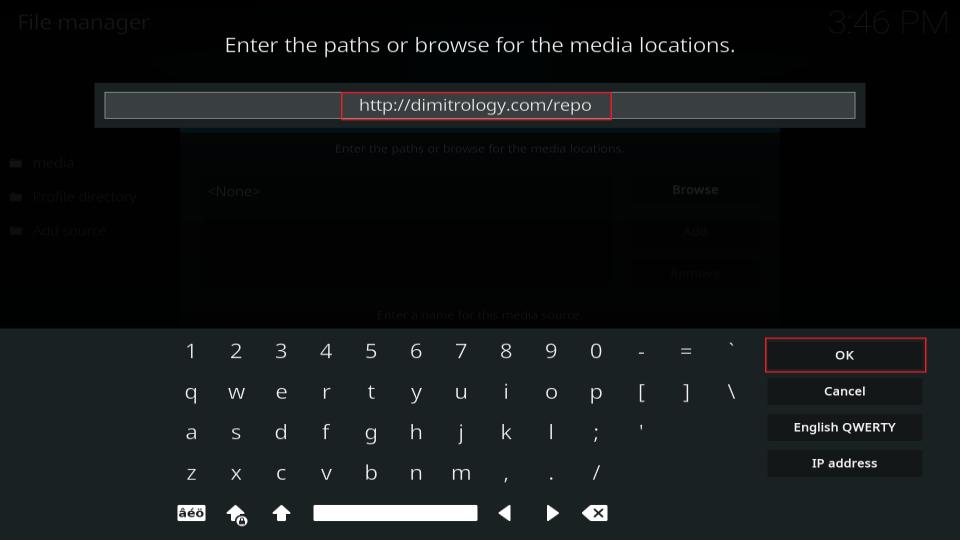
5. The text field will now let you type or paste the source link. Type or paste http://dimitrology.com/repo into the field and click OK.
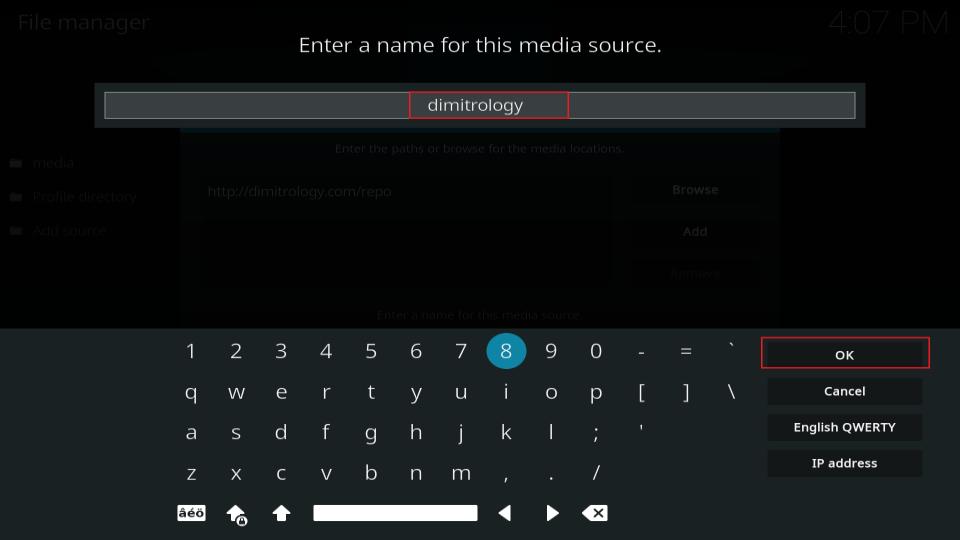
6. Now, click the input box under Enter a name for this media source.

7. Enter the name Dimitrology so you’ll recognize it in a few steps.
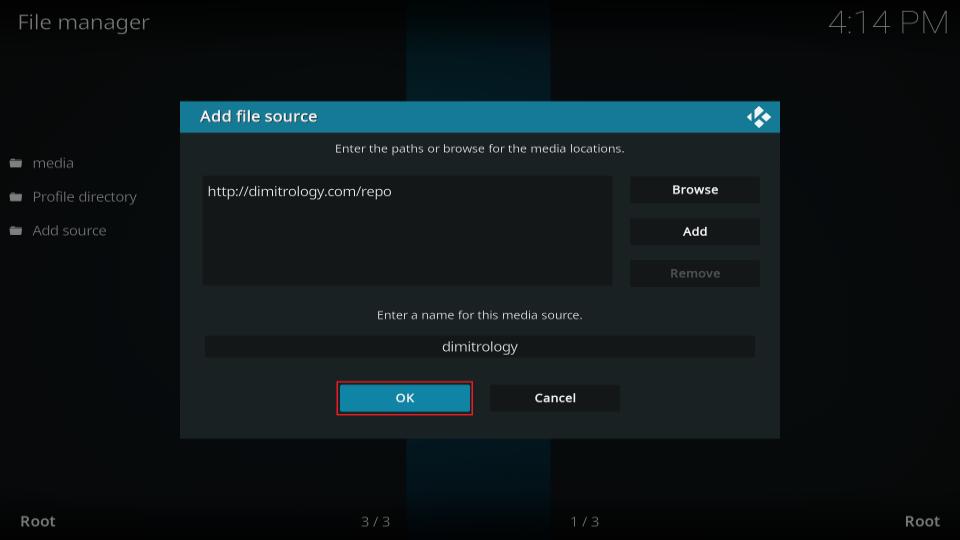
8. Click OK to save changes.
9. Go back one step if necessary to the Add-ons selection.
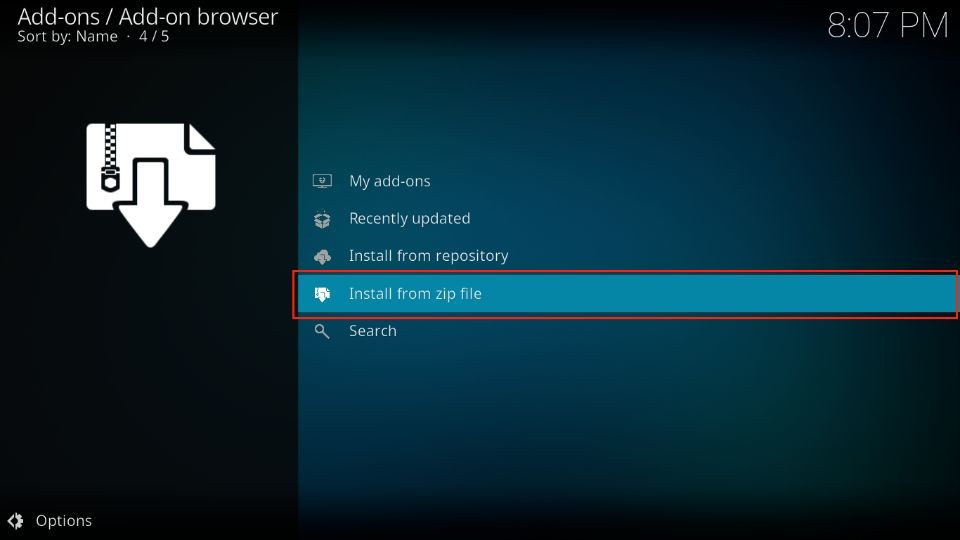
10. Scroll down the list to select Install from zip file.
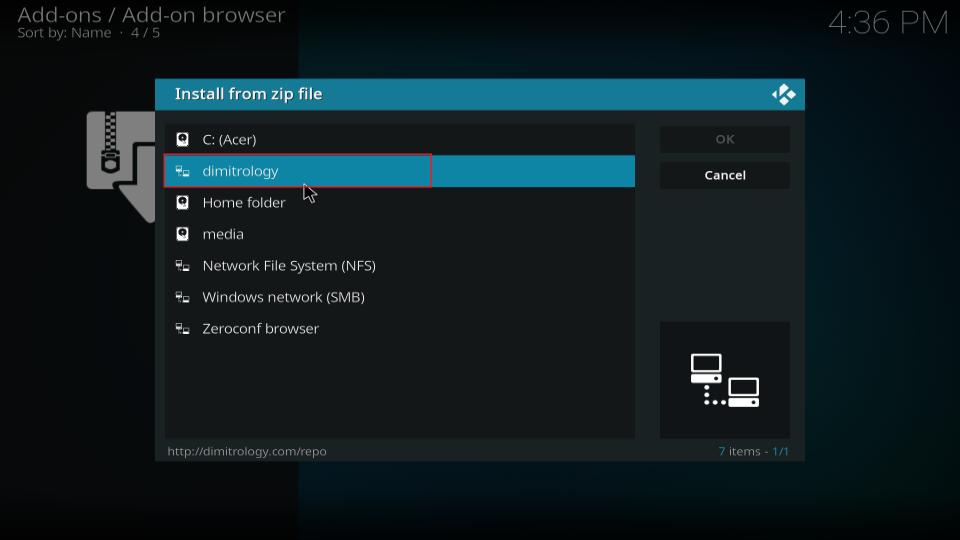
11. A new box will appear with a list of directories. Locate and select Dimitrology.
12. Now the interface will show various zip files. You need to locate the file with freshstart in its name. The pattern of the file name is video.freshstart-x.x.zip (x is a number referring to the version or update). Select this file so that Kodi will download the installation files for Fresh Start.

13. Within a few seconds, the system will download the installation files, and you’ll receive a popup notification.
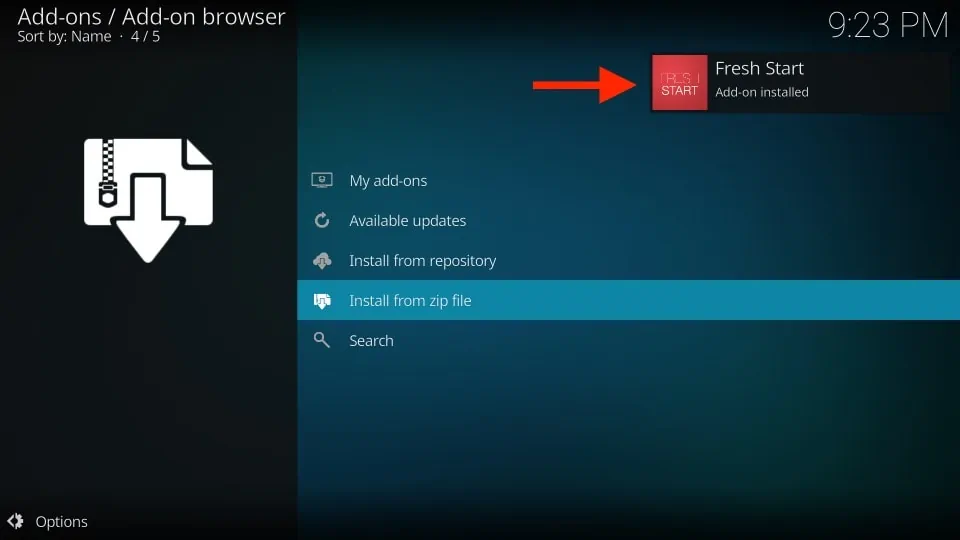
14. Return to the Kodi home screen (press the back button a few times). Scroll to Add-ons, then scroll over to the right portion of the screen and select the addon Fresh Start.
Note: Remember that before resetting Kodi with this addon, you should uninstall all your existing Kodi addons.

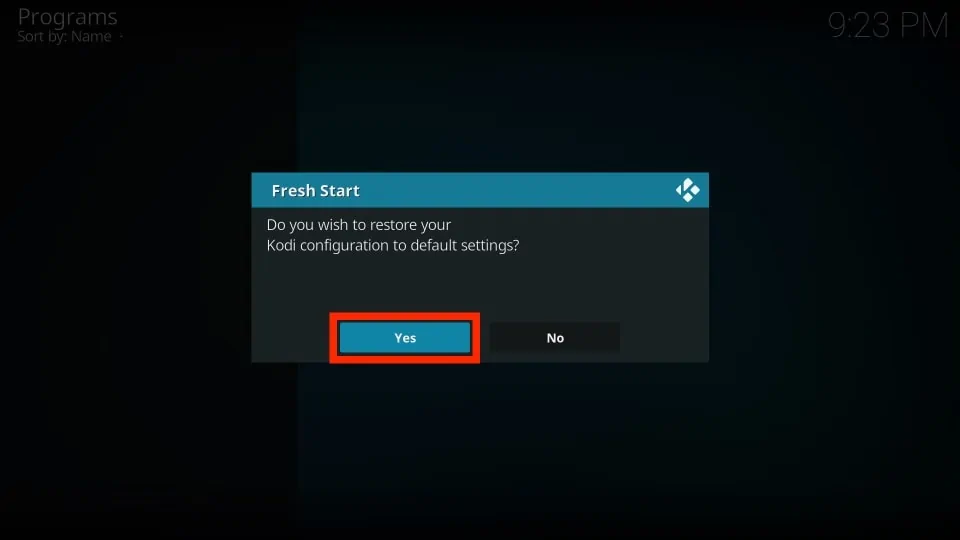
15. The system will show a confirmation notification asking if you really want to restore and reconfigure Kodi settings to default. Press Yes to proceed.
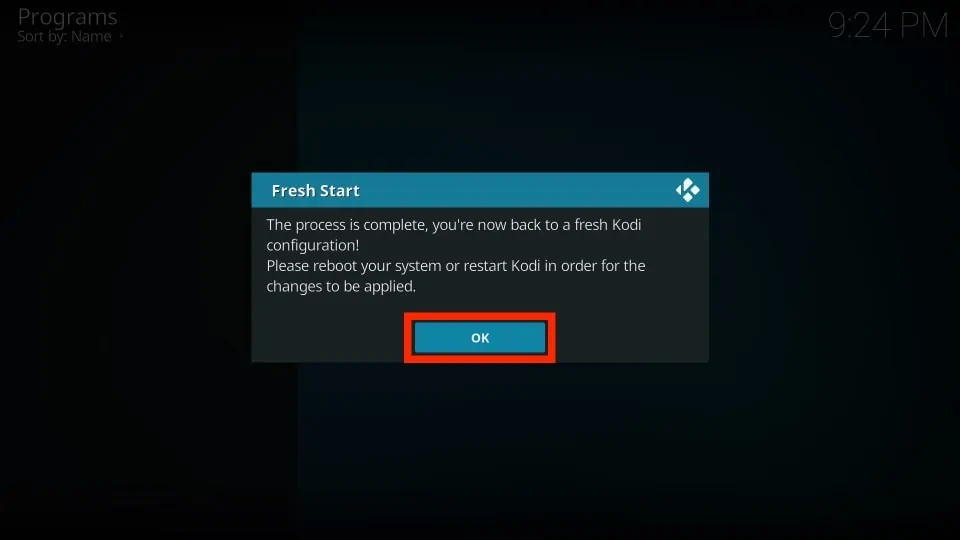
16. Kodi will take some time to reset to default settings. Once finished, it will show a notification asking you to restart Kodi. Click OK.
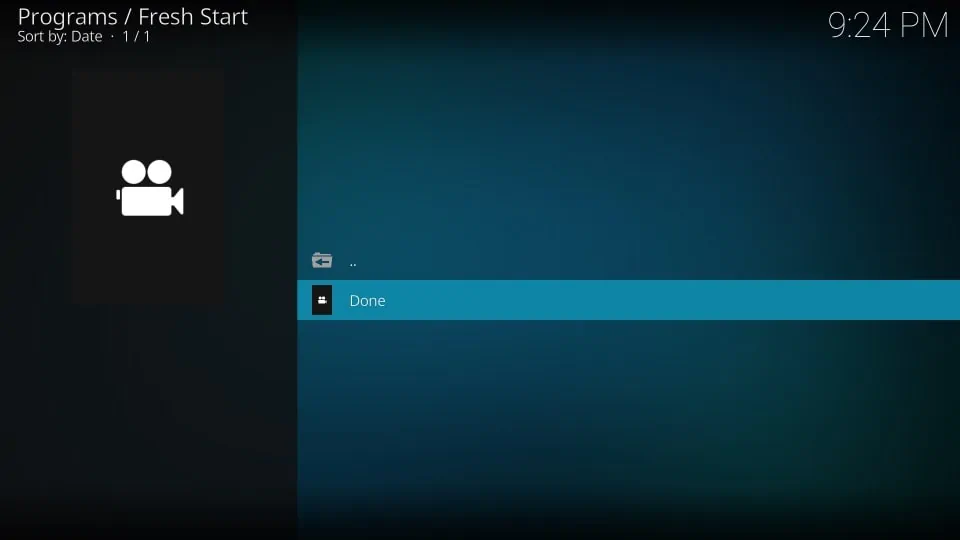
17. You’ll now land on this page. Close the app, restart your FireStick or other device, and then launch Kodi. Kodi will be reset to its old settings.
Conclusion
In this article, I demonstrated how to uninstall a Kodi build using the Fresh Start addon. As I mentioned, you should always remove unnecessary add-ons and other data before you uninstall builds from Kodi. This will save a lot of space on your device that you can use for other apps. The Fresh Start method is also highly beneficial if you are looking to uninstall many add-ons at the same time.
Let me know in the comments how this method worked for you or if you ran into any trouble while uninstalling your builds.
Related:
- How to Uninstall Kodi from FireStick
- How to Update Kodi 19.5 on FireStick
- Best Kodi Builds
- How to Reset Kodi on Amazon FireStick

Suberboost Your FireStick with My Free Guide
Stay Ahead: Weekly Insights on the Latest in Free Streaming!
No spam, ever. Unsubscribe anytime.

Leave a Reply