In this tutorial, I will show you how to install and use The Loop addon on Kodi. You can follow the instructions in this guide to get The Loop Kodi addon on all Kodi-compatible platforms, like Amazon FireStick and other Fire TV devices, Android TV Boxes, Android phones, computers, and more. The Loop works on Kodi 18 and 19.
The Loop is a sports-centric Kodi addon in the Loop Repository that has existed for some time. This sports IPTV option is a decent resource for sports lovers to follow their favorite teams or stars and stream events like major leagues and tournaments.
Fans can watch American baseball, basketball, hockey, football, and college sports on The Loop. There are also fight sports events for lovers of combat sports. Soccer fans are not left out. The addon shows live soccer matches and competitions from the biggest European domestic leagues.
The Loop addon does not host any content on its servers. Instead, it scrapes videos from host websites on the Internet. It does not require a subscription or signup to use. Furthermore, it is completely free for all users. Recently, the Loop addon was updated to work on Kodi 19.
Attention Kodi Users!
Governments and ISPs worldwide monitor your online activities. If you use third-party Kodi addons, you should always use a reliable Kodi VPN to hide your identity and prevent issues with your streaming experience. Currently, your IP is visible to everyone.
I use ExpressVPN, the fastest and most secure VPN in the industry. It is very easy to install on any device, including Amazon Fire TV Stick, PC, Mac, and Smartphones. It also includes a 30-day money-back guarantee. If you're not satisfied with their service, you can request a refund. ExpressVPN is offering a special NEW YEAR deal: get 4 months free and save 78% on the 2-year plan.
Install and Use Best Kodi VPN | Why you must use a VPN at all times
How to Install The Loop Kodi Addon
It’s time to get down to what we are here for. I will show you how to install The Loop addon on Kodi. I have separated the instructions into three parts, each containing a list of steps to follow. Each step comes with screenshots that will help you follow along easily.
Well, let’s get started.
Legal Disclaimer: This guide is for informational purposes only. FireStickTricks.com does not own, host, operate, resell, or distribute any apps, services, or content mentioned.
Part 1: Enable Unknown Sources on Kodi
To begin with, we will enable app installations from unknown sources in Kodi’s settings menu. This is necessary because The Loop is a third-party addon. We cannot add the repository source containing the addon without enabling this setting. This is how you can enable unknown sources.
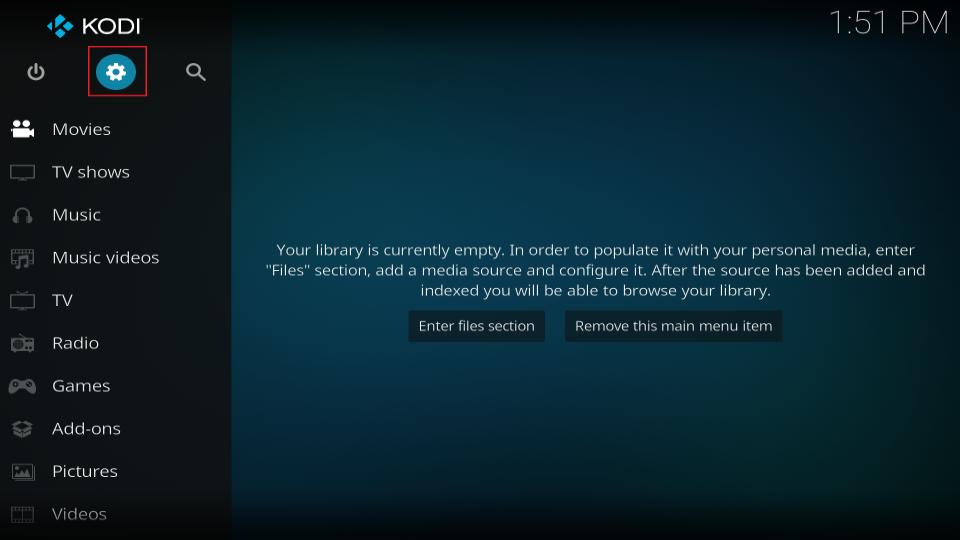
1. Click the gear icon in the upper-left corner of the Kodi home screen to select Settings.
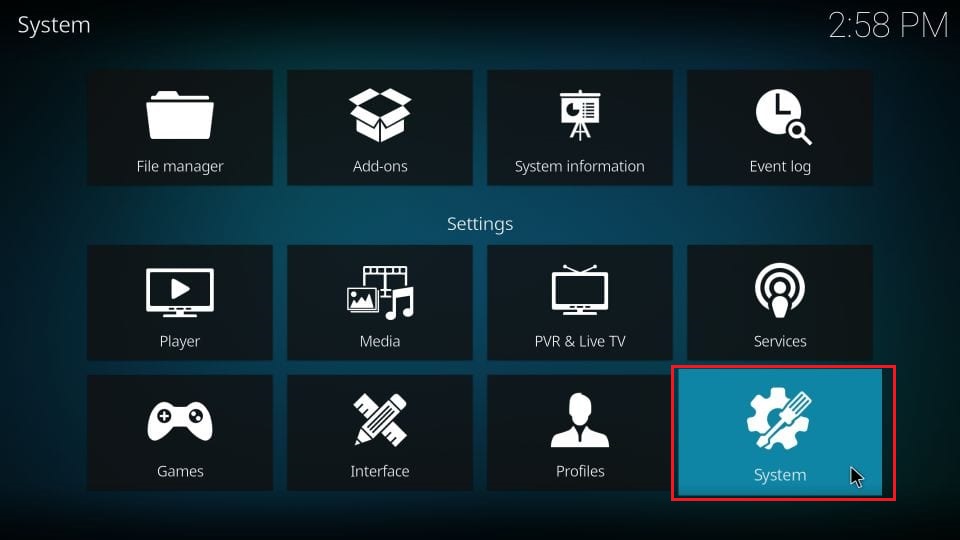
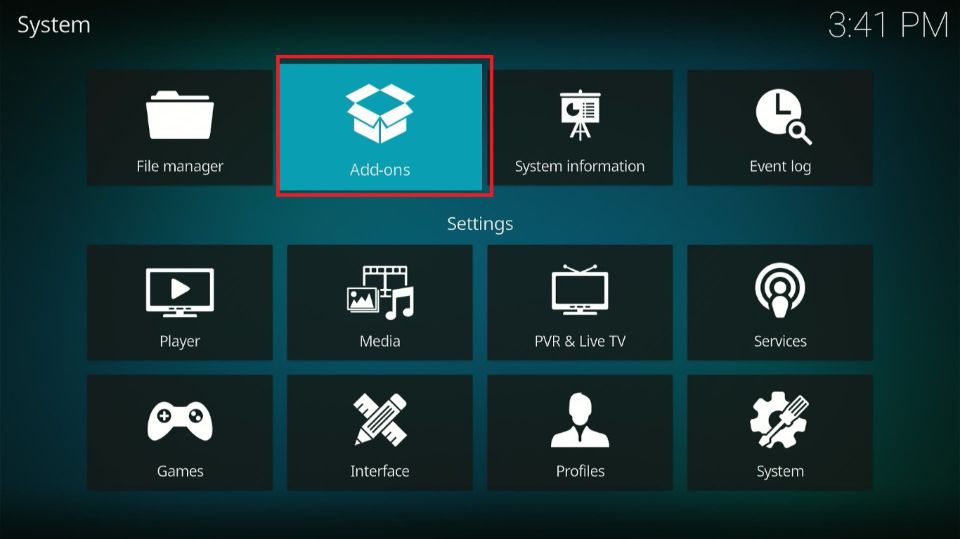
2. Click System, located at the bottom-right corner of the page.
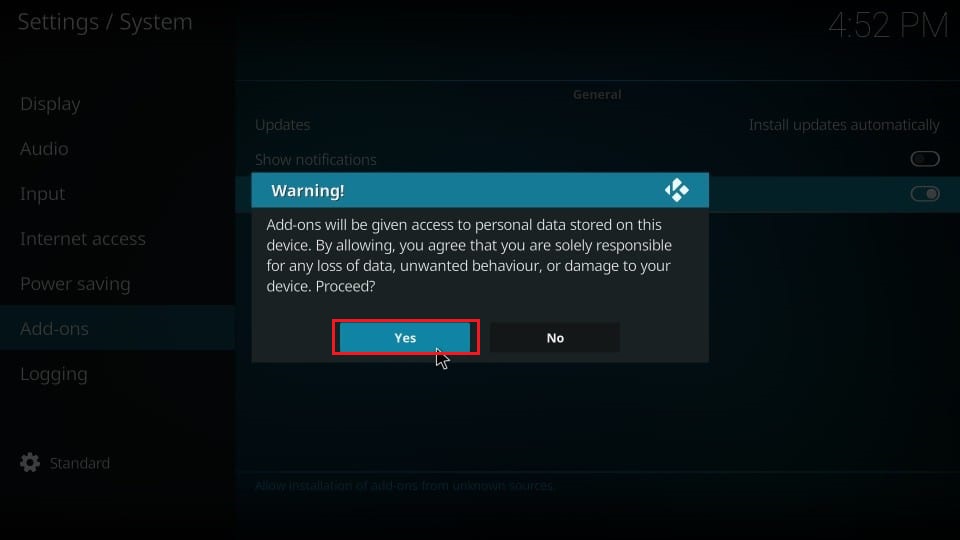
3. Hover over Add-ons on the left panel. Navigate to the right panel. If Unknown sources is disabled, click on it to toggle it on.
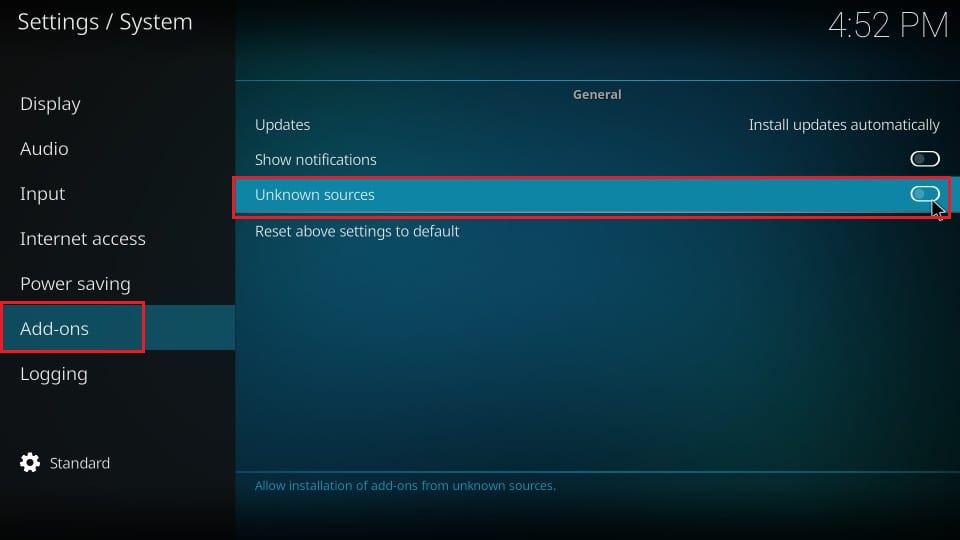
4. A pop-up warning will inform you that you are granting access to the addon. Click the Yes option to confirm.

The next step is optional and only applies to Kodi 19 Matrix. Kodi 19 has a default setting to update official add-ons from official repositories. If you change it, Kodi will automatically update all your addons, not just official ones. On Kodi 18, all your addons get updated automatically.
5. Select Update official add-ons from and click Any repositories.
Now that you have enabled unknown sources on Kodi, you can install any third-party addons without issues.
Part 2: Install The Loop Repository
Before you can install a Kodi addon, you must install the repository that hosts the addon. The Loop repository is the source for our Kodi addon, so we must add it. Here’s how to do that.
1. Go back to the home screen of the Kodi app. Click the Settings icon.
2. Select File manager on the next screen.
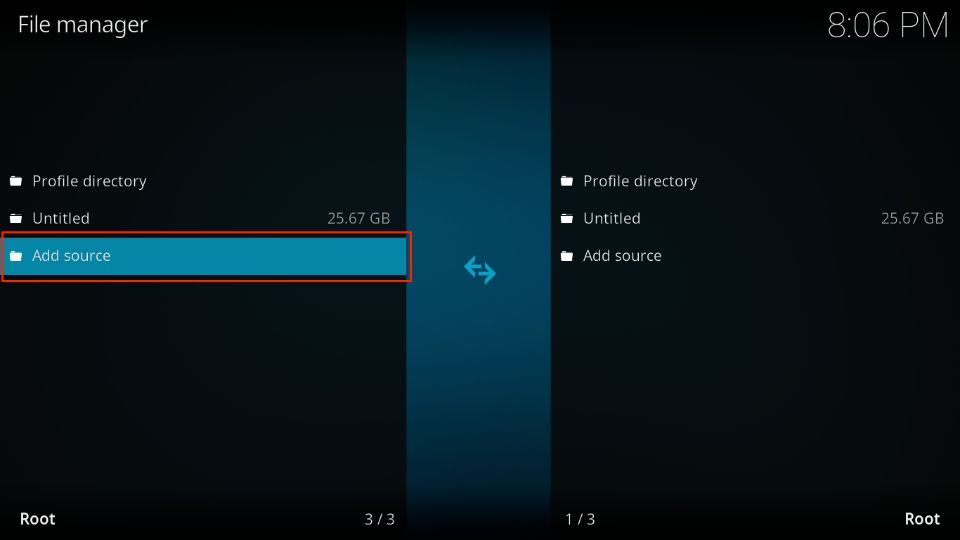
3. Select Add source on the left-hand panel.
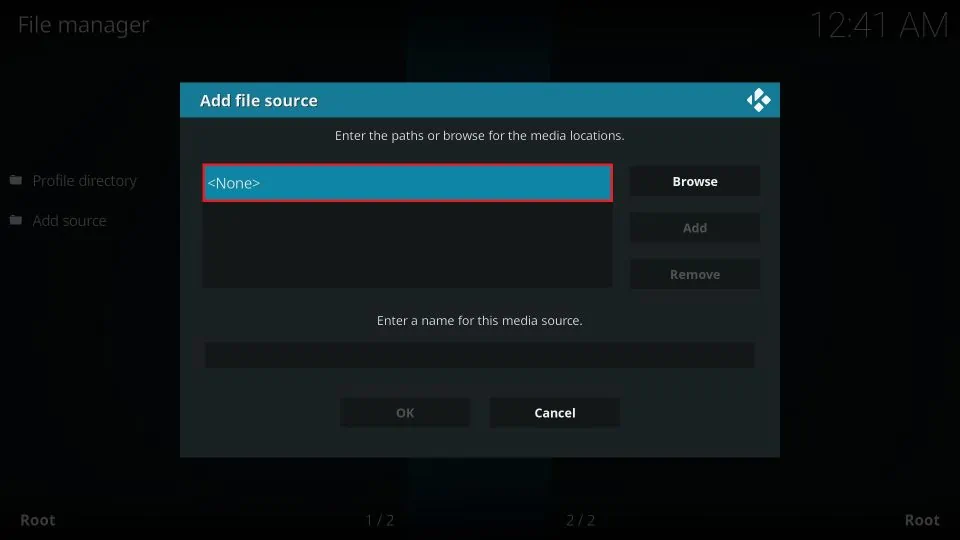
4. In the Add file source window, select the area that says <None>.
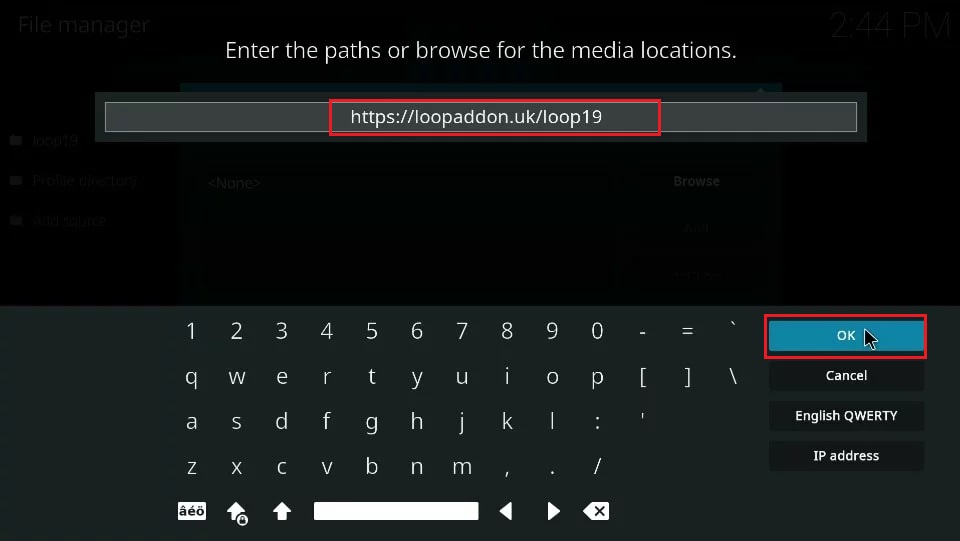
5. With the help of your remote control and the on-screen keyboard, enter the source URL. Type in https://loopaddon.uk/loop19 for Kodi 19 or http://loopaddon.uk/loop for Kodi 18. Make sure that you entered the URL correctly and click OK to confirm.
Note: FireStickTricks.com isn’t affiliated with these files. The links lead to the source of the repository.
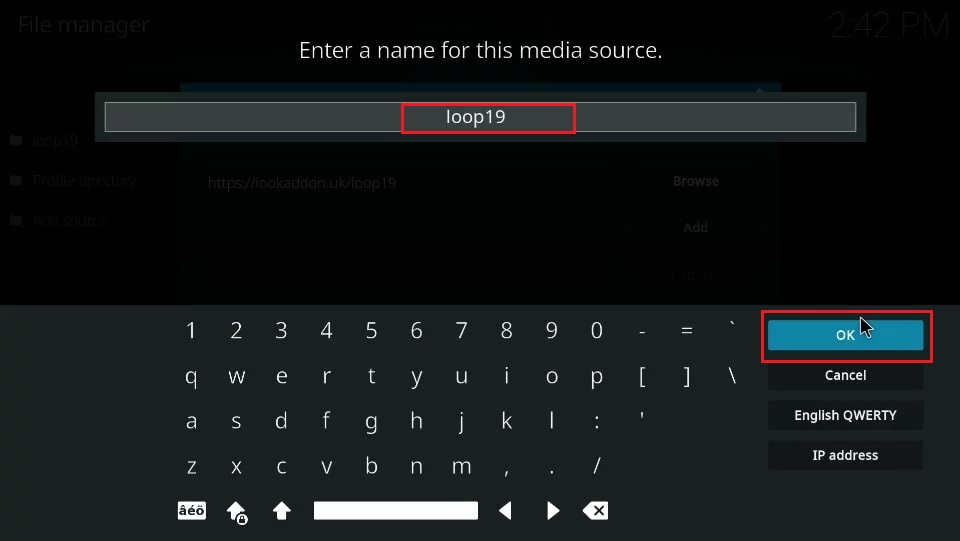
6. You can use the default name loop19 or loop or change it to something you’ll recognize. Click OK twice to confirm the name and then to save the source.
Part 3: Install The Loop Addon
At this point, we have sorted out all the prerequisites. Now, we can download and install The Loop addon on Kodi. Follow the steps below to do that.
1. Go back to the home screen of the Kodi app. Select the Settings icon again.
2. Select Add-ons on the next screen.
3. Navigate to Install from zip file and select it.

4. For Kodi 19 users, click Yes on the pop-up warning message.
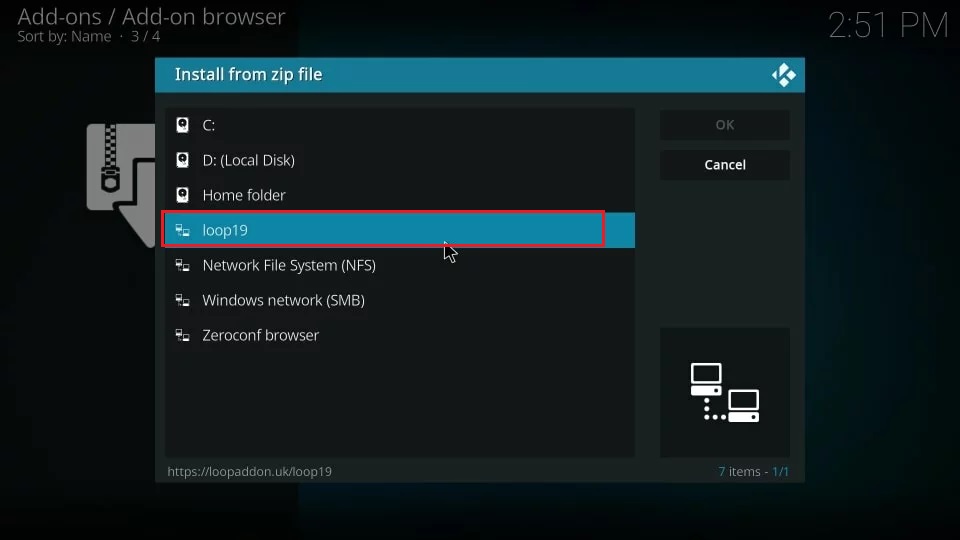
5. Select loop9, loop, or whatever name you gave the repository.
6. Click repository.loop-x.x.x.zip.
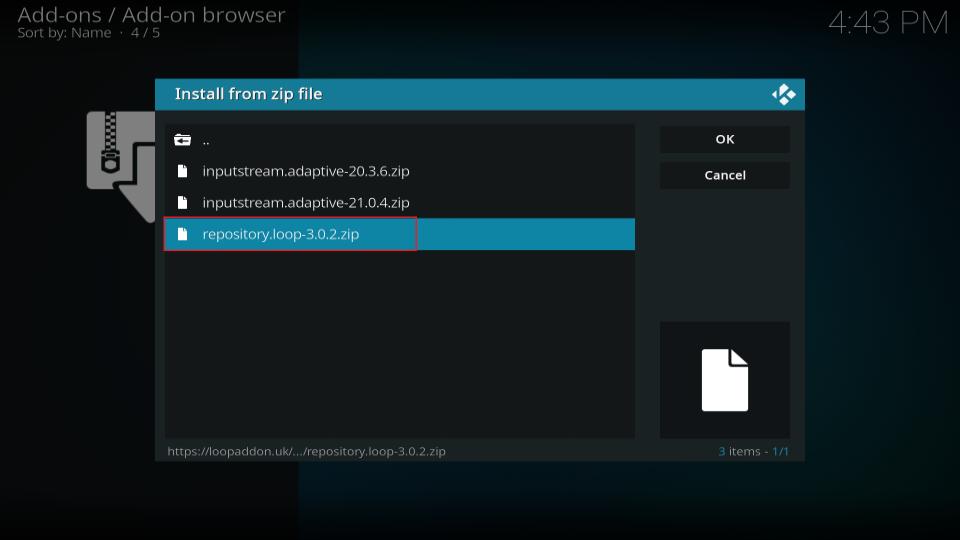
7. Wait for a few moments as the repository downloads. After it installs, a pop-up message will confirm it’s complete.
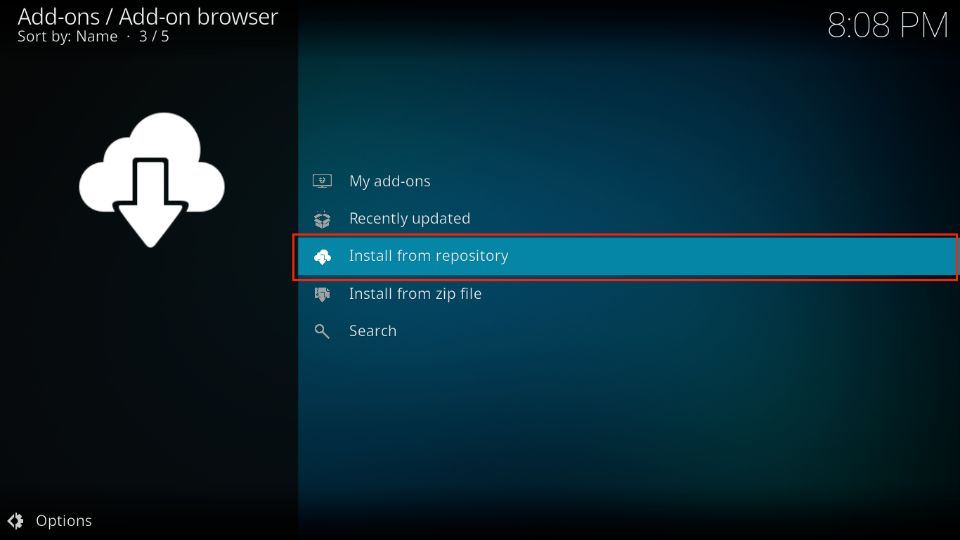
8. Click Install from repository.
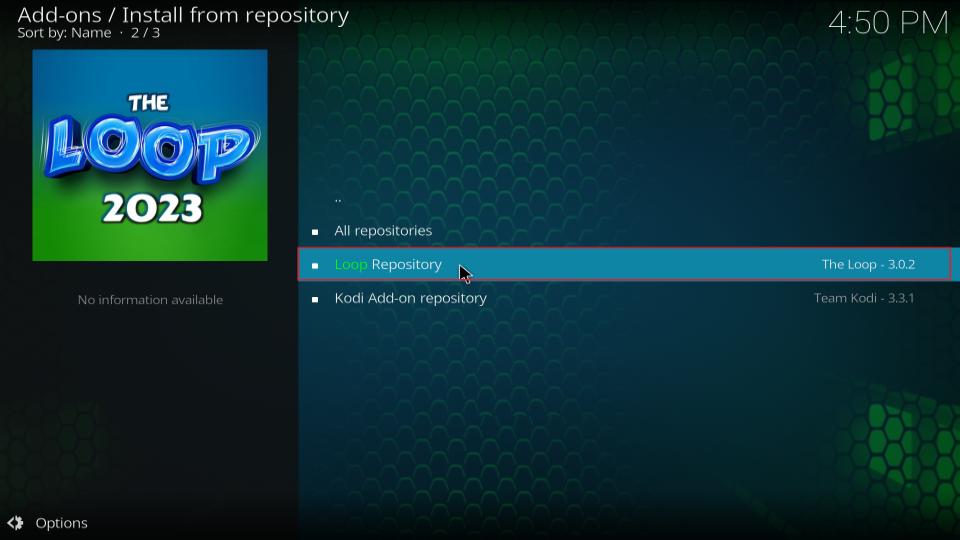
9. Select Loop Repository.
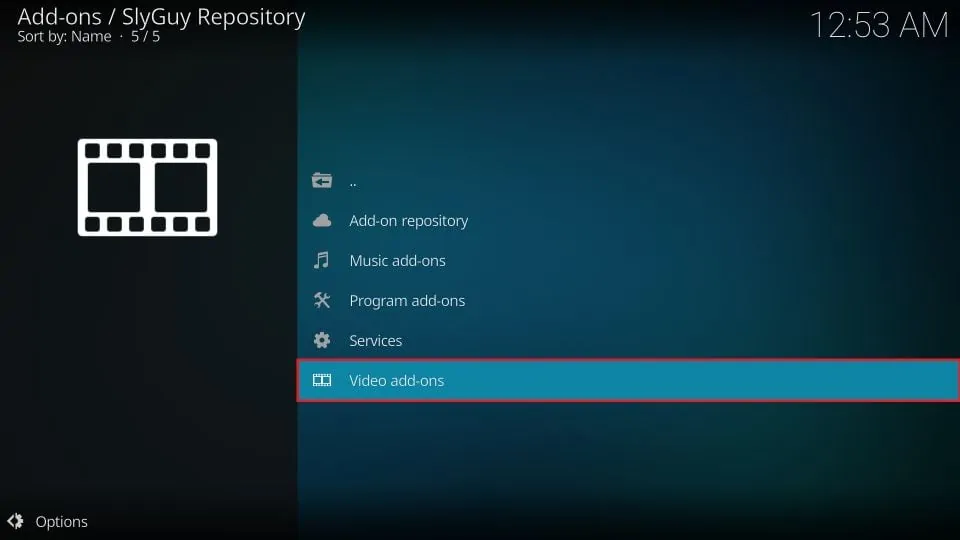
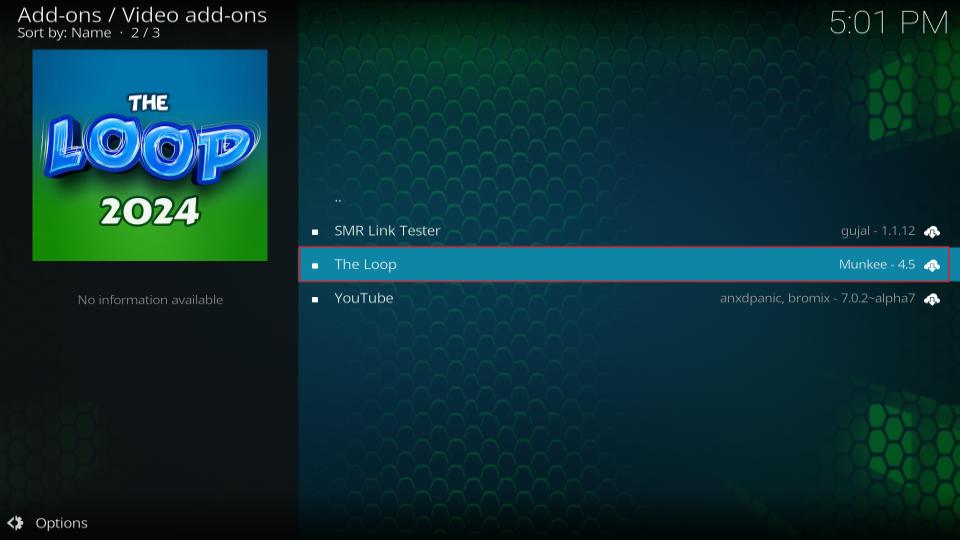
10. Select Video add-ons.
11. Click The Loop.
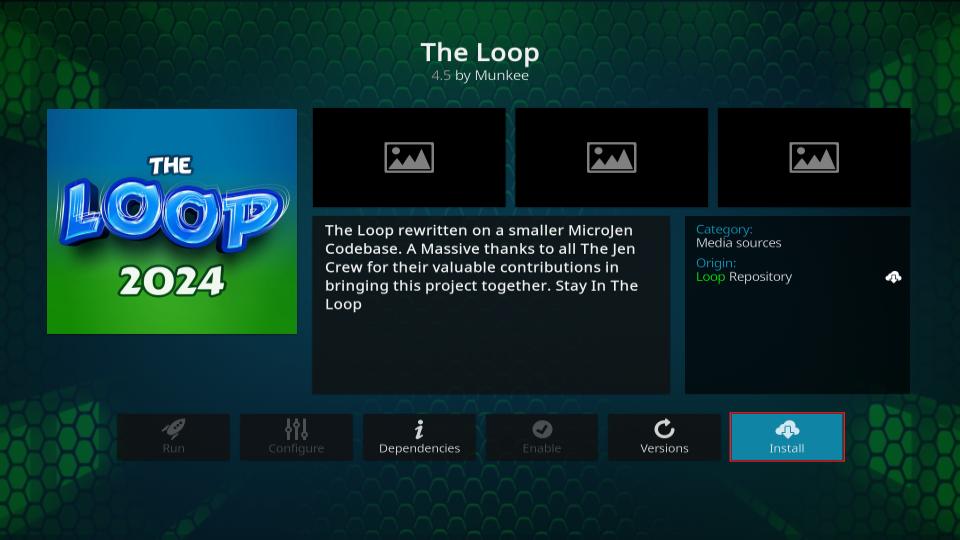
12. Click Install at the bottom right corner of the screen.
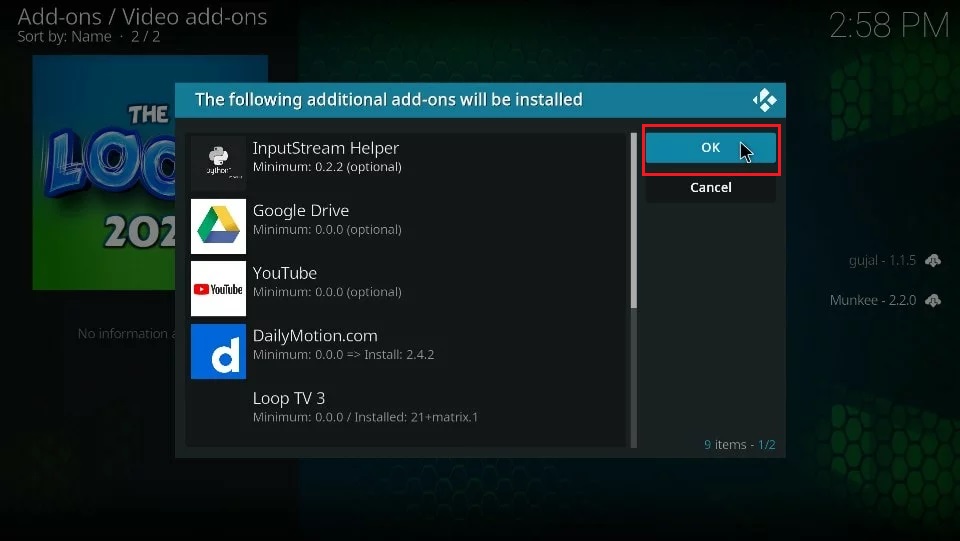
13. A pop-up box will show all the extra addons and dependencies installed along with The Loop. Click OK to confirm.
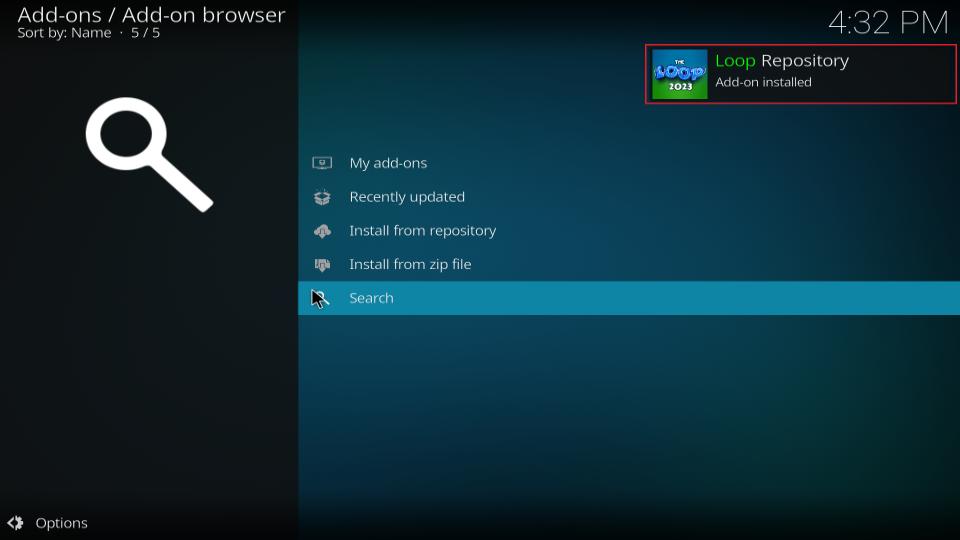
14. Wait for a few minutes for the addon to install. You will receive a pop-up notification once it is done.
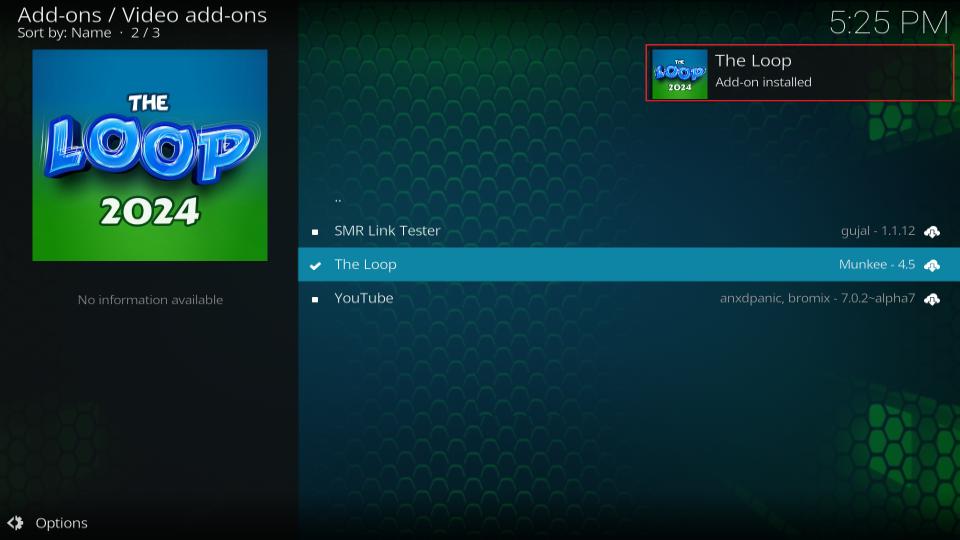
That’s how you install The Loop addon on Kodi.
Before you start streaming with Kodi Addons or Builds, I would like to warn you that everything you stream on Kodi is visible to your ISP and Government. This means, streaming copyrighted content (free movies, TV shows, live TV, and Sports) might get you into legal trouble.
Thankfully, there is a foolproof way to keep all your streaming activities hidden from your ISP and the Government. All you need is a good VPN for Kodi. A VPN will mask your original IP which is and will help you bypass Online Surveillance, ISP throttling, and content geo-restrictions.
I personally use and recommend ExpressVPN, which is the fastest and most secure VPN. It is compatible with all kinds of streaming apps and devices.
NOTE: We do not encourage the violation of copyright laws. But, what if you end up streaming content from an illegitimate source unintentionally? It is not always easy to tell the difference between a legit and illegal source.
So, before you start streaming on Kodi, here's how to get VPN protection in 3 simple steps.
Step 1: Get the ExpressVPN subscription HERE. It comes with a 30-day money-back guarantee. Meaning, you can use it free for the first 30-days and if you are not satisfied with the performance (which is highly unlikely), you can ask for a full refund.
Step 2: Click HERE to download and install the ExpressVPN app on your streaming device. If you are using a FireStick, I have given the exact steps starting with Step 4 below.
Step 3: Click the Power icon to connect to a VPN server. That's all. Your connection is now secure with the fastest and best VPN for Kodi.

The following are the steps to install Kodi VPN on your Fire TV devices. If you have other streaming devices, follow Step 1-3 above.
Step 4: Subscribe to ExpressVPN HERE (if not subscribed already).
Step 5: Go to Fire TV Stick home screen. Click Find followed by Search option (see image below).

Step 6: Type Expressvpn in the search bar and select when it shows up.

Step 7: Click Download.

Step 8: Open the ExpressVPN app and Sign in using the email ID and password that you created while buying the ExpressVPN subscription.

Step 9: Click the Power icon to connect to a VPN server. That’s all. Your FireStick is now secured with the fastest VPN.

How to Use The Loop Kodi Addon
The Loop is a simple, uncomplicated Kodi addon to use. There’s not much of a learning curve at all. To access the addon, go to Add-ons > Video add-ons from the Kodi home screen. Select The Loop app from your list of installed addons.
When you open the app, you will see a screen. Select Close.
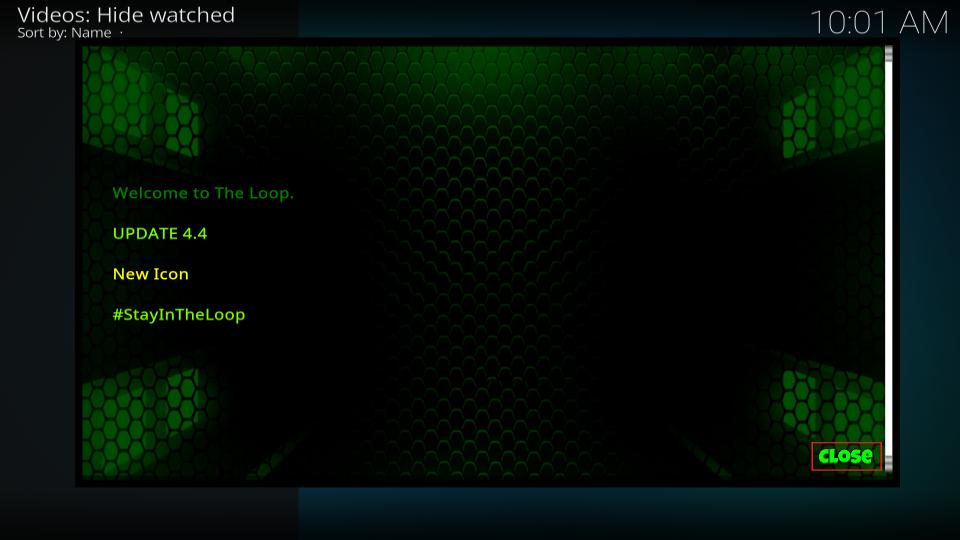
Here’s what the home screen looks like:
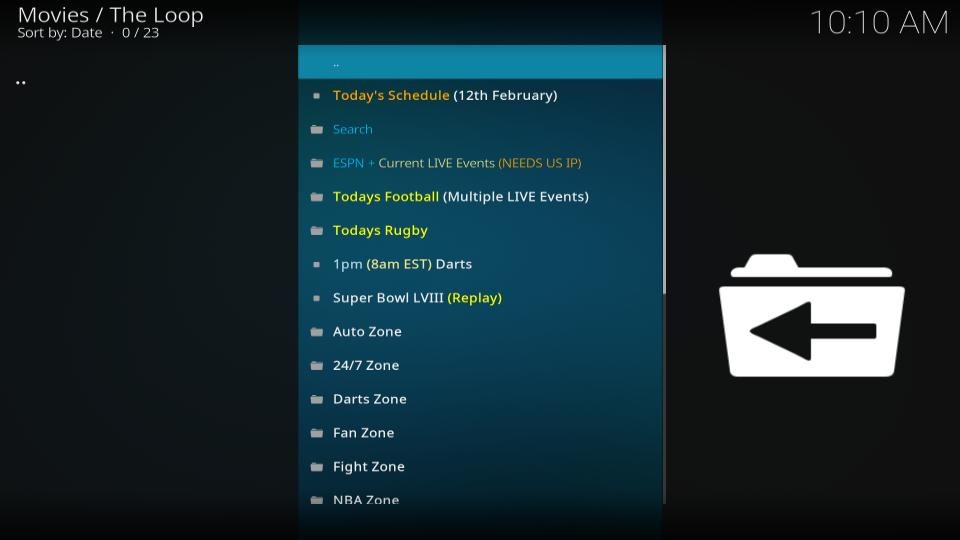
As you can see in the screenshot above, all the sports events on The Loop are arranged in different categories or “zones.” Each category has subcategories, which makes it easier to access the live events you are interested in.
When you enter a folder, you can access live match schedules for that competition and select a match to watch.
The Loop doesn’t host an extensive collection of live sports events. For best results, you should also have other live sports addons like ApeX Sports and SportHD installed on your Kodi app.
The Loop offers little room for customization. The Options menu only allows the most rudimentary preference changes to the app.
Verdict
The Loop addon is a sports IPTV addon for Kodi. It lets users stream various live sports events, such as football, baseball, basketball, hockey, soccer, darts, and fighting. The addon is easy to use and completely free of charge.
Overall, The Loop is a suitable IPTV addon for sports fans. In this article, I showed you how to install and use the Loop addon on Kodi. I hope you found the instructions clear. Please let us know in the comments section below if you have any questions.
Related:
- Best Sports Kodi Addons
- How to Install Mad Titan Sports Kodi Addon
- How to Install Sport HD Kodi Addon
- How to Install Fights on Demand Kodi Addon

Suberboost Your FireStick with My Free Guide
Stay Ahead: Weekly Insights on the Latest in Free Streaming!
No spam, ever. Unsubscribe anytime.

Leave a Reply