This post shows you how to install Stirr Kodi Addon. This addon is compatible with any device that supports Kodi, including FireStick, Fire TV Cube, Android Mobiles, Android TV, iOS, PC, Mac, and more.
What is Stirr?
Stirr is a free and widely accessible streaming service that provides a variety of content primarily sourced from the Sinclair Broadcast Group’s network of local TV stations.
While the primary feature of Stirr is live TV streaming, it also includes a collection of on-demand content, allowing users to watch shows and movies at their convenience.
Stirr is an entirely legitimate service. You can download the Stirr app from the official stores on FireStick, Apple TV, Android TV, Android Mobiles, Roku, iOS, and more, offering compatibility across various platforms.
The Stirr add-on for Kodi provides an additional way to access its content directly from the Kodi media player.
It offers content from multiple US cities and regions. Despite its focus on regional programming, the service does not impose any geographic restrictions.
This service is free of cost and operates on an ad-supported revenue model. This model ensures that high-quality content remains accessible to everyone.
We have added Stirr to our catalog of trending addons for Kodi.
Attention Kodi Users!
Governments and ISPs worldwide monitor your online activities. If you use third-party Kodi addons, you should always use a reliable Kodi VPN to hide your identity and prevent issues with your streaming experience. Currently, your IP is visible to everyone.
I use ExpressVPN, the fastest and most secure VPN in the industry. It is very easy to install on any device, including Amazon Fire TV Stick, PC, Mac, and Smartphones. It also includes a 30-day money-back guarantee. If you're not satisfied with their service, you can request a refund. ExpressVPN is offering a special NEW YEAR deal: get 4 months free and save 78% on the 2-year plan.
Install and Use Best Kodi VPN | Why you must use a VPN at all times
Is Stirr Kodi Addon Safe & Legal?
Stirr is a legitimate service with official apps for several major devices and platforms. However, the Stirr Kodi addon is hosted in a third-party, unofficial repository. We can never be truly sure whether unofficial sources are safe. However, I have tried the Stirr Kodi addon on several devices. None of the devices displayed signs of a virus, malware, or malicious software.
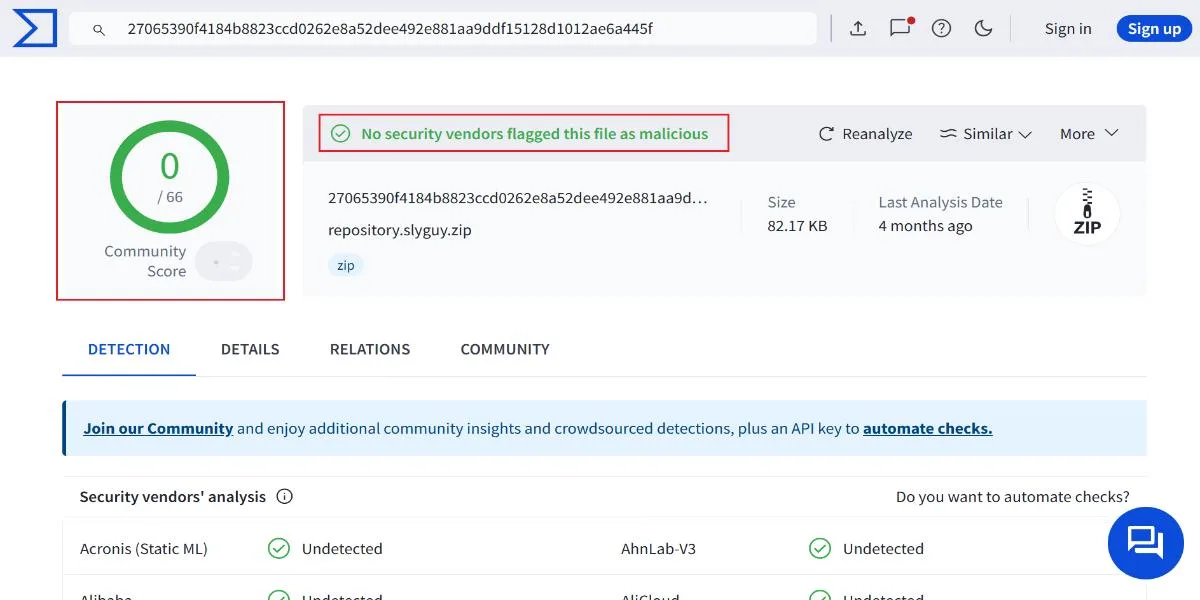
I also scanned the repository zip file with VirusTotal to ensure peace of mind. The antivirus did not raise any flags. It did not find anything suspicious. Therefore, I am assuming that the Stirr addon is safe. I will continue using it. Check the scan results in the screenshot below:
There is some dilemma regarding legality. Even though Stirr is legal, we do not know whether streaming on its add-on from the unofficial repository will contribute to the owners’ revenue generation.
I recommend using a reliable Kodi VPN, such as ExpressVPN with Stirr addon, to avoid legal trouble.
How to Install Stirr Kodi Addon
The installation of the Stirr addon involves multiple steps. I am breaking down the instructions into three parts to simplify the process. Here is what you need to do:
Legal Disclaimer: This guide is for informational purposes only. FireStickTricks.com does not own, host, operate, resell, or distribute any apps, services, or content mentioned.
Part 1: Allow Unknown Sources
The Stirr addon is available via an unofficial repository and an unknown source. By default, Kodi blocks such repositories. However, you can tweak an option in the Kodi Settings and allow the files from unknown sources. Follow the steps below:
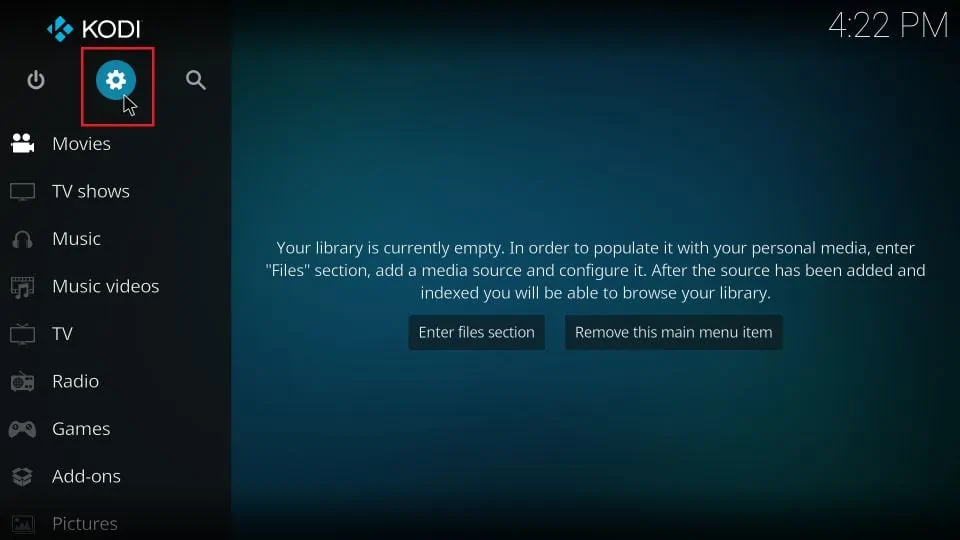
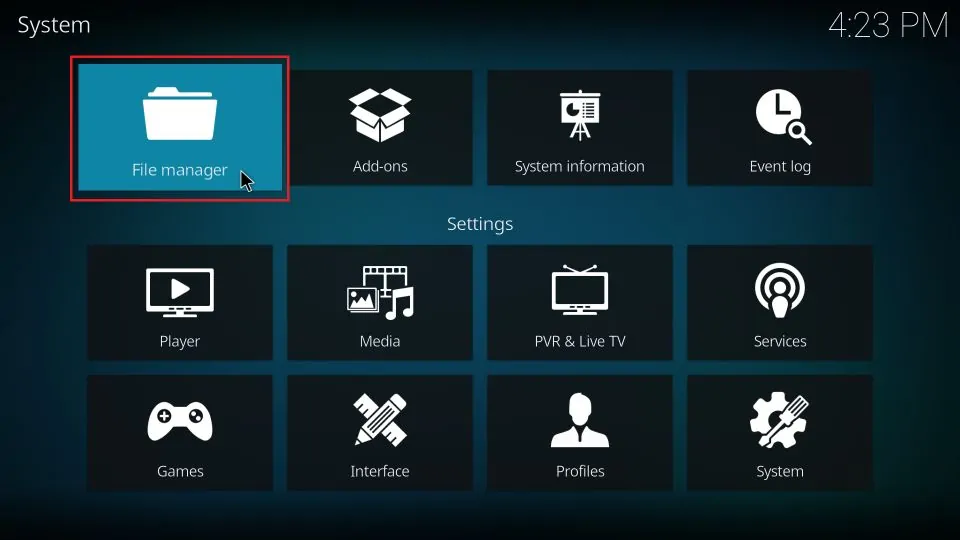
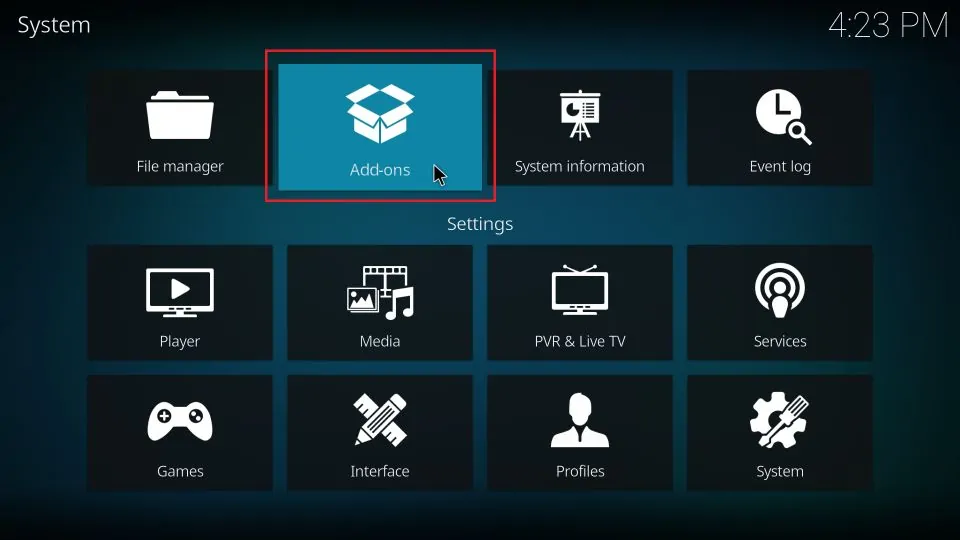
1. Open Settings from the home screen of the Kodi app. Click the cog/gear icon in the upper-left section.
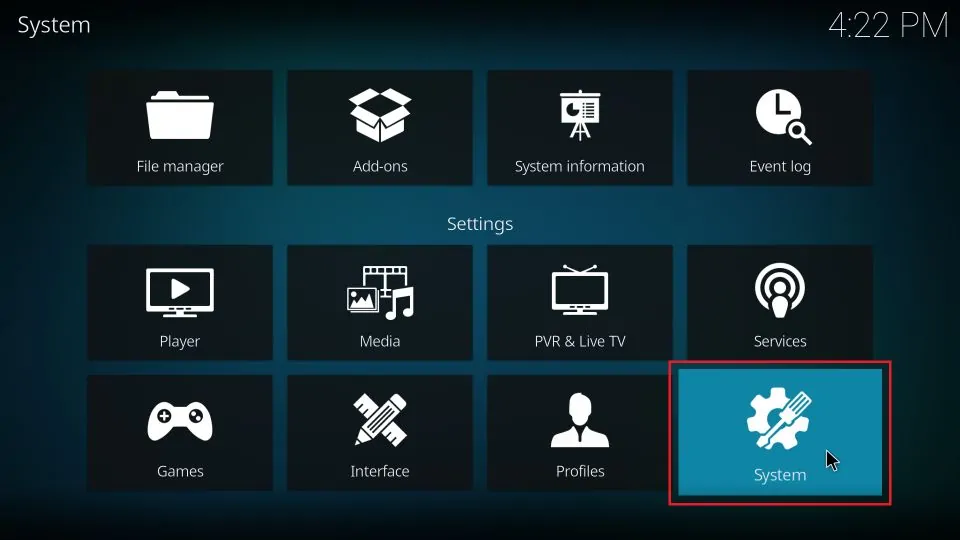
2. Click System.
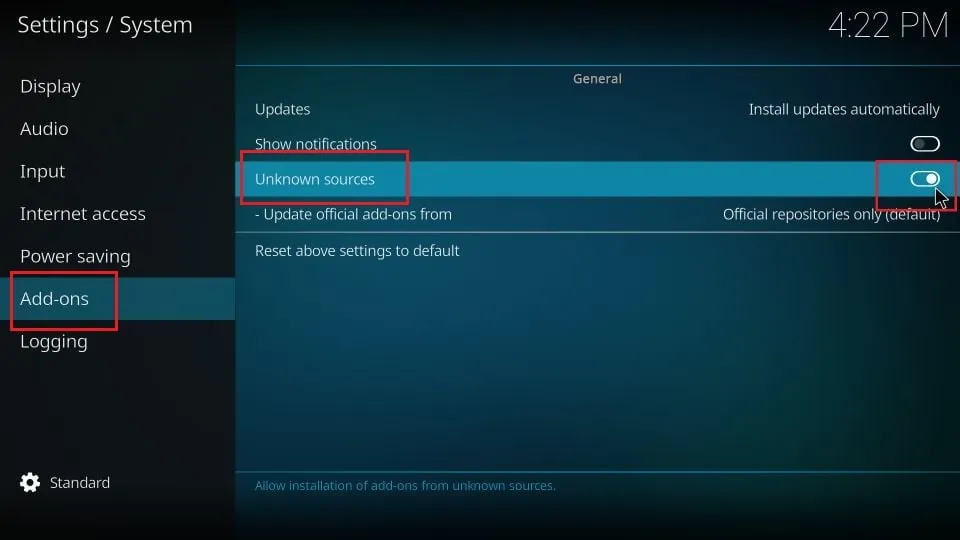
3. Select Add-ons in the menu bar on the left. Next, scroll to the Unknown Sources on the right and turn it ON.
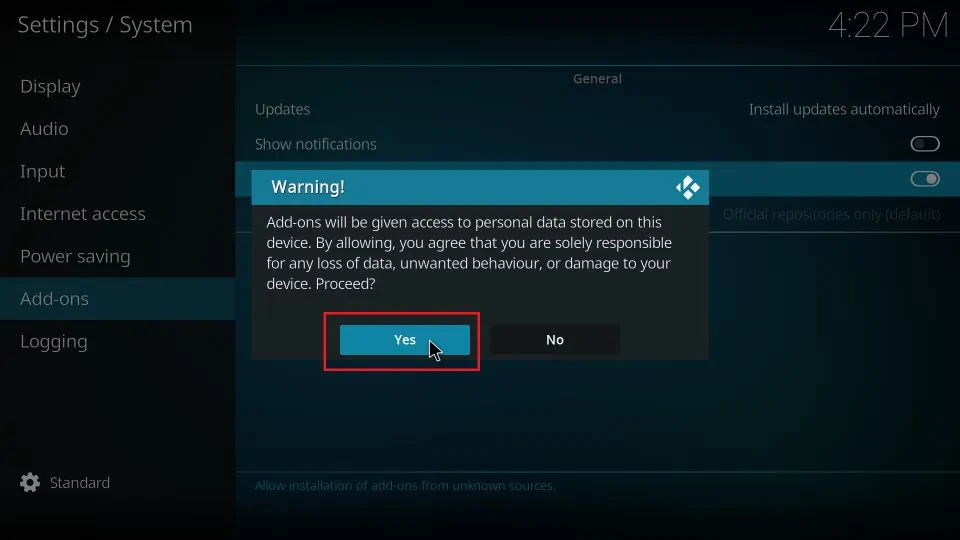
4. Click Yes to continue when the following warning appears.
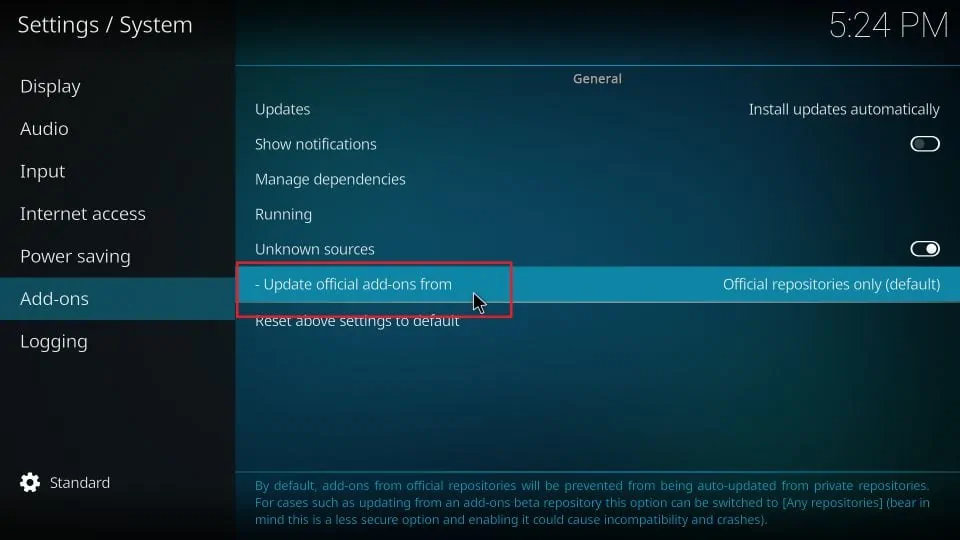
5. Now, select Update official add-ons from the same window (only on Kodi 19 and above).
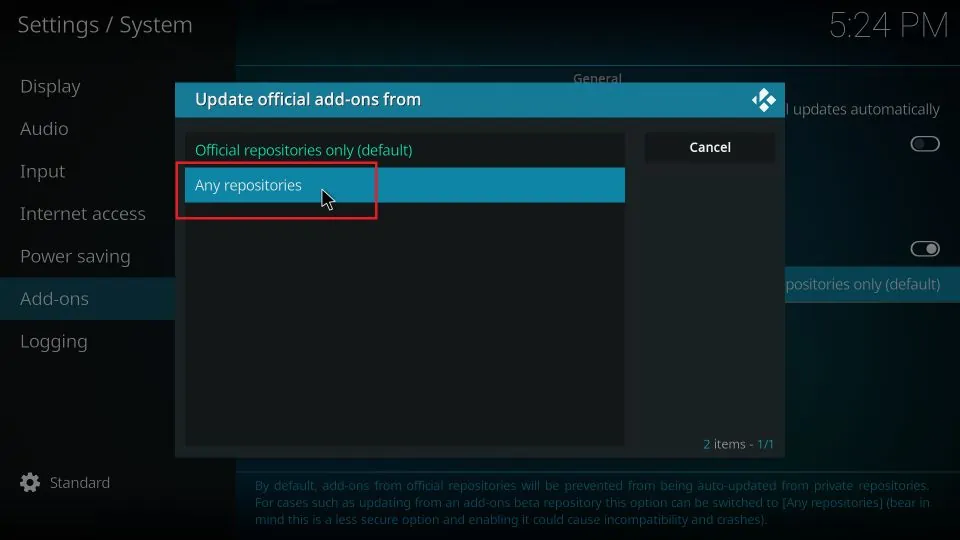
6. Click Any repositories. This step ensures the repository is allowed to update the Stirr addon automatically.
Part 2: Install Sly Guy Repository
Sly Guy is the repository that hosts the Stirr Kodi addon. Here are the steps to install this repository:
1. Go to Kodi Settings again.
2. Click File manager on the following window.
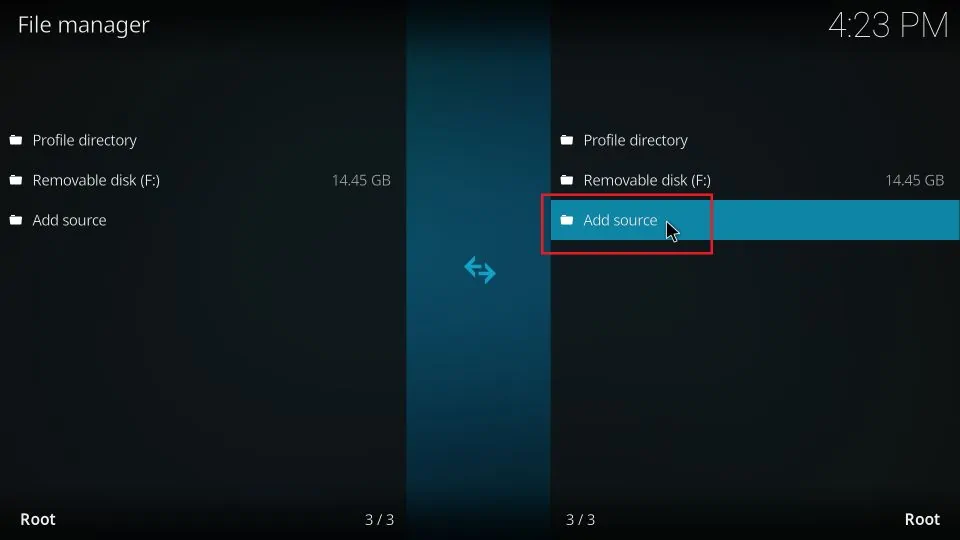
3. Click Add source on this screen on either side. Double-click if you are on the computer.
Note: You may need to double-click on some devices, including a PC.
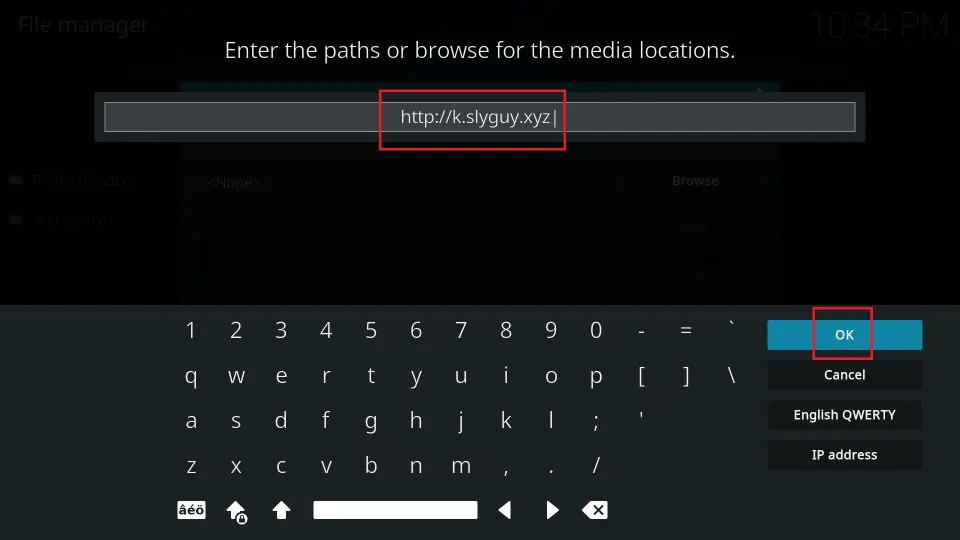
4. Click where it says <None> on the Add file source dialog box.

5. Enter the following URL in the text field: http://k.slyguy.xyz
Type the URL carefully. Typos will lead to installation issues later. Click OK.
Note: FireStickTricks.com is not associated with the repository developers hosted on this URL. This URL points to the repository’s original source.
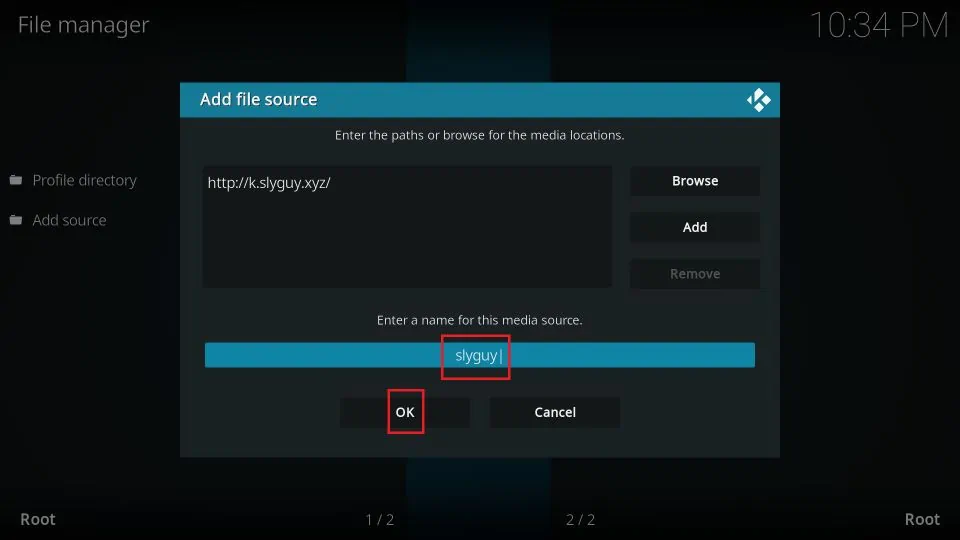
6. Highlight the Enter a name for this media source input field when you are back on this window. Type a source name you like. Make the name memorable because you will need it later.
I am choosing slyguy, which goes with the repository’s name. Click OK.
7. Go back to the Settings screen by pressing the back button. Click Add-ons.
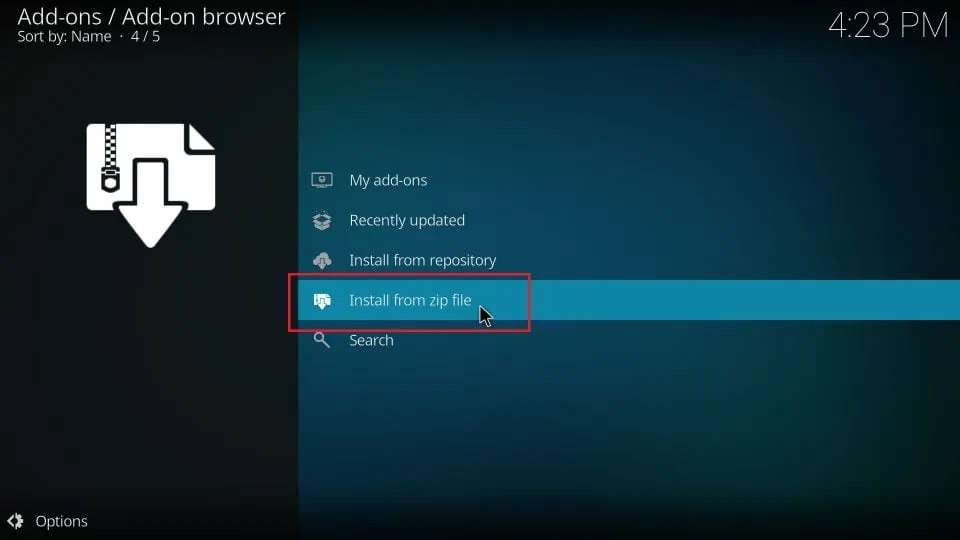
8. Click Install from zip file.
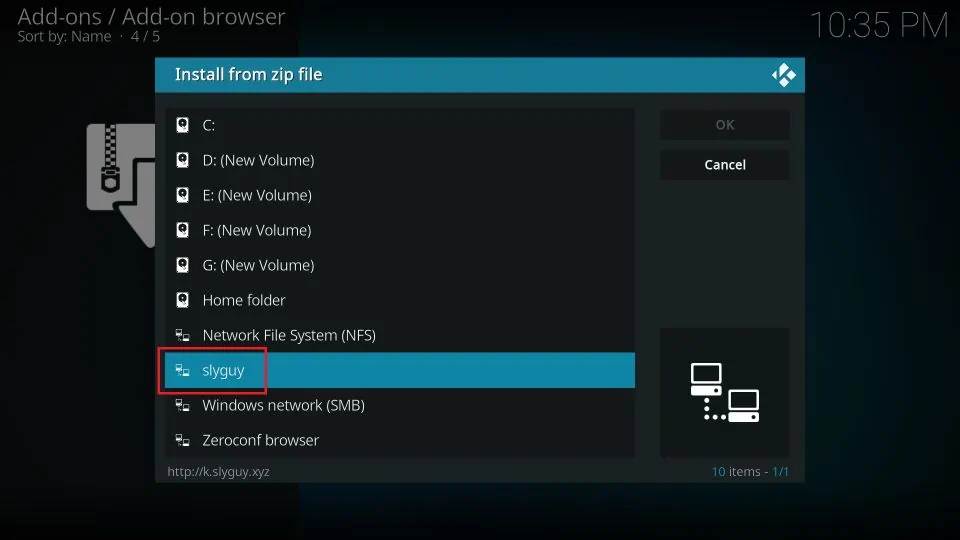
9. Click slyguy or the media source name you provided previously.
10. Click the zip file repository.slyguy.zip.
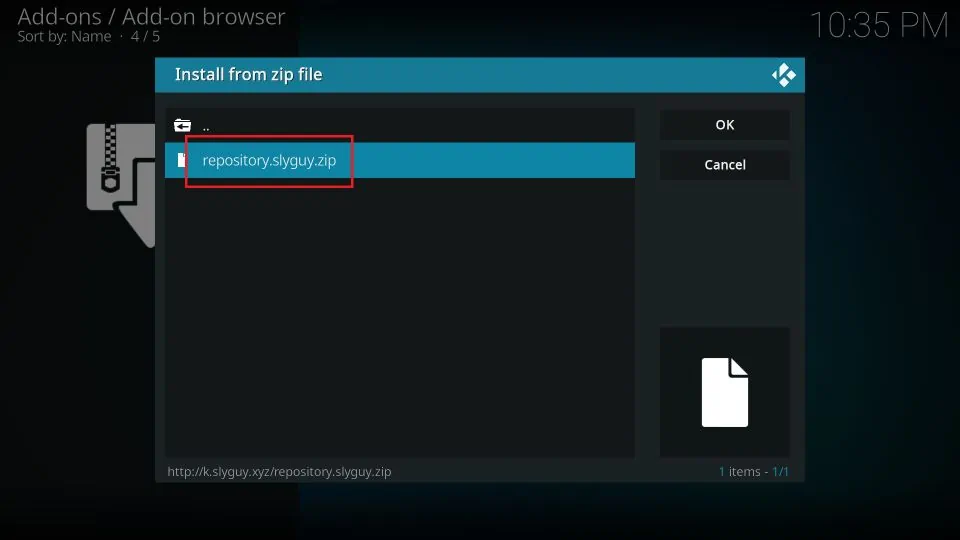
11. It takes a few seconds to install the SlyGuy repository. A notification will appear on the top-right corner saying, SlyGuy Repository Add-on installed.
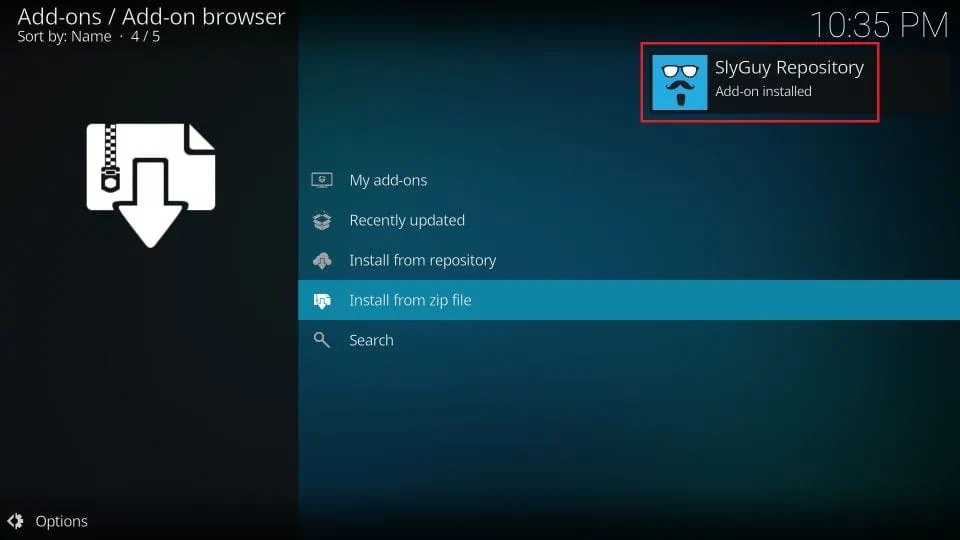
You have successfully installed the repository.
Part 3: Install Stirr Addon on Kodi
We will install the Stirr Addon from the SlyGuy repository in this section. Follow the steps below:
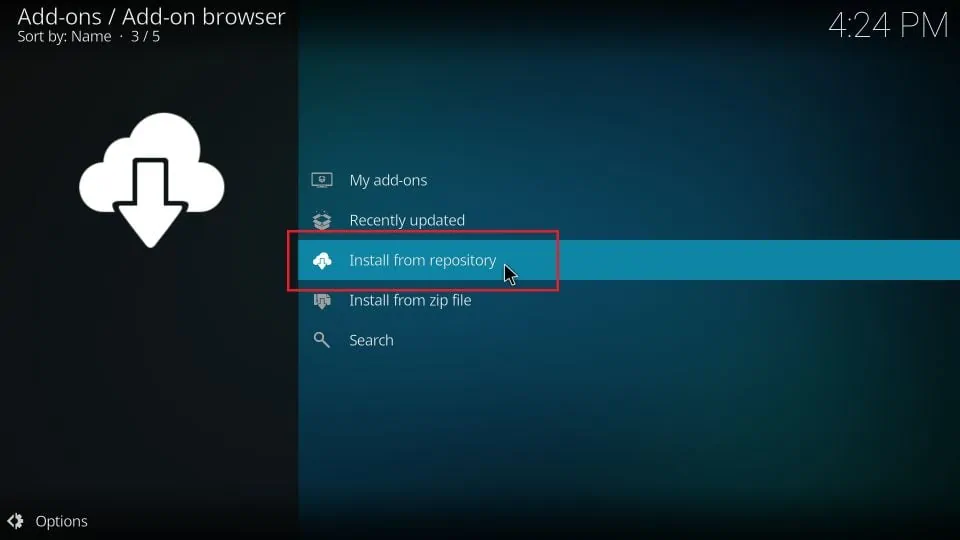
1. After installing the repository (in the previous section), choose Install from repository in the same window.
You may also navigate from the Kodi home screen to Settings > Add-ons.
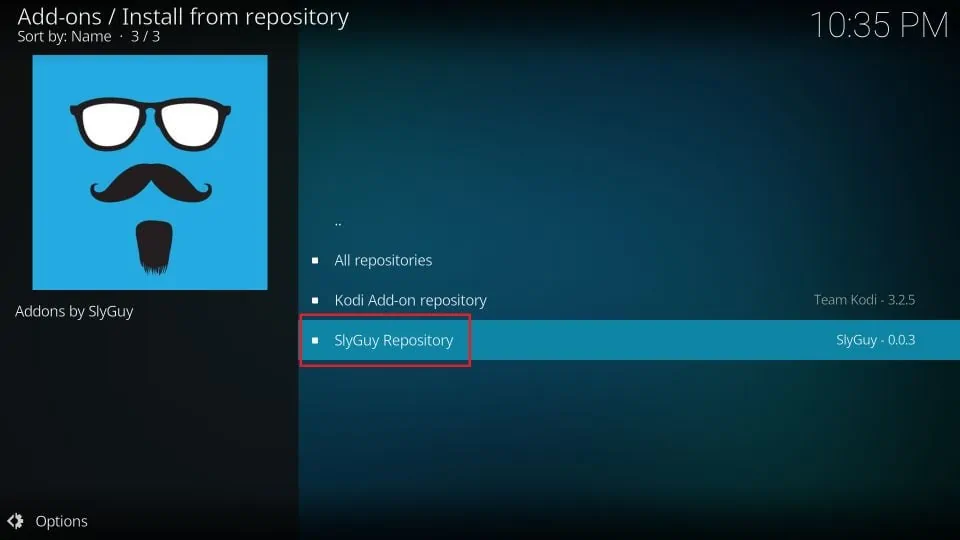
2. Click SlyGuy Repository on this screen.
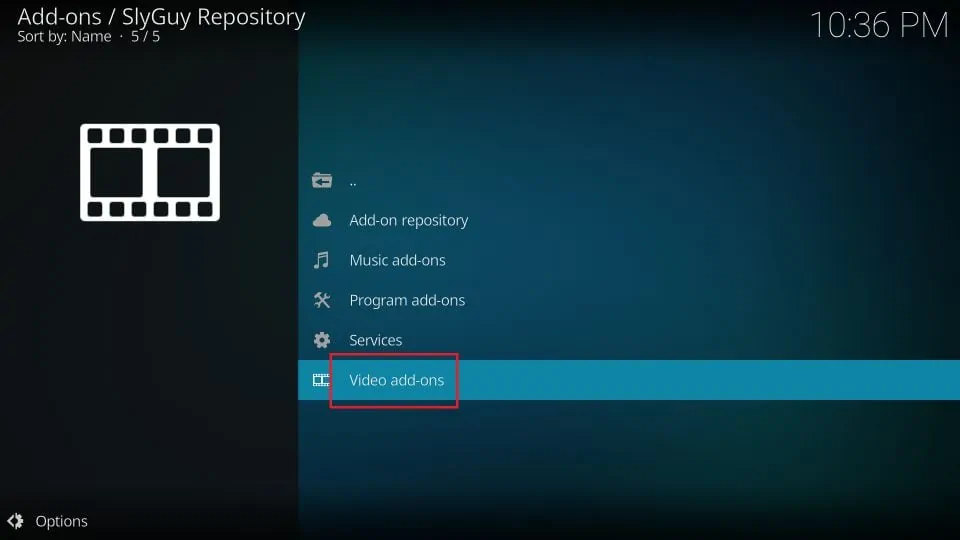
3. Click Video add-ons.
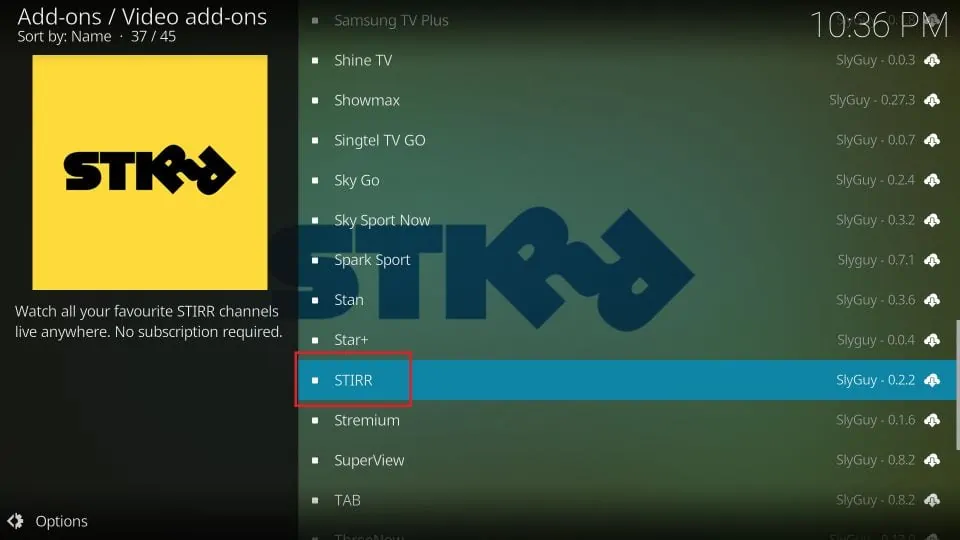
4. Scroll down and click the Stirr addon on the next window.
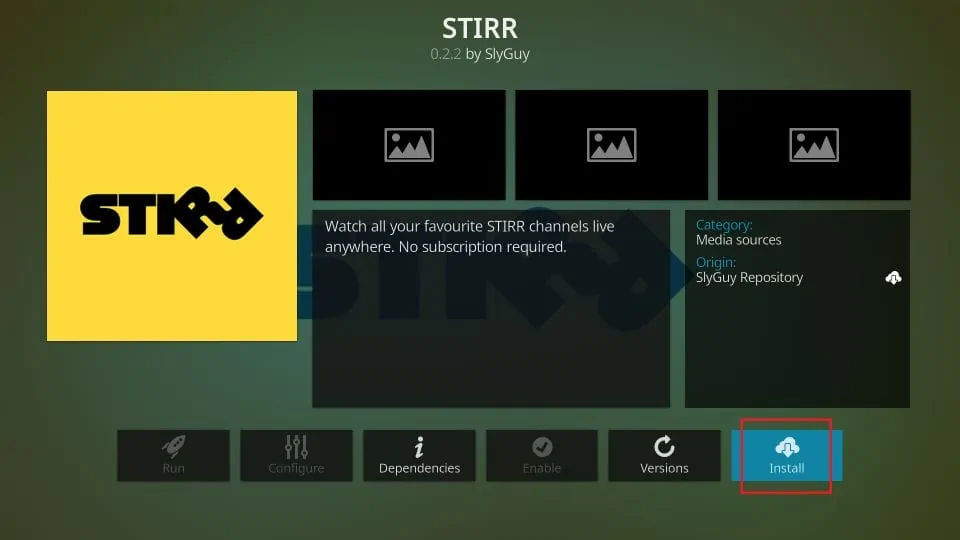
5. Click Install in the bottom-right area of the following screen.
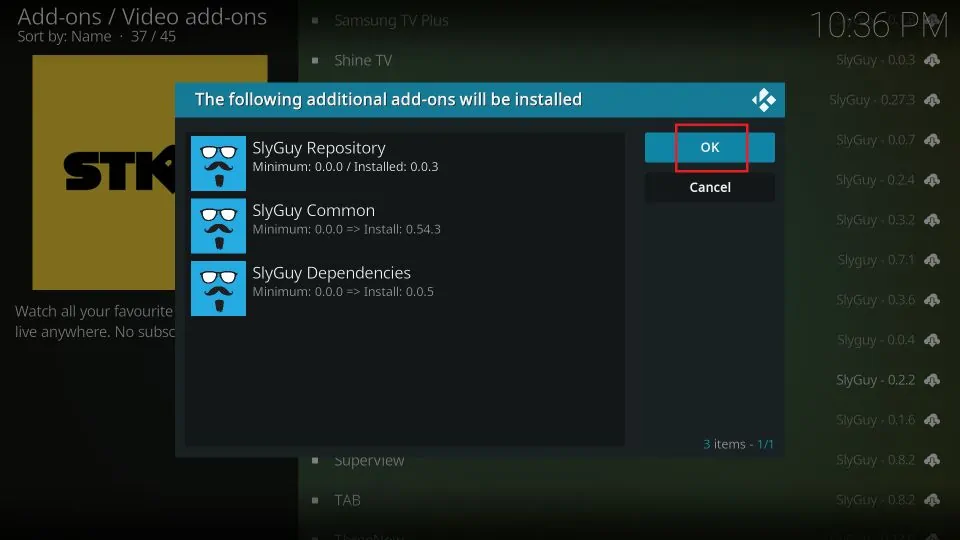
6. Click OK on this popup that displays the list of additional addons getting installed with Stirr.
7. Kodi will show you the installation progress. Once it’s finished, the Stirr Add-on installed notification will appear in the top-right corner.
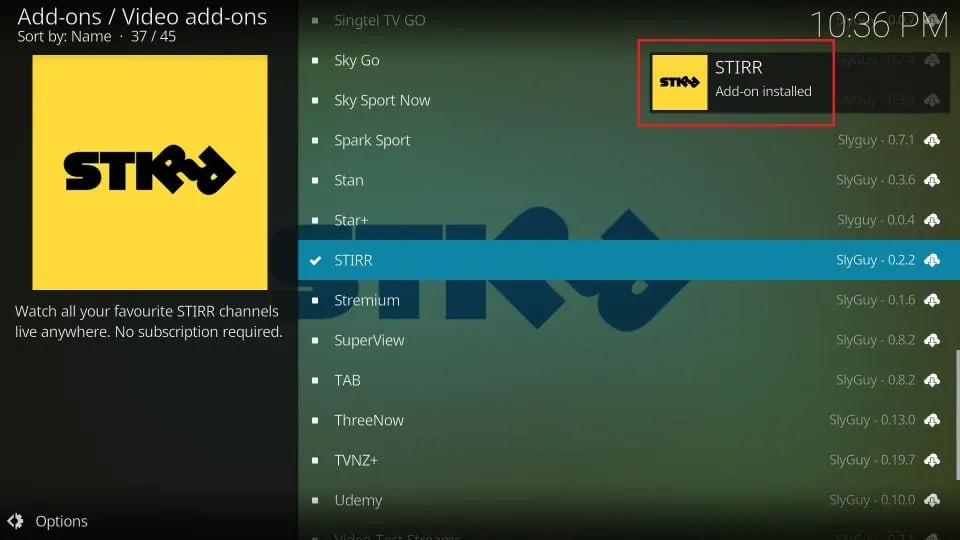
You have successfully installed the Stirr addon on Kodi.
Before you start streaming with Kodi Addons or Builds, I would like to warn you that everything you stream on Kodi is visible to your ISP and Government. This means, streaming copyrighted content (free movies, TV shows, live TV, and Sports) might get you into legal trouble.
Thankfully, there is a foolproof way to keep all your streaming activities hidden from your ISP and the Government. All you need is a good VPN for Kodi. A VPN will mask your original IP which is and will help you bypass Online Surveillance, ISP throttling, and content geo-restrictions.
I personally use and recommend ExpressVPN, which is the fastest and most secure VPN. It is compatible with all kinds of streaming apps and devices.
NOTE: We do not encourage the violation of copyright laws. But, what if you end up streaming content from an illegitimate source unintentionally? It is not always easy to tell the difference between a legit and illegal source.
So, before you start streaming on Kodi, here's how to get VPN protection in 3 simple steps.
Step 1: Get the ExpressVPN subscription HERE. It comes with a 30-day money-back guarantee. Meaning, you can use it free for the first 30-days and if you are not satisfied with the performance (which is highly unlikely), you can ask for a full refund.
Step 2: Click HERE to download and install the ExpressVPN app on your streaming device. If you are using a FireStick, I have given the exact steps starting with Step 4 below.
Step 3: Click the Power icon to connect to a VPN server. That's all. Your connection is now secure with the fastest and best VPN for Kodi.

The following are the steps to install Kodi VPN on your Fire TV devices. If you have other streaming devices, follow Step 1-3 above.
Step 4: Subscribe to ExpressVPN HERE (if not subscribed already).
Step 5: Go to Fire TV Stick home screen. Click Find followed by Search option (see image below).

Step 6: Type Expressvpn in the search bar and select when it shows up.

Step 7: Click Download.

Step 8: Open the ExpressVPN app and Sign in using the email ID and password that you created while buying the ExpressVPN subscription.

Step 9: Click the Power icon to connect to a VPN server. That’s all. Your FireStick is now secured with the fastest VPN.

How to Use Stirr Kodi Addon
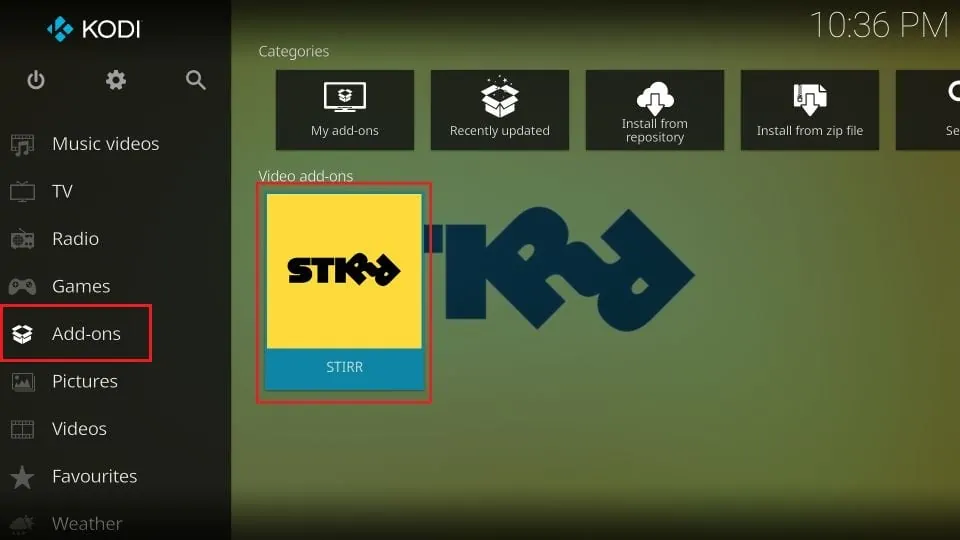
You may access the Video add-ons section to access Stir or any other Kodi addon.
Navigate to the home screen of Kodi. Select Add-ons on the left. Now, locate and click the Stirr addon in the Video add-ons section on the right.
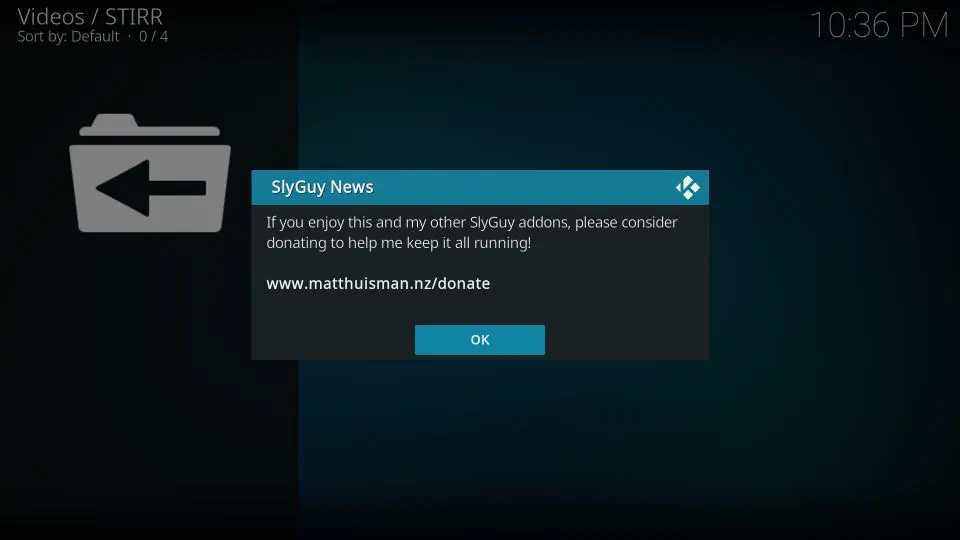
You may encounter a popup asking for a donation. If you wish to donate, visit the website address in the popup. Press the back button to dismiss this prompt.
Note: FireStickTricks.com is not associated with the developers of this addon and has not received any part of your donation.
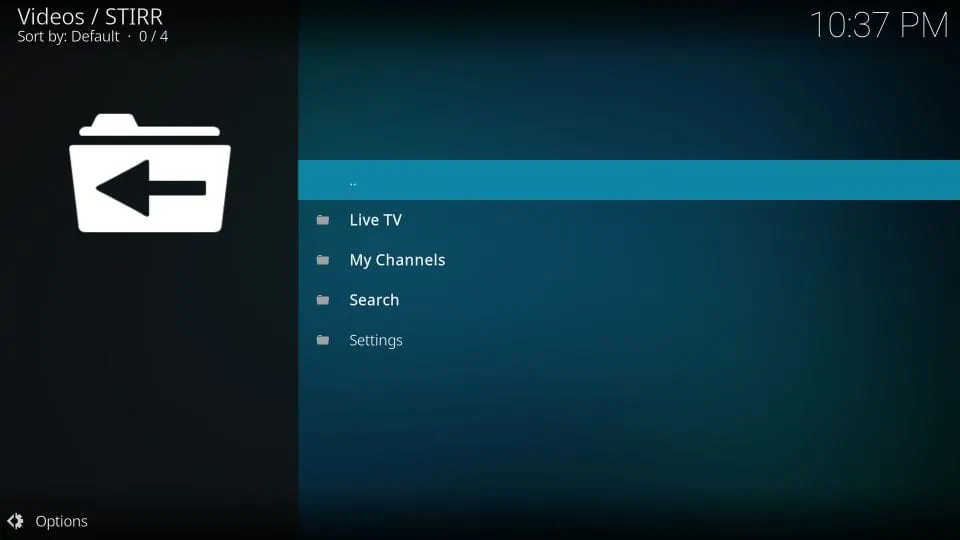
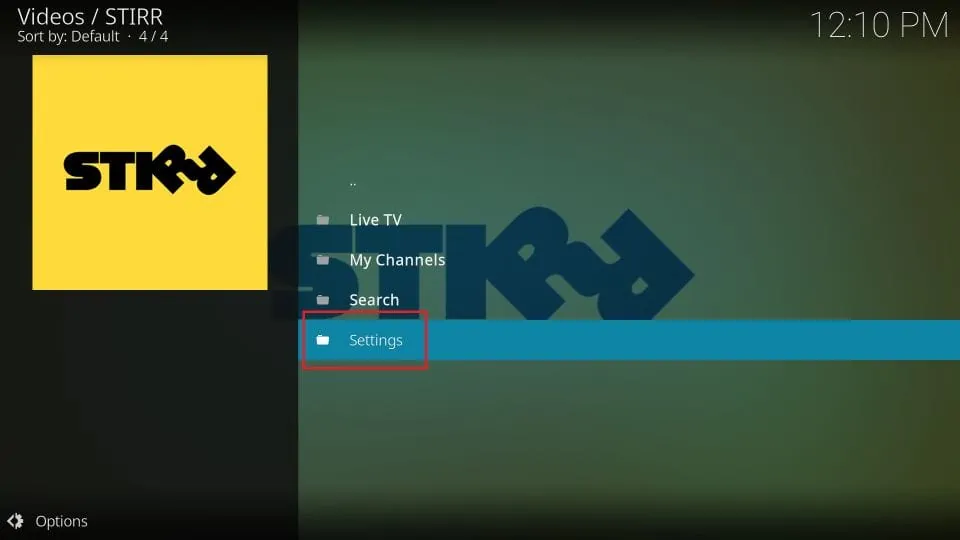
Following is the main screen of the Stirr addon with four options: Live TV, My Channels, Search, and Settings.
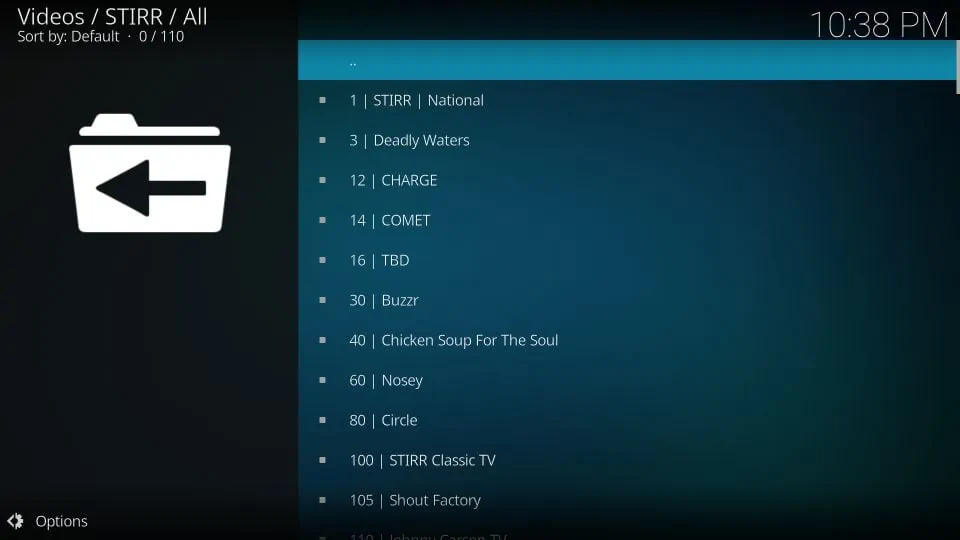
The Live TV option on the main screen has several subcategories, including All, Classic TV, Entertainment, Food & Travel, Local & Popular, Movies, Music, and more.
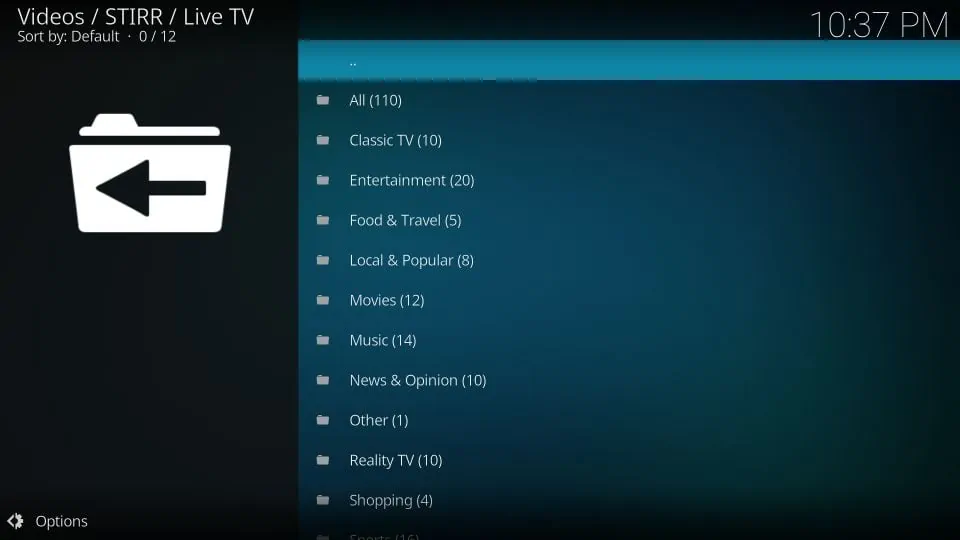
The list of channels appears when you click a subcategory.
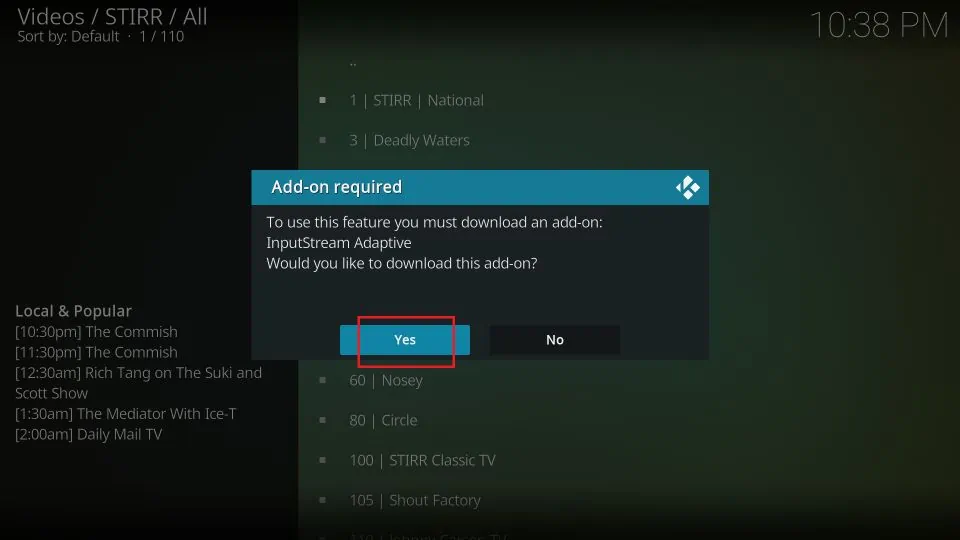
When you click a channel the first time, you may be asked to download an additional addon. Click Yes to continue.
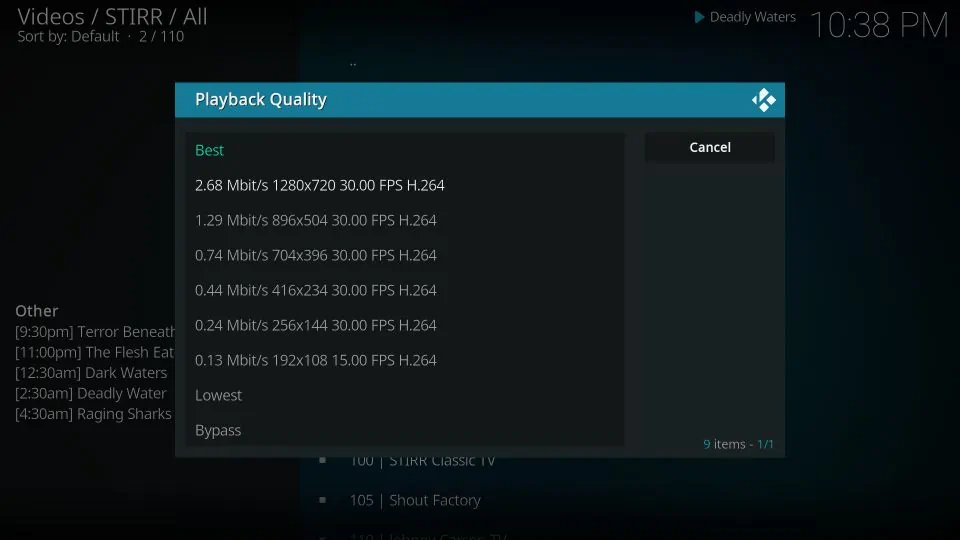
You are presented with the options for playback quality. This popup appears briefly. The addon automatically chooses the ‘Best’ quality and plays the video.
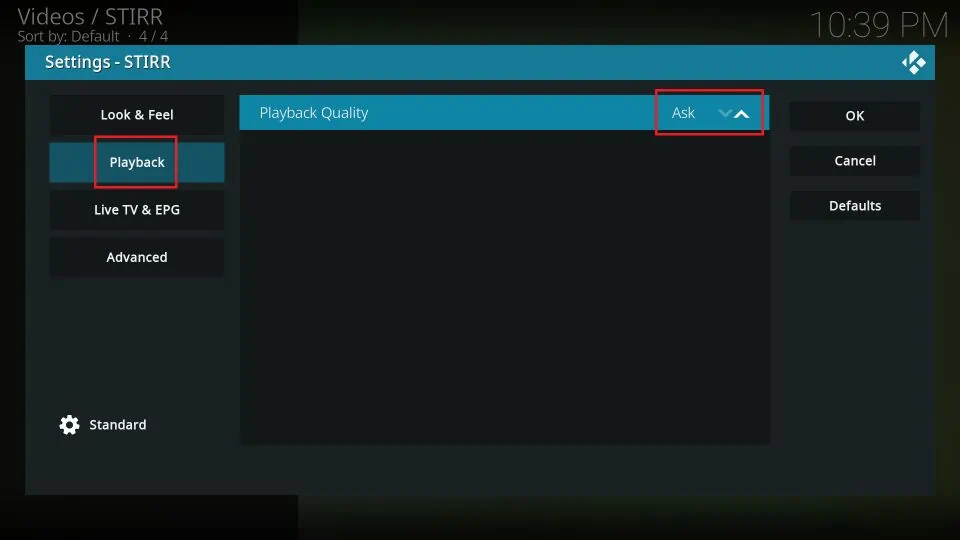
To choose the playback quality manually, you may change the addon playback setting. First, click Settings on the main screen of the addon.
Click Playback on the left. Use the up/down buttons on the right to change the Playback Quality setting to Ask. Click OK to save the changes.
Wrapping Up
This post laid out the steps to install Stirr Kodi Addon. You may use this addon on FireStick or any device Kodi works on, such as Android, iOS, PC, Mac, and more.
Related:
- How to Install Pov Kodi Addon
- How to Install & Watch HBO Max Kodi Addon
- How to Install Fox Sports Kodi Addon
- How to Install Fido K19 Kodi Addon

Suberboost Your FireStick with My Free Guide
Stay Ahead: Weekly Insights on the Latest in Free Streaming!
No spam, ever. Unsubscribe anytime.

Leave a Reply