This tutorial will give you detailed instructions to install the Plutonium Build on Kodi 20 and Kodi 19.5. You can use these instructions on any device on which Kodi is supported. It works on Android Devices, Amazon FireStick, Android TV Boxes, Windows, Mac, iOS, and more.
The biggest draw of getting a Kodi build is saving yourself time and effort, which goes into installing video add-ons separately. But, builds like Plutonium give you more than just the addons. They give you a whole new way to experience Kodi. They are a big departure from Kodi’s bland, default interface.
While there are many Kodi builds out there, the Plutonium Kodi build is certainly worth a try. It works almost effortlessly on all devices, even those with low specs like Amazon FireStick. This build has an enormous inventory of add-ons for movies, shows, live TV, sports, and more. I say, give it a try. I am confident you will like it.
Attention Kodi Users!
Governments and ISPs worldwide monitor your online activities. If you use third-party Kodi addons, you should always use a reliable Kodi VPN to hide your identity and prevent issues with your streaming experience. Currently, your IP is visible to everyone.
I use ExpressVPN, the fastest and most secure VPN in the industry. It is very easy to install on any device, including Amazon Fire TV Stick, PC, Mac, and Smartphones. It also includes a 30-day money-back guarantee. If you're not satisfied with their service, you can request a refund. ExpressVPN is offering a special NEW YEAR deal: get 4 months free and save 78% on the 2-year plan.
Install and Use Best Kodi VPN | Why you must use a VPN at all times
How to Install Plutonium Kodi Build
To install any third-party plugin (addon or build) on Kodi, you must make sure that the security option Unknown sources is enabled. Kodi disables it by default to prevent malicious add-ons from being installed automatically.
For safe addons or builds like Plutonium Kodi Build, turn on this option by following the steps below:
Legal Disclaimer: This guide is for informational purposes only. FireStickTricks.com does not own, host, operate, resell, or distribute any apps, services, or content mentioned.
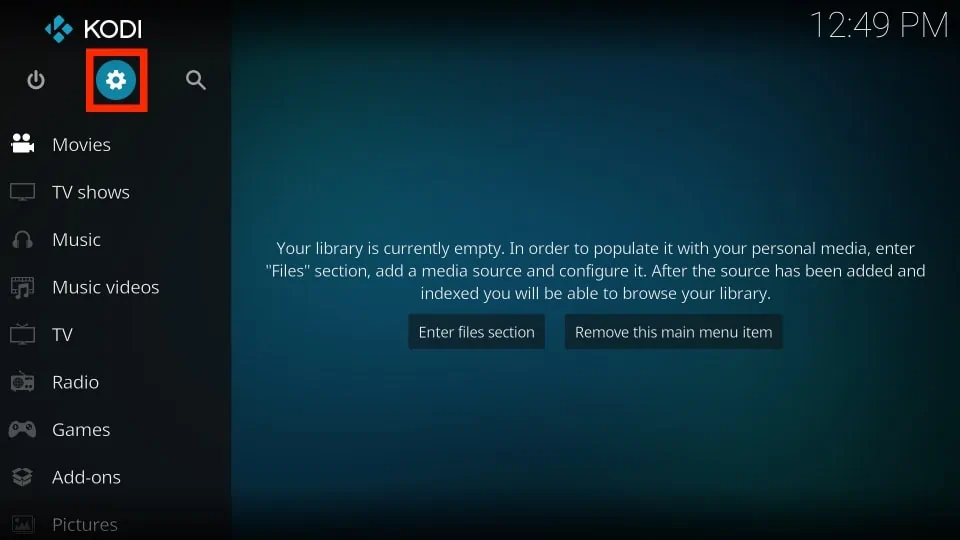
1. Open the main Settings menu of Kodi. To do that, click the cog icon on the Kodi home screen (look at the top-left).
![]()
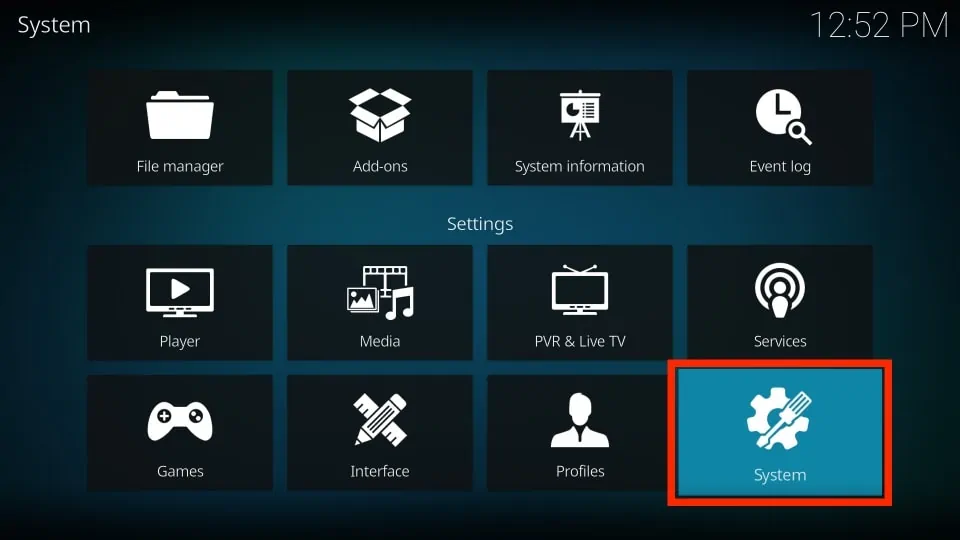
2. From the options in the Settings, click System.
3. Select or highlight the Add-ons menu on the left part of the next screen. You should now see the option Unknown Sources on the right. If it is off, you need to enable it. Click the switch next to it.
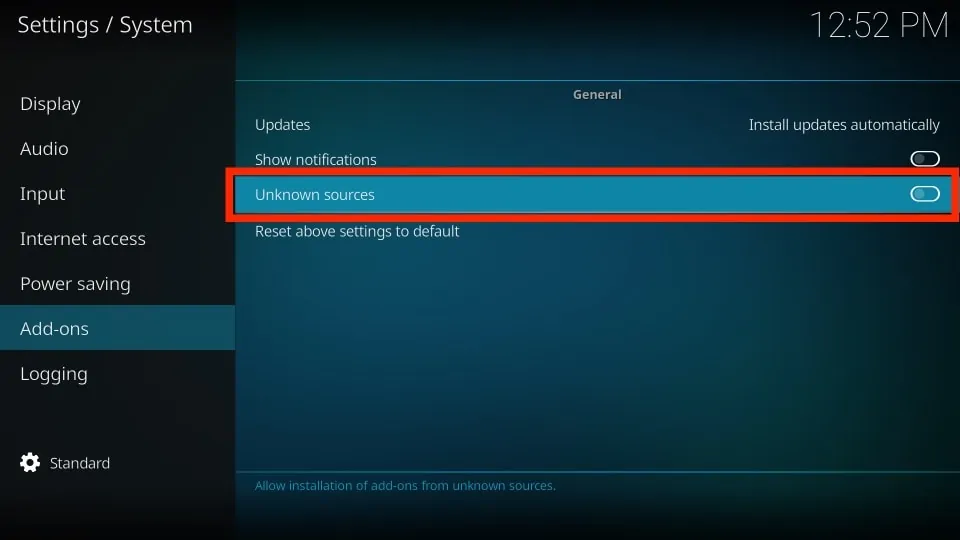
4. Next, click Yes.
Do not be concerned about this warning message. As I already told you, the Plutonium Kodi build is hundred percent safe.

Enabling the Unknown Sources allows Kodi to accept the third-party build.
Installation Steps
Now, we can get started with the Plutonium Kodi Build installation. Here is how it goes.
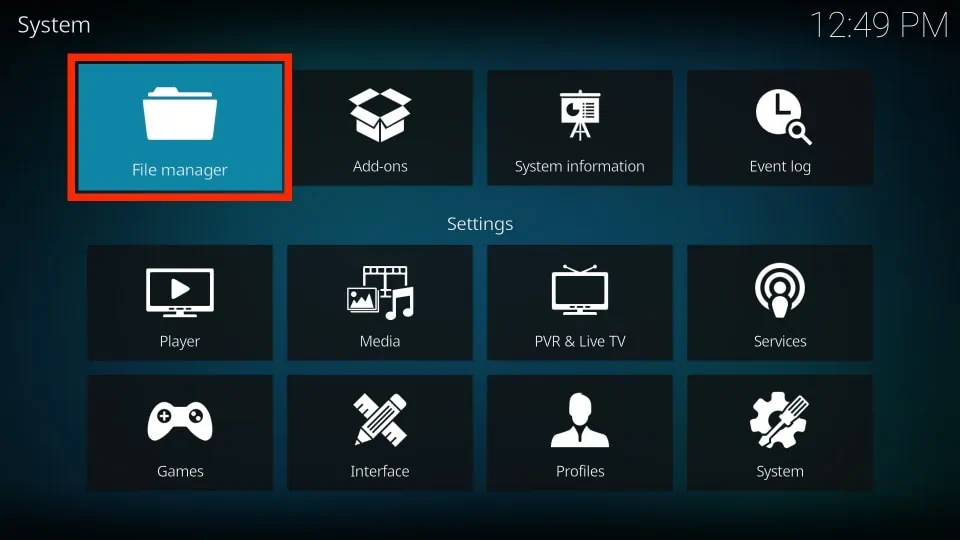
1. You want to open the Kodi Settings again. As before, click the cog icon on the Kodi home screen.
2. Open the File manager option in the following window.
3. Click and open the Add source option in the next window.
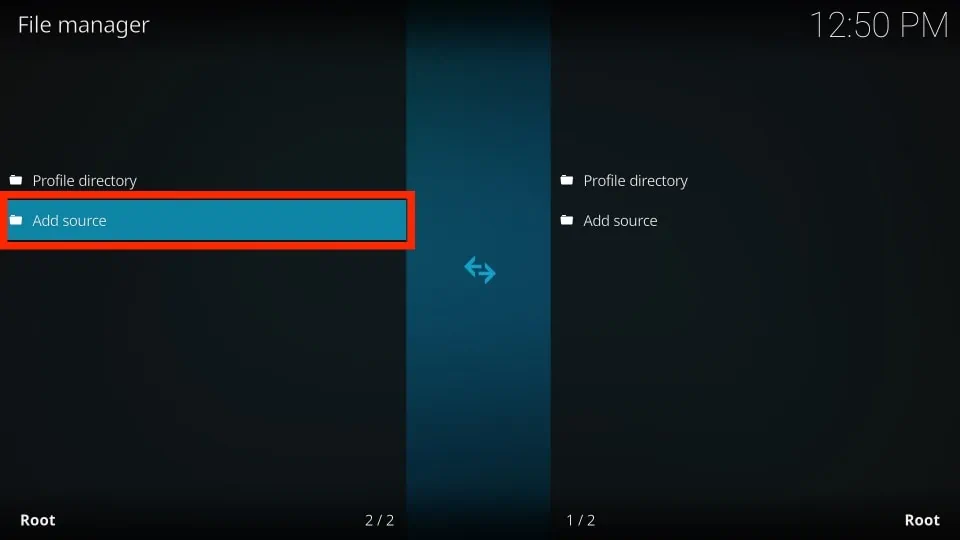
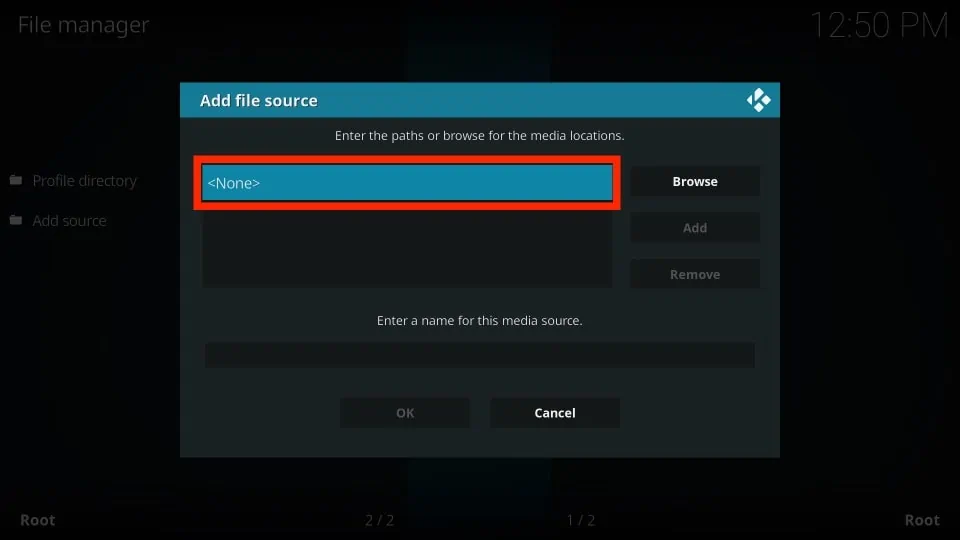
4. A new window should appear. Click <None>.
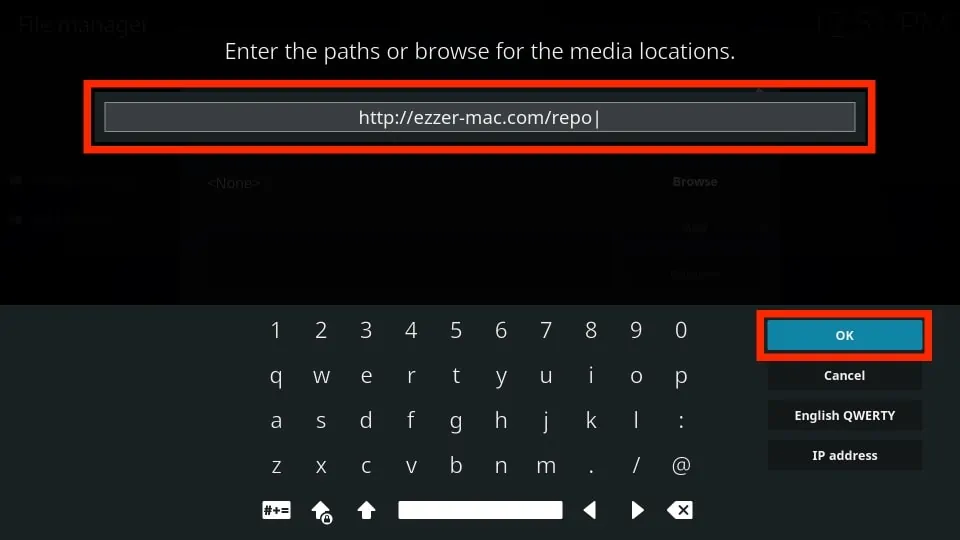
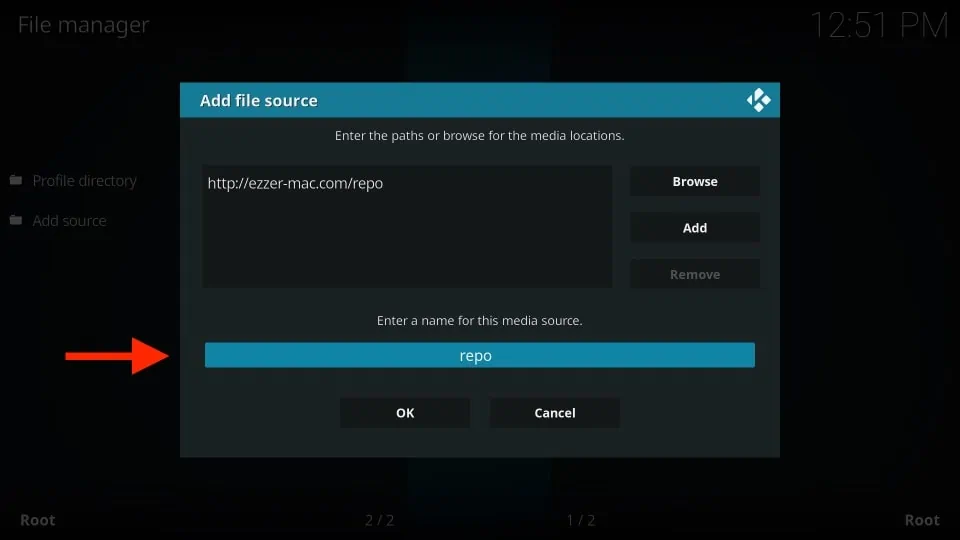
5. This window has a keyboard at the bottom and an empty field for entering the source URL at the top. Carefully type http://ezzer-mac.com/repo and make sure it has been entered correctly. Click OK.
6. Now highlight the field, Enter a name for this media source, and select it.
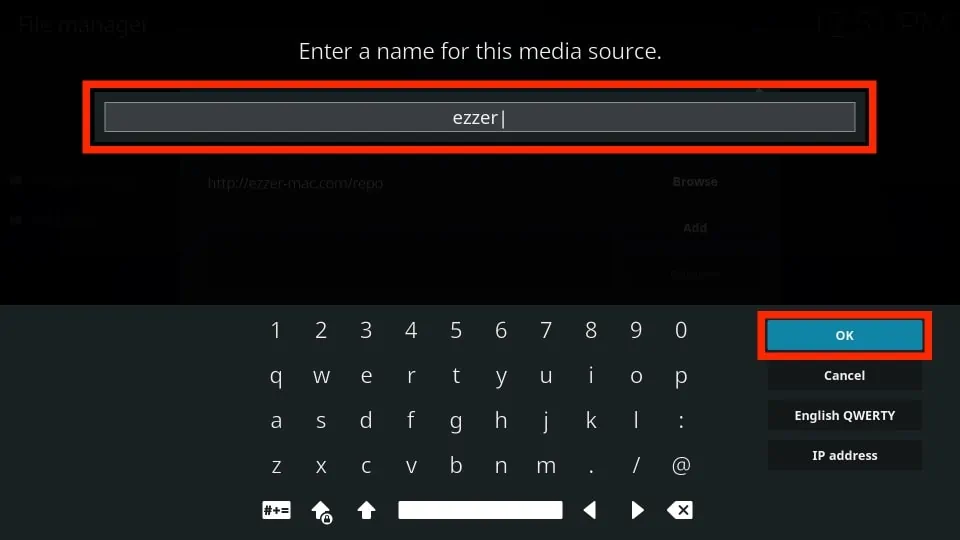
7. Type in any name you wish to use to identify the media source. Let’s go with ezzer. Click OK.
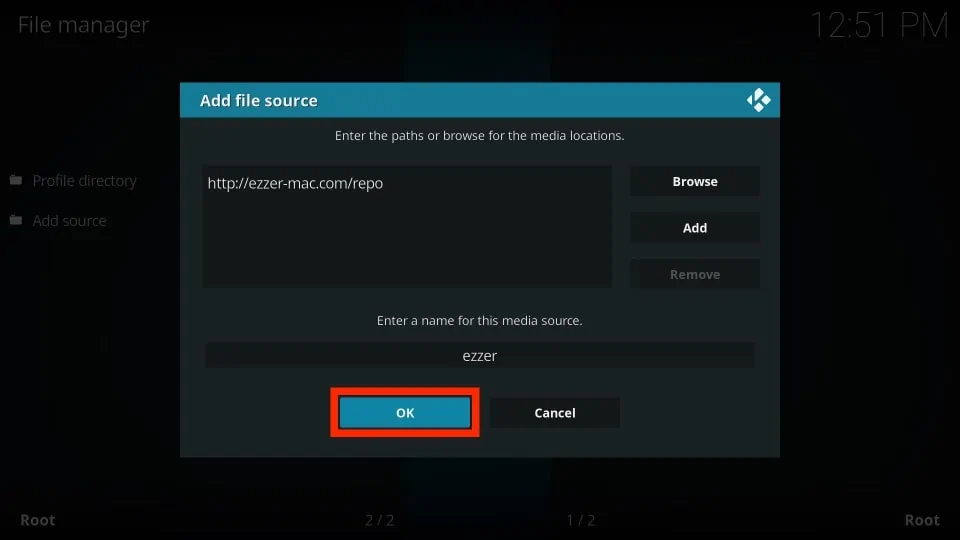
8. Click OK to save changes.
Until this point in the process, you have added the source link and pointed Kodi to fetch the required files. We will see how in the following steps.
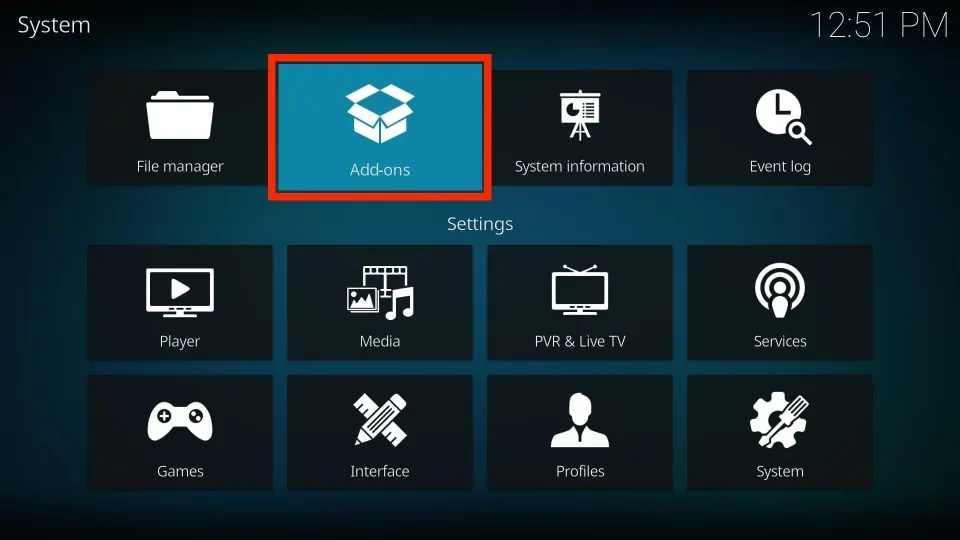
9. Go one step back and click Add-ons.
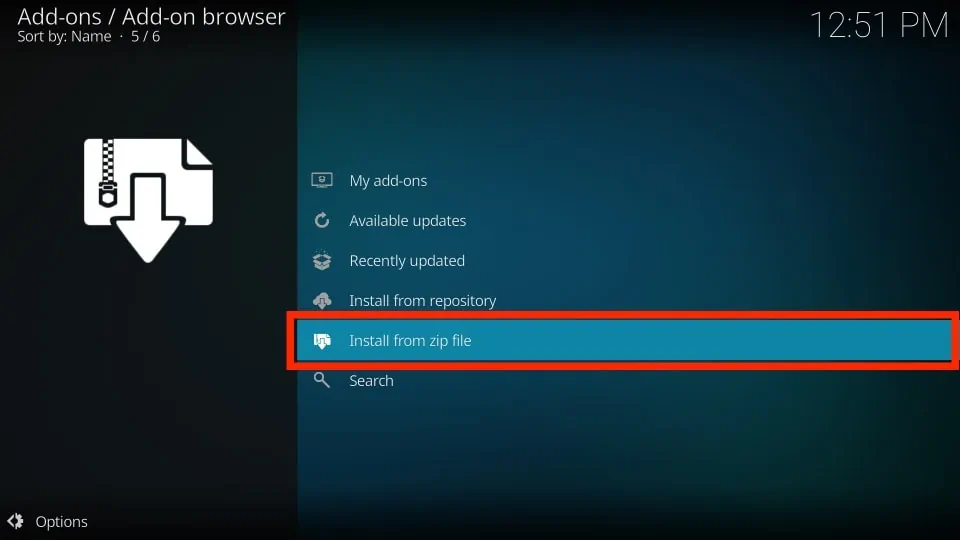
10. Choose Install from zip file on the next window.
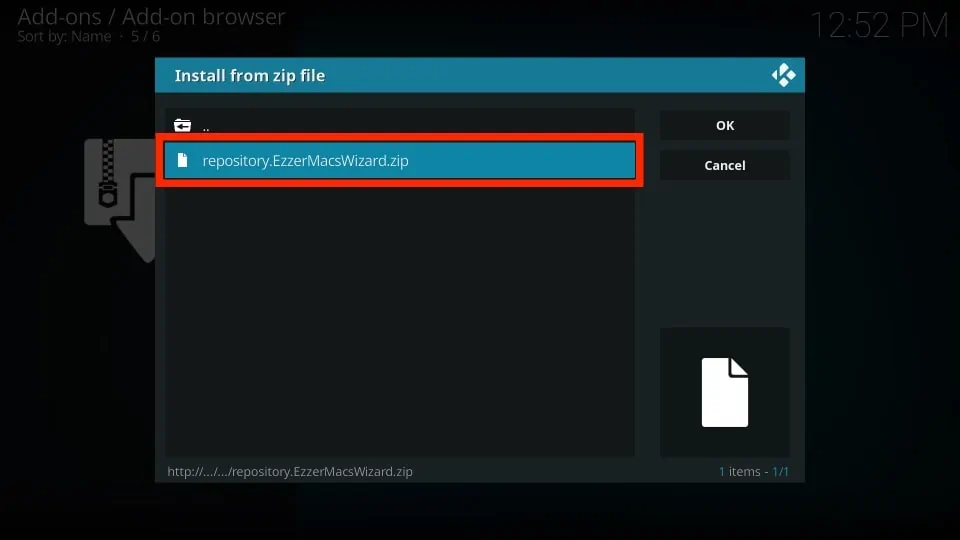
11. Locate and click ezzer (or any other source name you might have added earlier).

12. You must now see a zip file on the next window with the name repository.EzzerMacsWizard.zip. Click this file.
13. In about 20-30 seconds, you should see the notification saying EzzerMacs Wizard Repository Add-on installed.
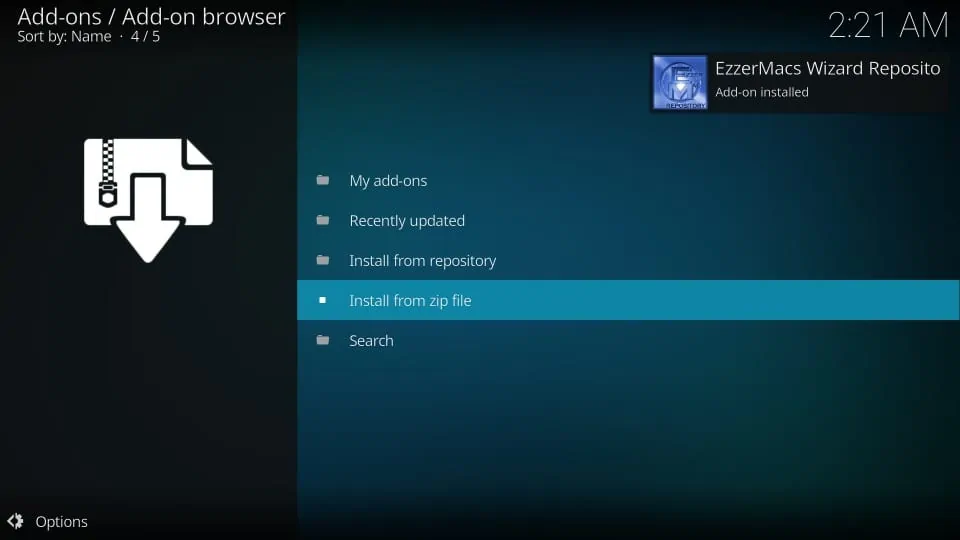
This is another part of the process taken care of. The repository you have just installed will be used to get the EzzerMacs Wizard.
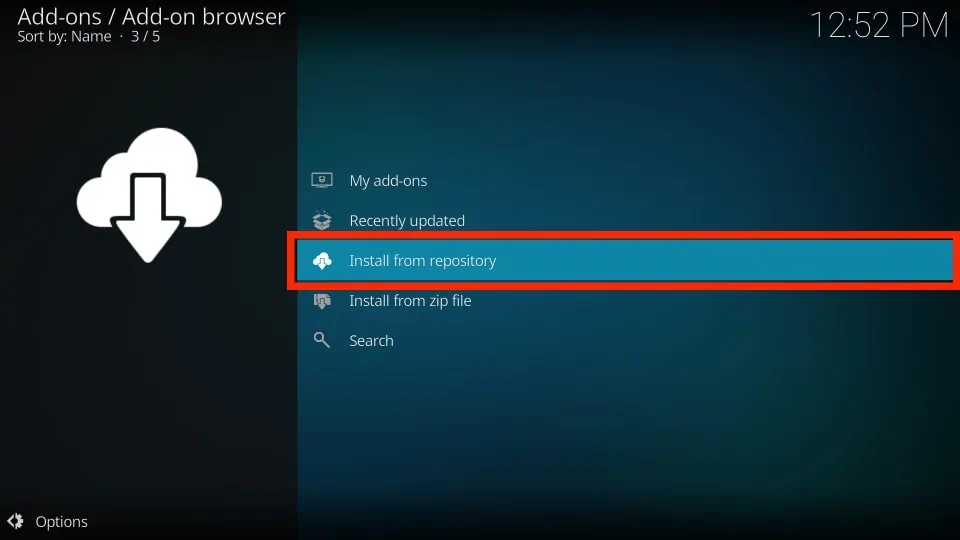
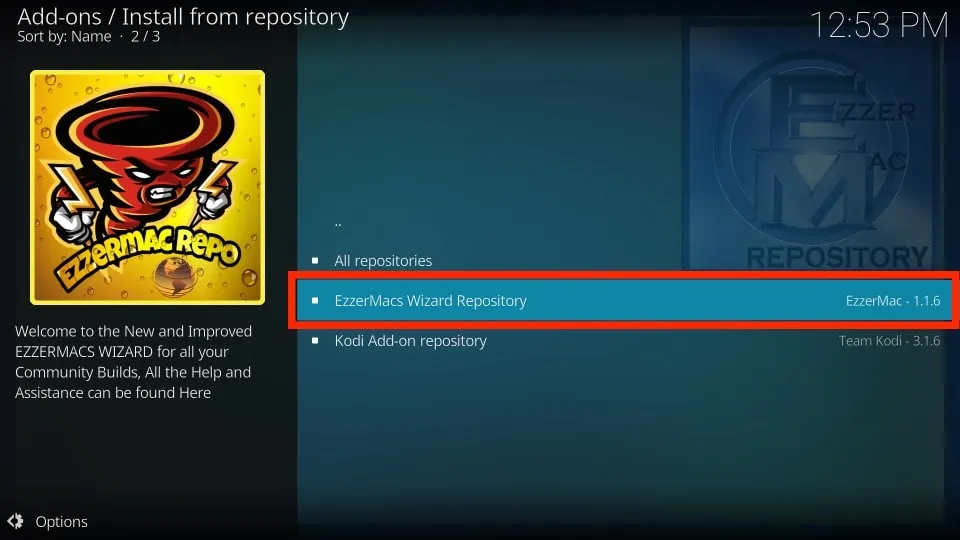
14. Stay on the same screen on which the above notification appeared. Click Install from repository.
15. Open EzzerMacs Wizard Repository.
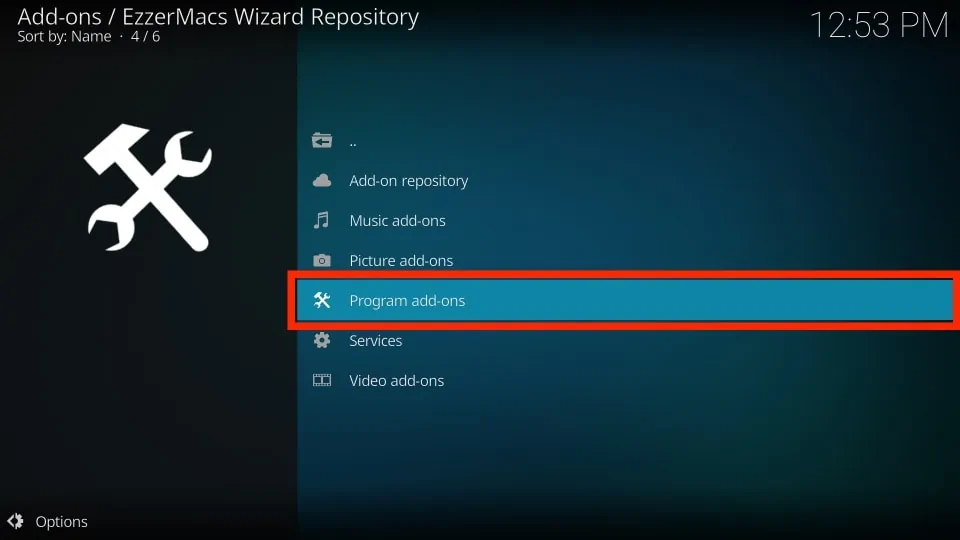
16. Click Program add-ons.
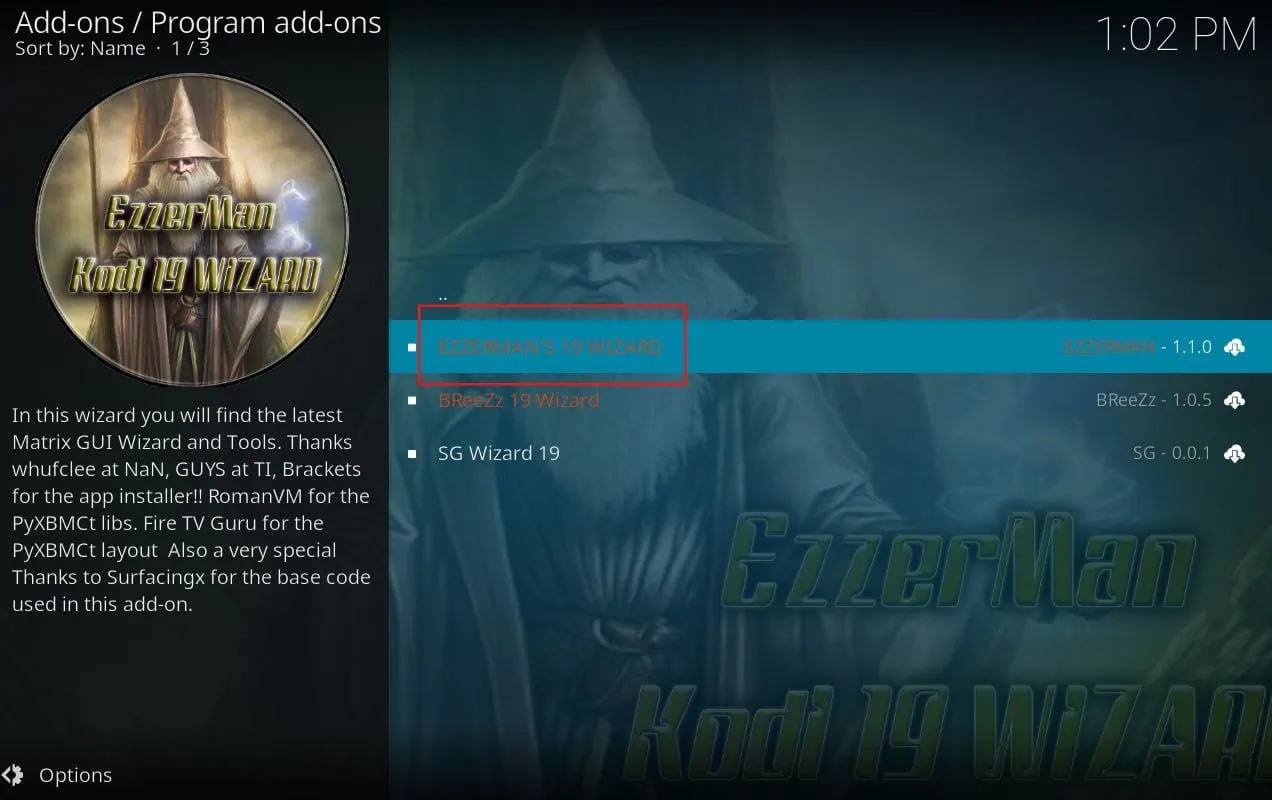
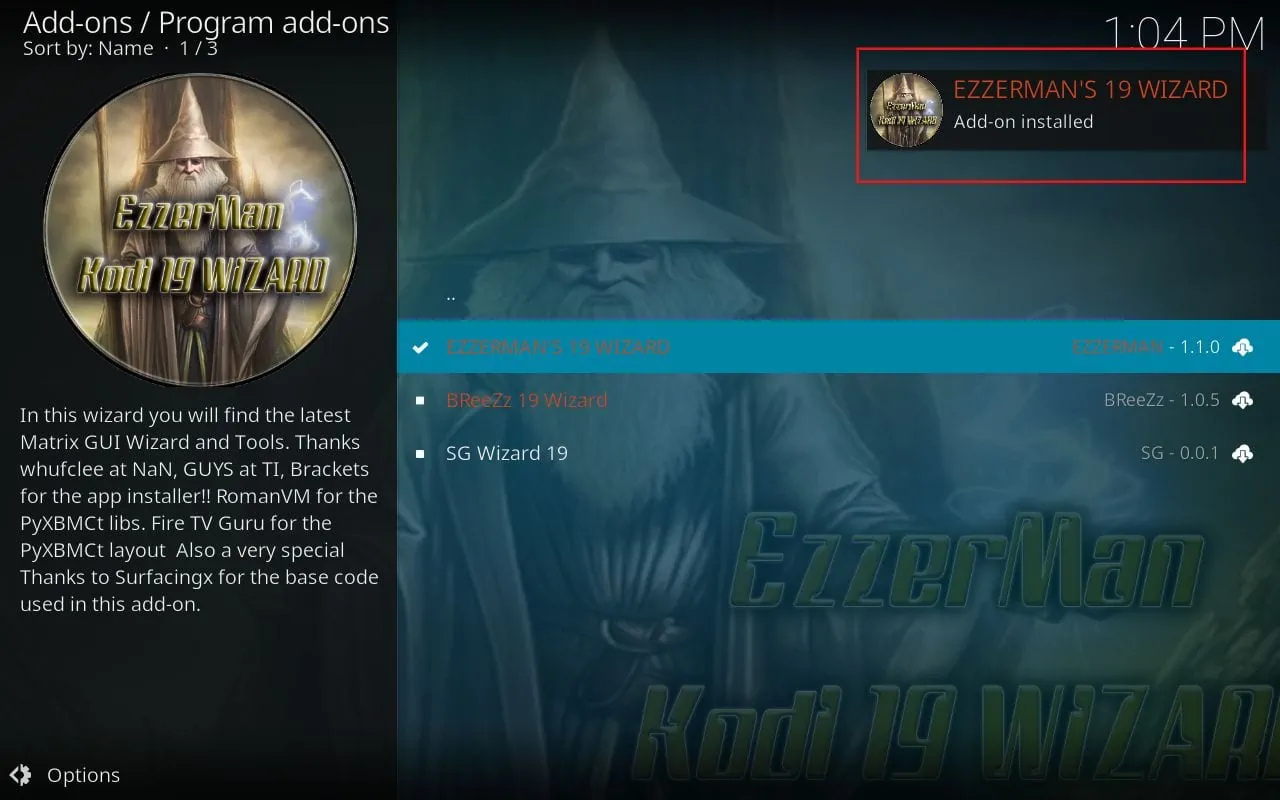
17. Click EzzerMans Wizard.
18. Click Install.
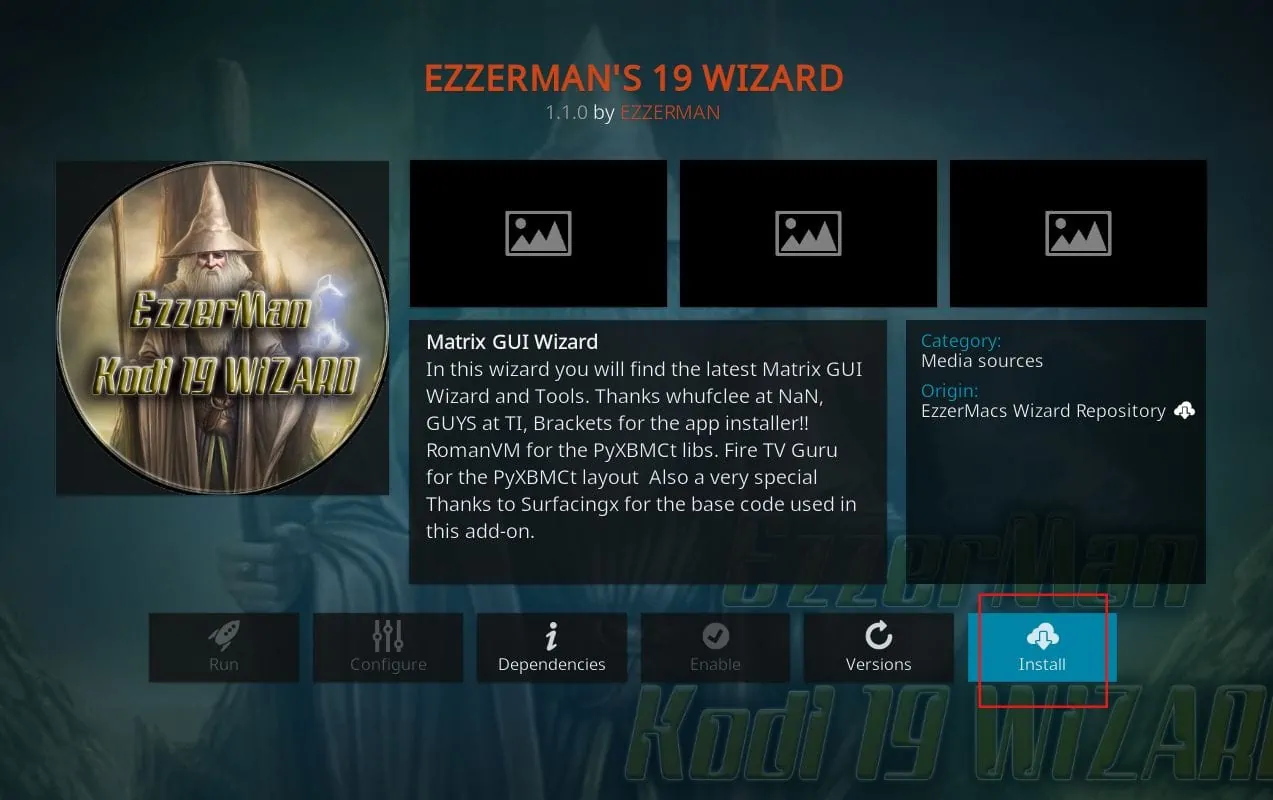
19. Wait for the notification EzzerMan’s Wizard Add-on installed.
You have successfully installed the wizard, from which we will get the Plutonium Kodi Build.
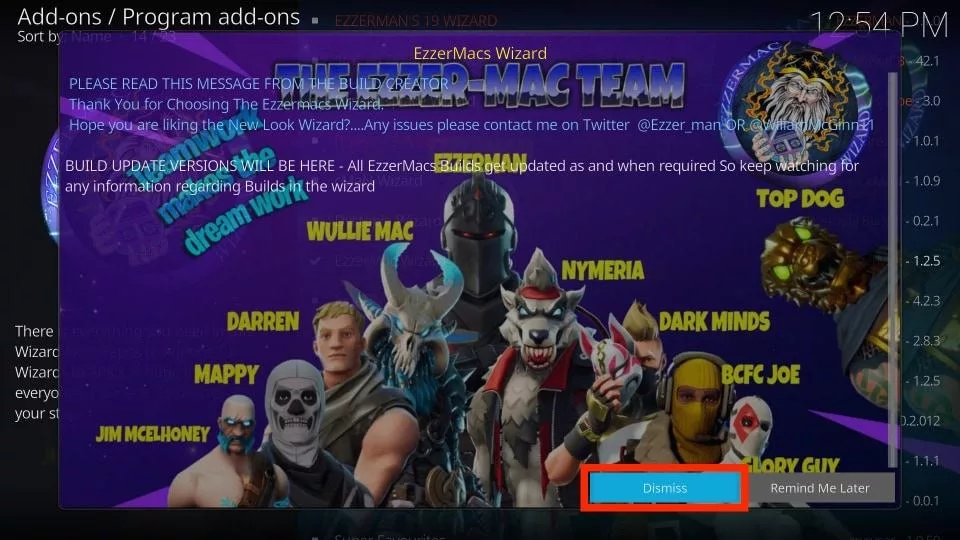
20. If this prompt is displayed, click Dismiss.
21. Click Continue on the next prompt.
Note: If you want to change any of the listed settings, click those settings before clicking Continue.

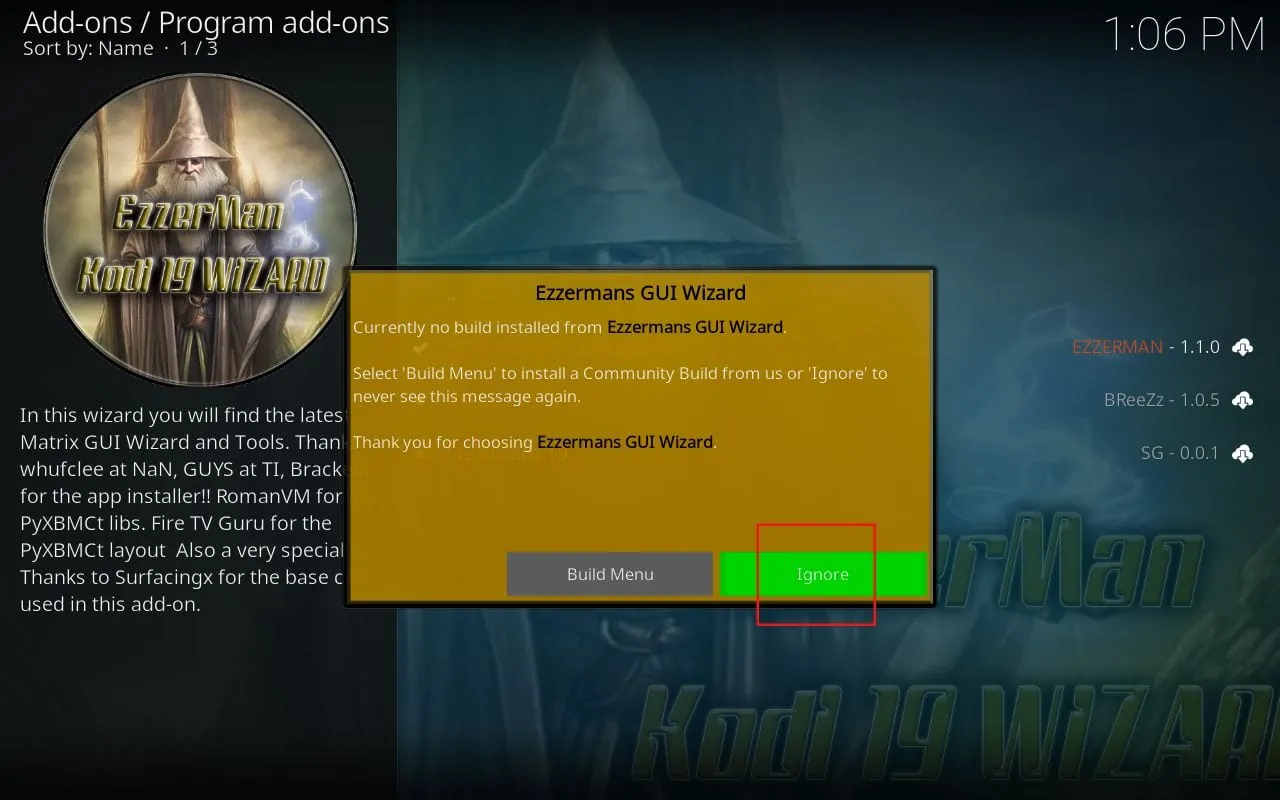
22. Click Ignore on the third prompt.
Note: This prompt lets you directly access the list of builds upon clicking Build Menu. But I am clicking Ignore so that I can tell you how to access the list from the Kodi home screen if you decide to install the build later.
Note: These prompts may reappear. Again, click the same options.
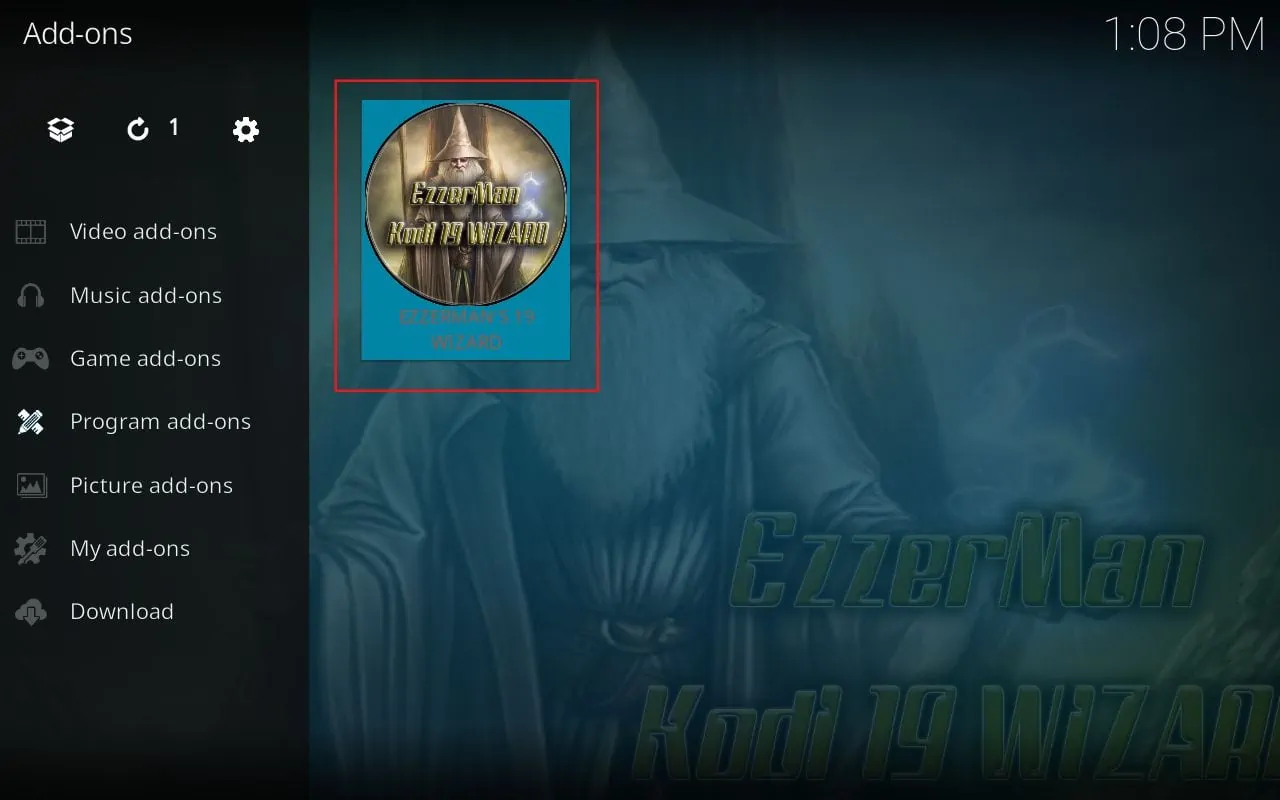
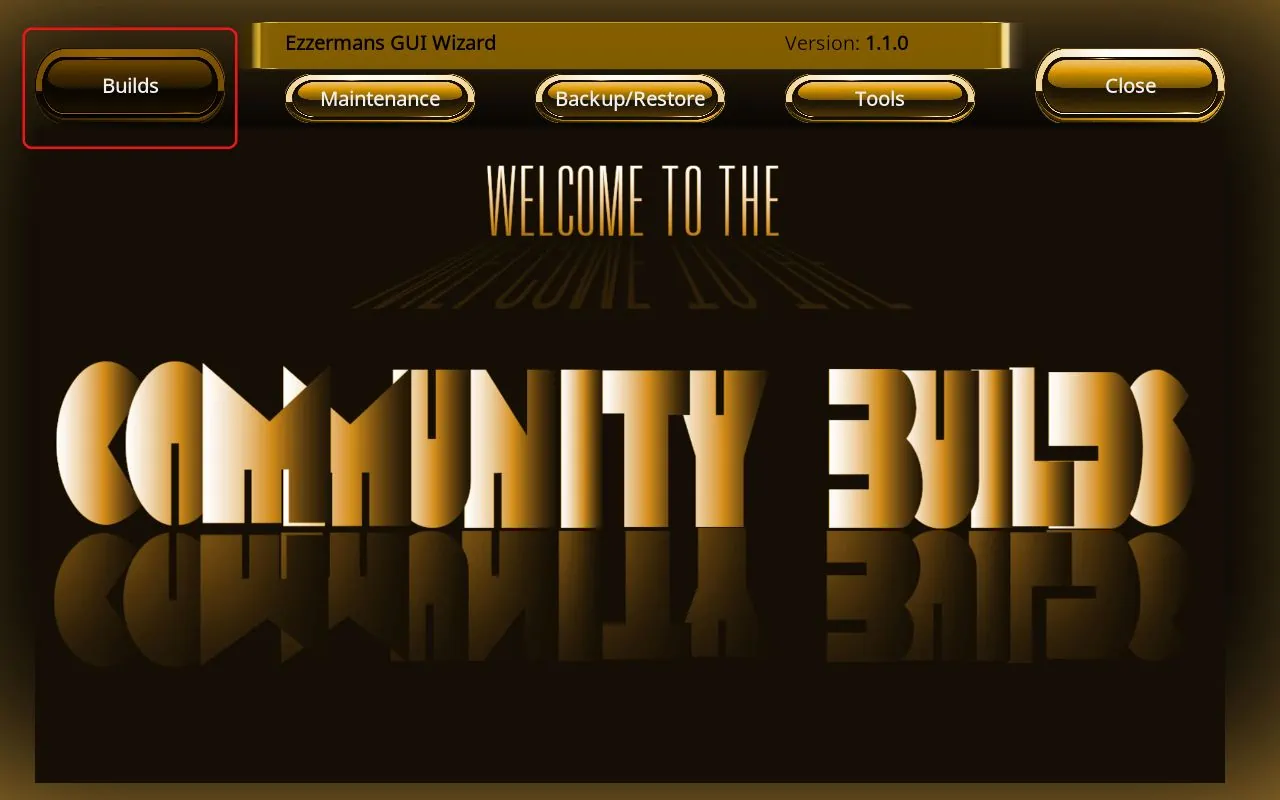
23. Go to Kodi’s home screen again. Now open Add-ons and Program Add-ons. In the Program Add-ons section, click the EzzerMans Wizard.
24. Click the Builds tab at the top left, and a list of the builds will appear on the left side of the Ezzermans Wizard interface.
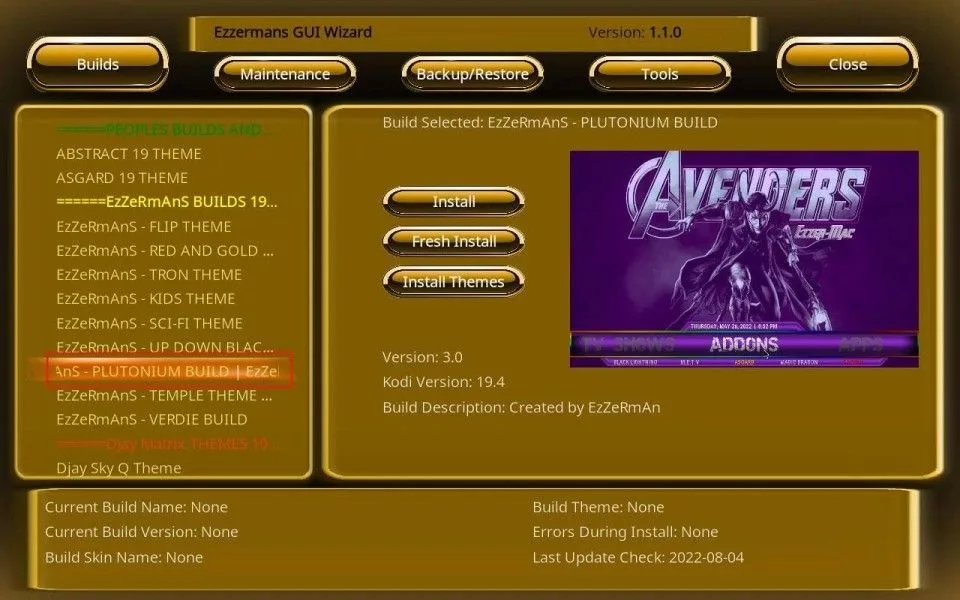
25. Select the EzzerMan’s Plutonium Build
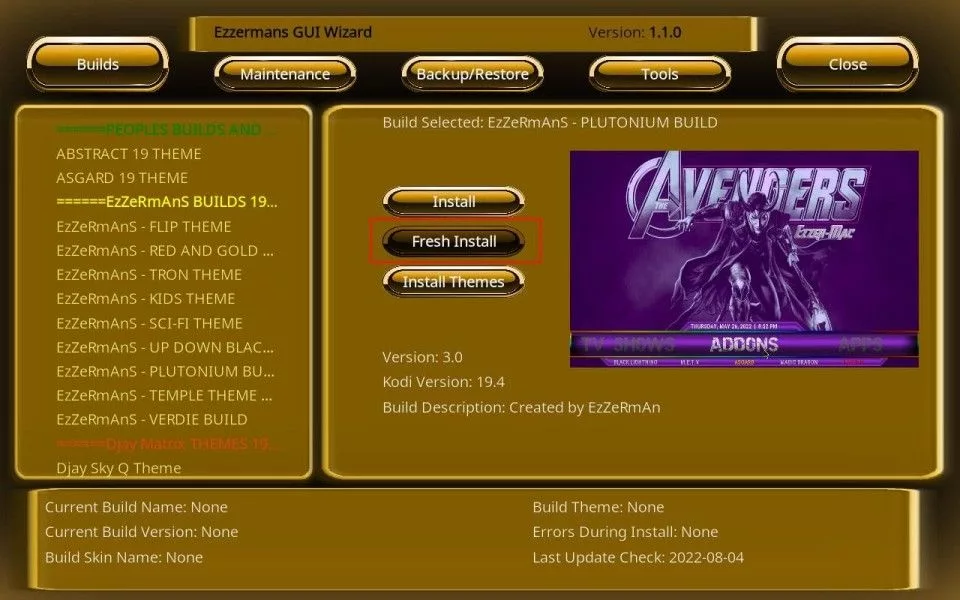
26. Navigate to the window’s right side and click Fresh Install.
I always choose Fresh Install over Standard Install because installing a build on Kodi from scratch is best. You may choose Standard Install, but it will likely pose problems later.
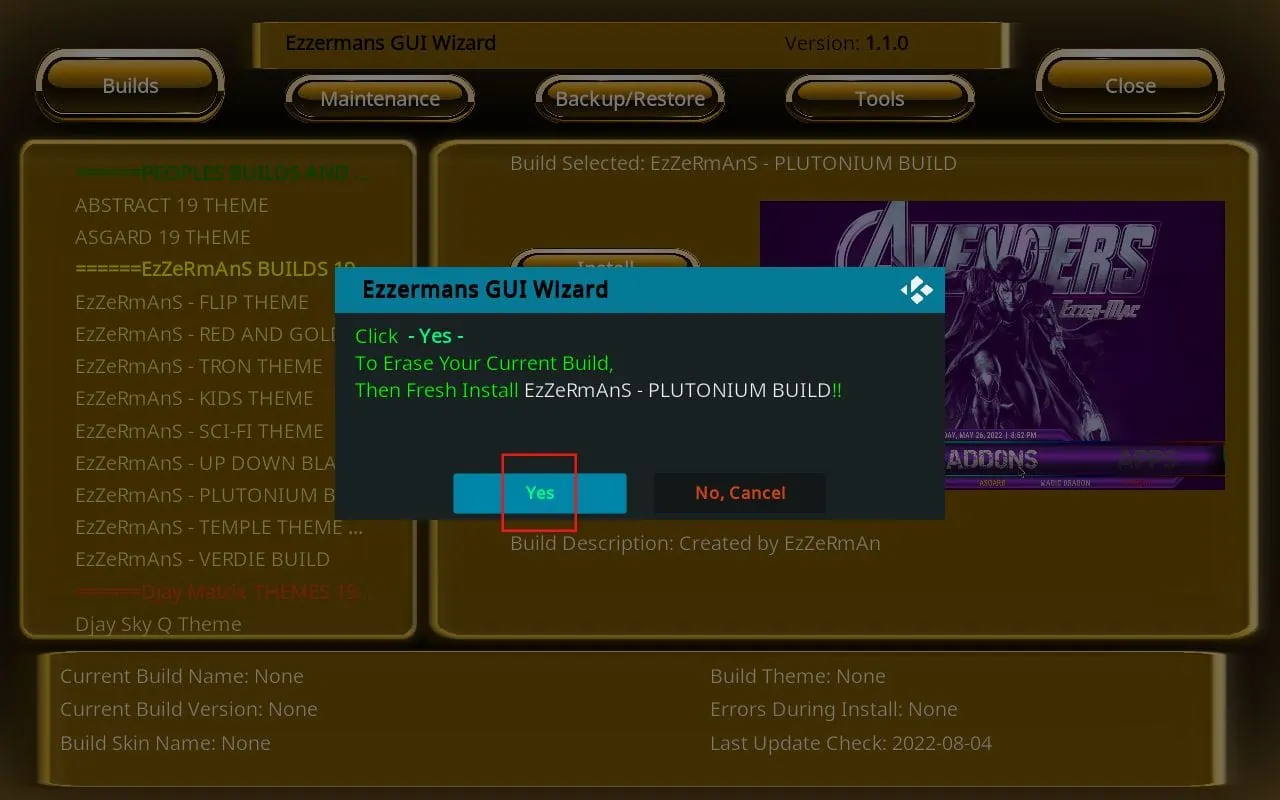
27. Click Yes when prompted.
28. All you have to do is wait for the build to install. The download and installation process usually take several minutes, depending upon the device and internet connection.
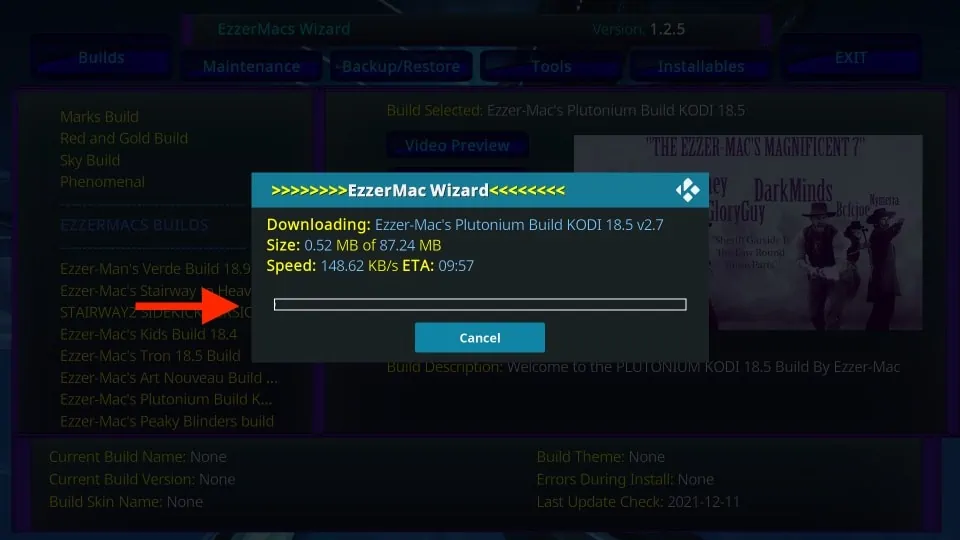
29. When the build is installed, Kodi may close independently if it doesn’t, click OK on the prompt to force-close Kodi.
You have successfully installed the Plutonium Build on Kodi.
Before you start streaming with Kodi Addons or Builds, I would like to warn you that everything you stream on Kodi is visible to your ISP and Government. This means, streaming copyrighted content (free movies, TV shows, live TV, and Sports) might get you into legal trouble.
Thankfully, there is a foolproof way to keep all your streaming activities hidden from your ISP and the Government. All you need is a good VPN for Kodi. A VPN will mask your original IP which is and will help you bypass Online Surveillance, ISP throttling, and content geo-restrictions.
I personally use and recommend ExpressVPN, which is the fastest and most secure VPN. It is compatible with all kinds of streaming apps and devices.
NOTE: We do not encourage the violation of copyright laws. But, what if you end up streaming content from an illegitimate source unintentionally? It is not always easy to tell the difference between a legit and illegal source.
So, before you start streaming on Kodi, here's how to get VPN protection in 3 simple steps.
Step 1: Get the ExpressVPN subscription HERE. It comes with a 30-day money-back guarantee. Meaning, you can use it free for the first 30-days and if you are not satisfied with the performance (which is highly unlikely), you can ask for a full refund.
Step 2: Click HERE to download and install the ExpressVPN app on your streaming device. If you are using a FireStick, I have given the exact steps starting with Step 4 below.
Step 3: Click the Power icon to connect to a VPN server. That's all. Your connection is now secure with the fastest and best VPN for Kodi.

The following are the steps to install Kodi VPN on your Fire TV devices. If you have other streaming devices, follow Step 1-3 above.
Step 4: Subscribe to ExpressVPN HERE (if not subscribed already).
Step 5: Go to Fire TV Stick home screen. Click Find followed by Search option (see image below).

Step 6: Type Expressvpn in the search bar and select when it shows up.

Step 7: Click Download.

Step 8: Open the ExpressVPN app and Sign in using the email ID and password that you created while buying the ExpressVPN subscription.

Step 9: Click the Power icon to connect to a VPN server. That’s all. Your FireStick is now secured with the fastest VPN.

A Quick Overview of Plutonium Kodi Build
Like any other build, Plutonium Kodi Build is packed with many preloaded addons. There are plenty of addons to watch a variety of media content.
As you would expect, this build features a collection of on-demand addons to stream free movies and shows, and it also has an impressive inventory of live TV and sports addons. There is a special section for Kids’ content, too.
When you launch the Plutonium Build on Kodi for the first time, it may appear slow. Don’t worry; there is no problem with the build. The first thing any build does after installation is to update its existing addons. Most likely, there are multiple addons with the new updates.
The installation of updates slows things down a bit. But it is best to wait and allow the update to finish. The up-to-date addons perform faster and offer better content.
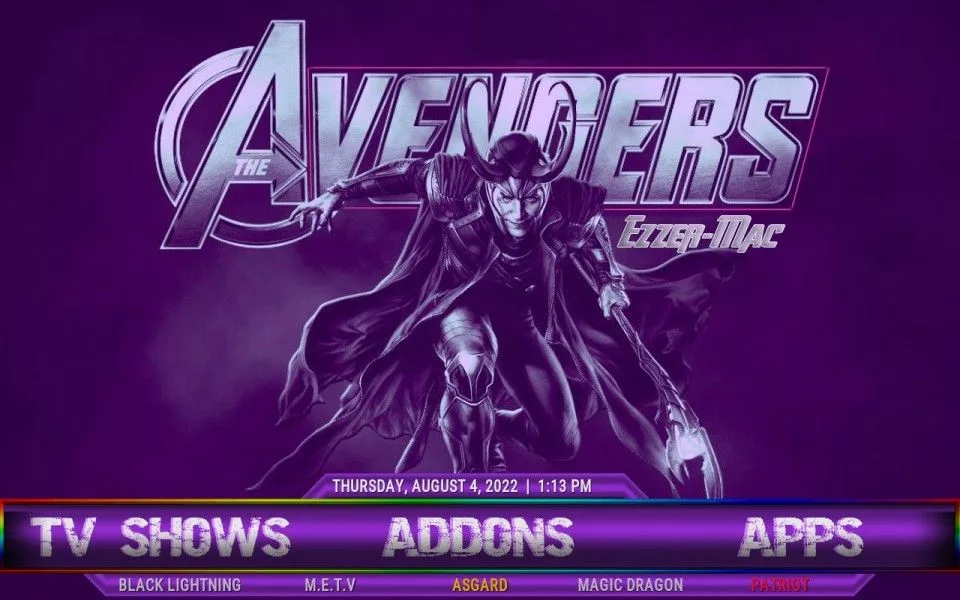
Plutonium Kodi Build’s theme is a little flashy, with bright visuals that appeal to many users who like colors and contrast.
The interface and layout of the build look familiar. The design is standard and quite like many other builds I have seen. The menu bar is right across the screen’s width, somewhere around the middle, and the submenu bar is snapped to the main menu bar.
The main menu bar has familiar options like Movies, TV Shows, Sports, Live TV, etc. Whether you have used any Kodi build in the past or not, you should quickly get the hang of the Plutonium Kodi Build.
Just go ahead and start exploring the build. Plenty of exciting options are waiting to be unraveled.
Wrapping Up
Plutonium Kodi build may not necessarily be the most popular name in the world of Kodi builds, but it merits attention. I discovered this build while looking for new Kodi builds that could be useful for my readers. I used it for a while, and it grew on me. It made perfect sense with many addons for all types of video content I watch and several utility tools. So, I decided to introduce this build to you and here, I am with the guide. Let me know how you feel about this build through the comments section below.
Related:
- How to Install Grindhouse Kodi Build
- How to Install The Crew Wizard Kodi Build
- How to Install No Limits Magic Build
- How to Install Misfit Mods Lite Kodi Build

Suberboost Your FireStick with My Free Guide
Stay Ahead: Weekly Insights on the Latest in Free Streaming!
No spam, ever. Unsubscribe anytime.

Thank you, thank you, and again I say, thank you so so much for making my life easier and happier. Stay happy and healthy. ☺️
Thanks a lot for the step by step. I have purchased NordVPN for streaming and managed to set it up by myself, but failed to install everything further :D. Now, I’ll do it, and finally will be able to watch all the best shows and movies with no restrictions and on high speed.THANK YOU!