This tutorial demonstrates installing the Grindhouse Builds on Kodi 20 Nexus and Kodi 19.5 Matrix. This build can be installed on Fire TV devices (such as FireStick and FireStick 4K), Android Tablets and mobiles, iPhones and iPads, Computers, and all other Kodi devices.
What are Grindhouse Builds?
Grindhouse Wizard offers a solid collection of Kodi builds. As I write this guide, this wizard hosts over three dozen Kodi builds. There are plenty of options for the Kodi 20 Nexus and the Kodi 19.5 Matrix.
The Grindhouse builds are available in varying sizes for all kinds of devices. Grindhouse is now also part of our list of top Kodi Builds.
Attention Kodi Users!
Governments and ISPs worldwide monitor your online activities. If you use third-party Kodi addons, you should always use a reliable Kodi VPN to hide your identity and prevent issues with your streaming experience. Currently, your IP is visible to everyone.
I use ExpressVPN, the fastest and most secure VPN in the industry. It is very easy to install on any device, including Amazon Fire TV Stick, PC, Mac, and Smartphones. It also includes a 30-day money-back guarantee. If you're not satisfied with their service, you can request a refund. ExpressVPN is offering a special NEW YEAR deal: get 4 months free and save 78% on the 2-year plan.
Install and Use Best Kodi VPN | Why you must use a VPN at all times
How to Install Grindhouse Kodi Builds
We will cover the following during the installation process:
– Switch on the security option Unknown Sources
– Install a Grindhouse Build on Kodi
Switch on Unknown Sources
This part is required because Kodi doesn’t allow the installation of third-party apps. It will enable the installation of the Grindhouse build. You cannot install it without first taking care of this. Here are the steps:
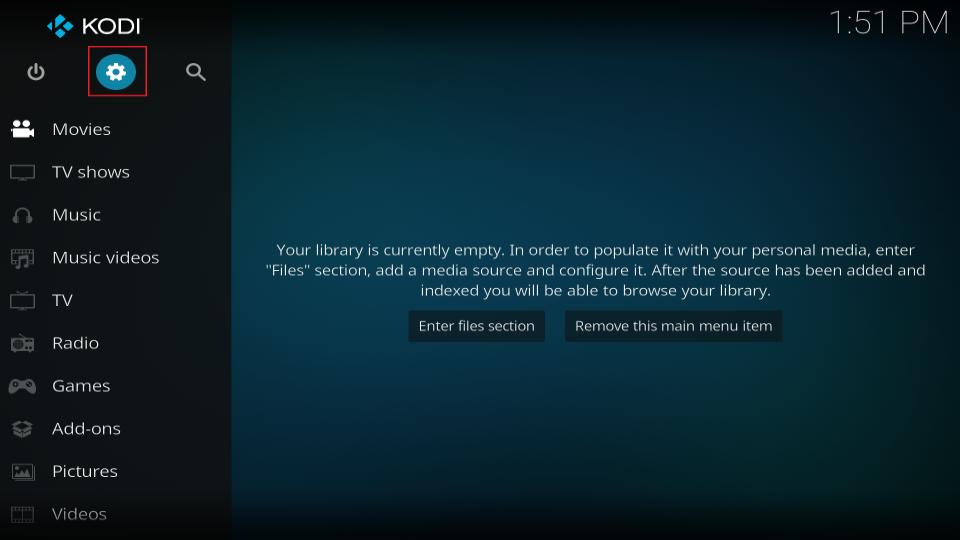
1. Go to Kodi Settings. As you can see in the image below, you can access Settings from the home screen. Click the cog icon.
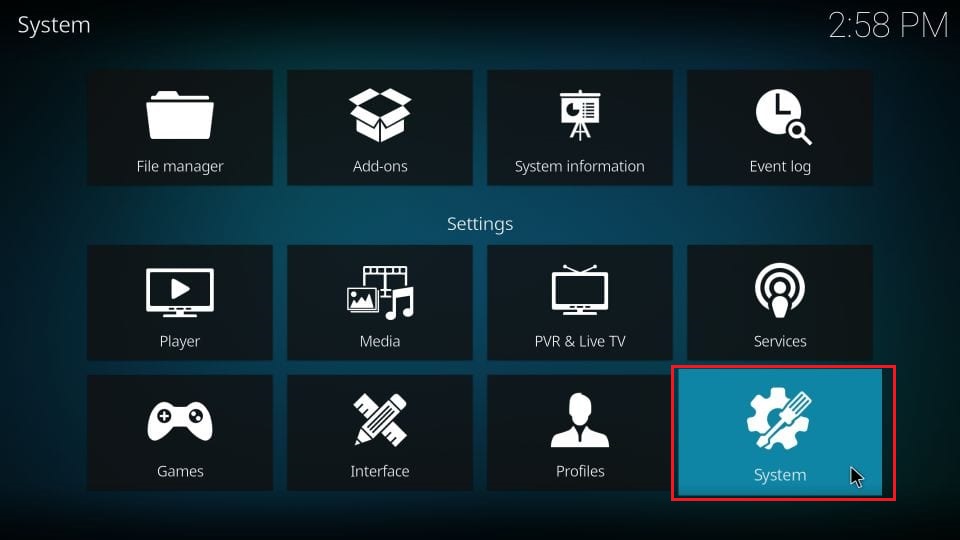
2. From these options, click System.
3. Now navigate to the Add-ons item on the menu on the left side of the screen.
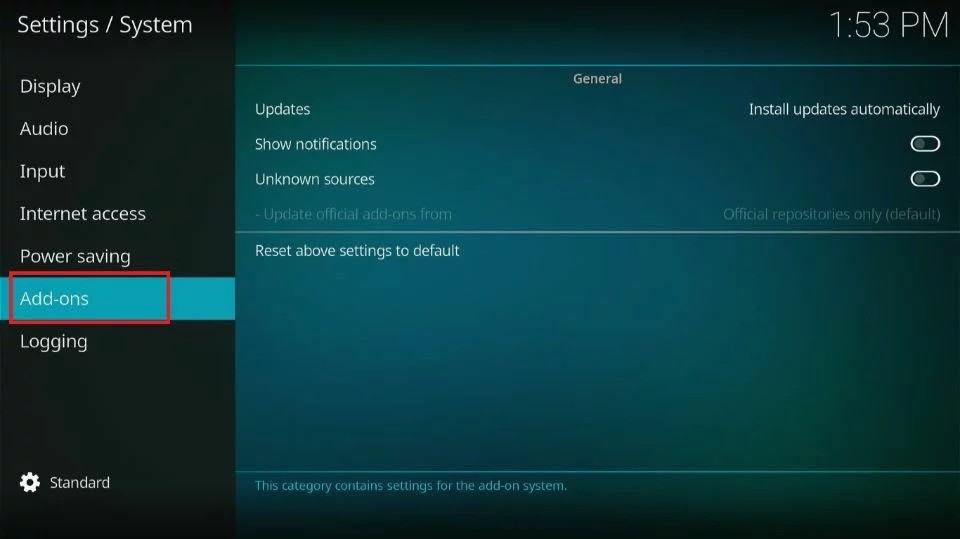
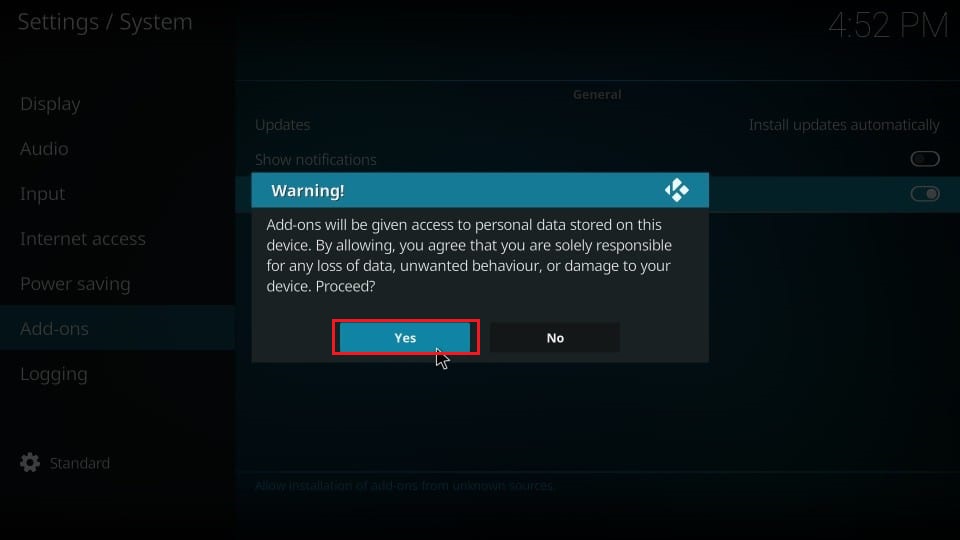
4. Go to the right side and ensure the Unknown Sources toggle is in the on position. If it is disabled or off, turn it on.

5. Grindhouse Kodi builds are safe. So, click Yes when prompted.

Kodi has now been configured to install the builds. Let’s go to the next part.
Legal Disclaimer: This guide is for informational purposes only. FireStickTricks.com does not own, host, operate, resell, or distribute any apps, services, or content mentioned.
Install Grindhouse Kodi Builds
Following is the complete set of steps to install the desired Grindhouse build on Kodi:
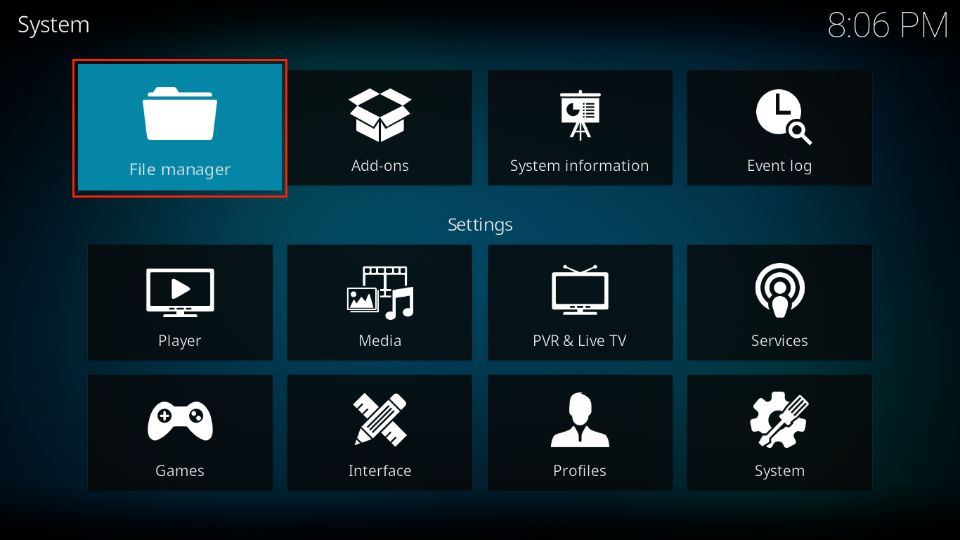
1. Open the File manager option by going to the Kodi Settings again (gear icon on the Kodi home screen).
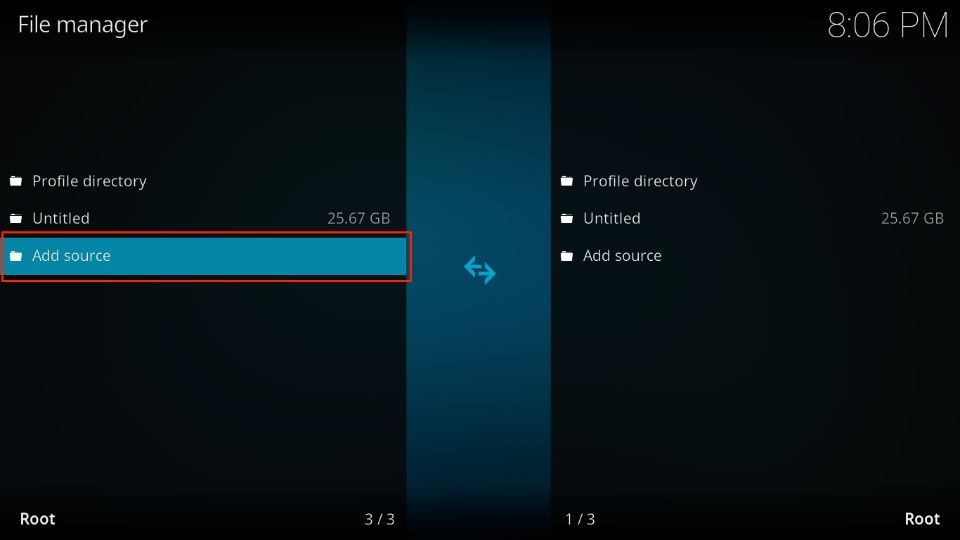
2. Now click Add source.
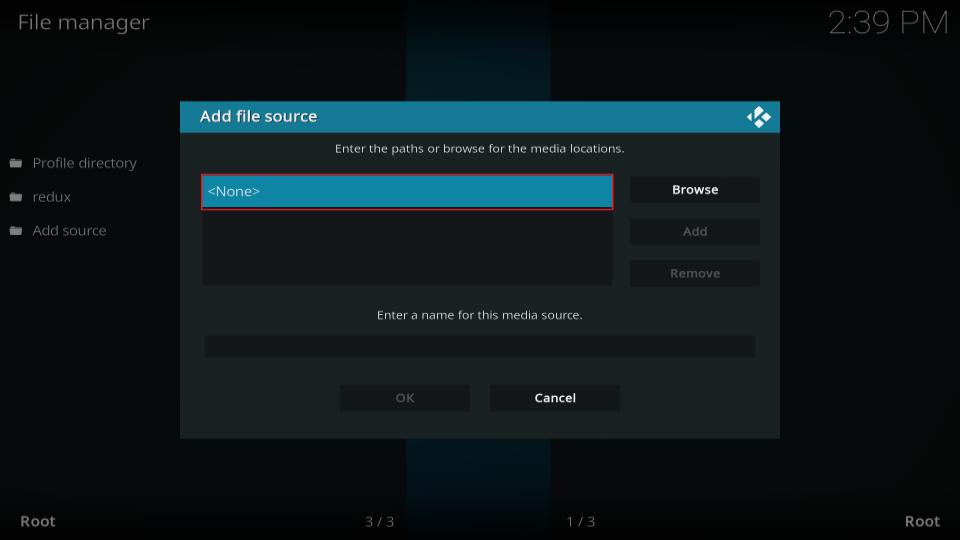
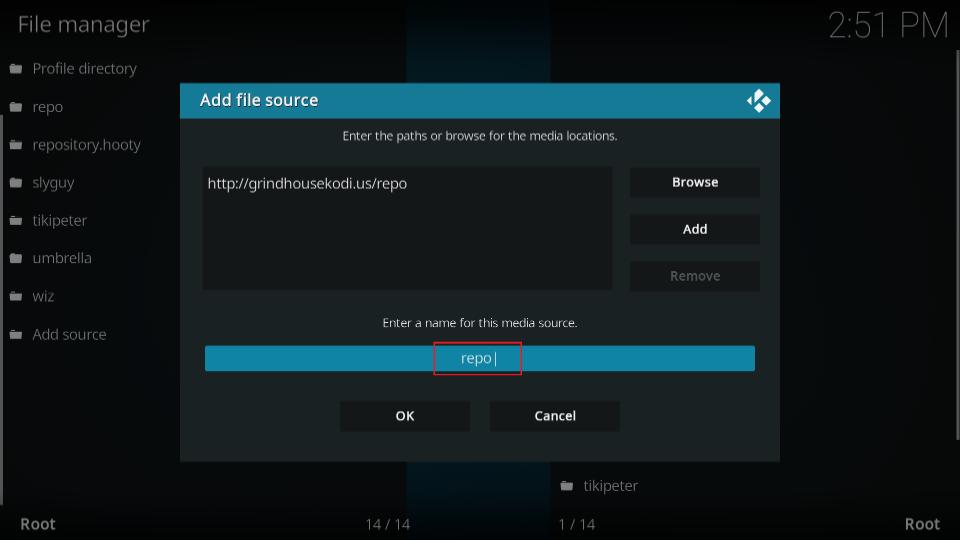
3. You must now see the following dialogue box. Click in the box where it says <None>.
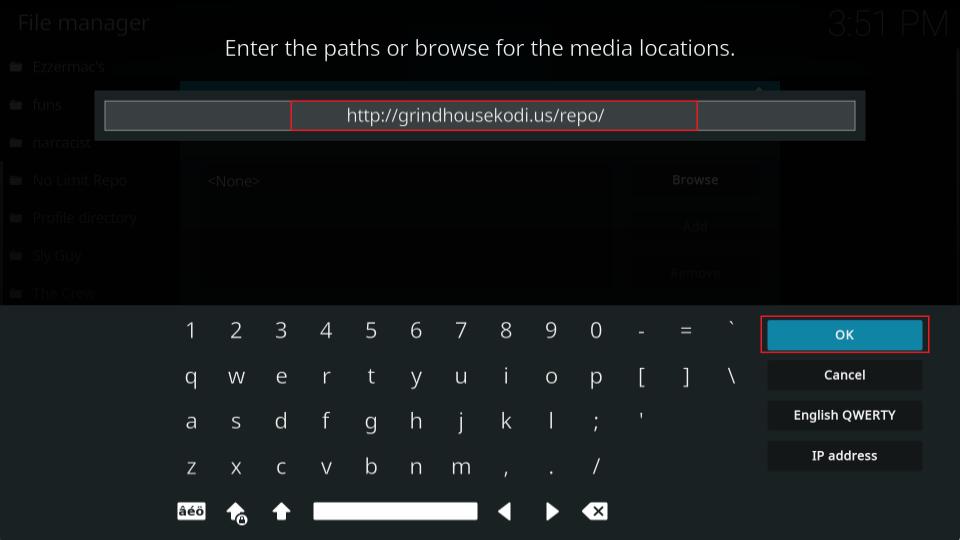
4. We will now enter the source URL from where we will install the build. Here is the path: http://grindhousekodi.us/repo. Click OK once done.
Note: Type the path precisely as provided without any typos. At FST, we don’t host or own the repo; we have just provided you with the official link to the Grindhouse Repository.
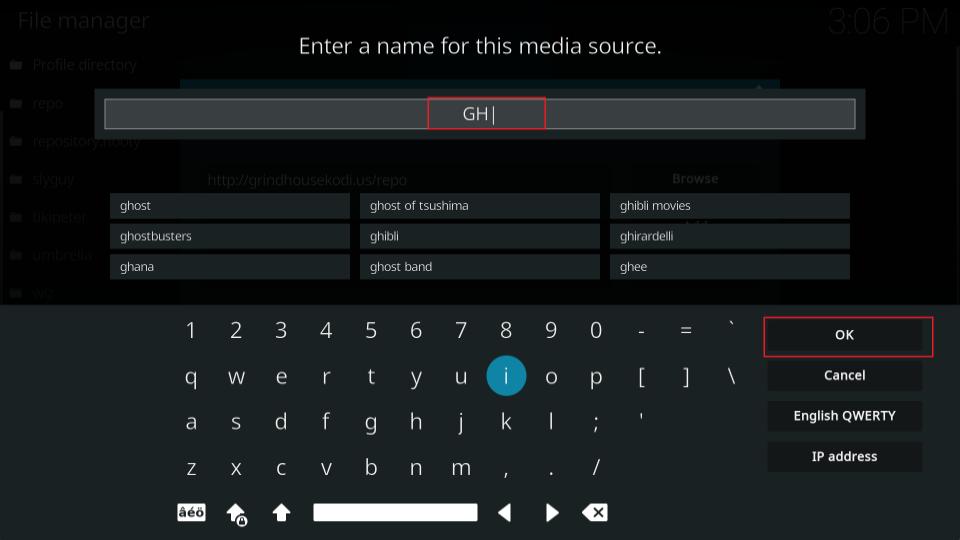
5. Click the input box under Enter a name for this media source.
6. Type the source name of your choice. Let’s say we name it GH. After that, click OK.
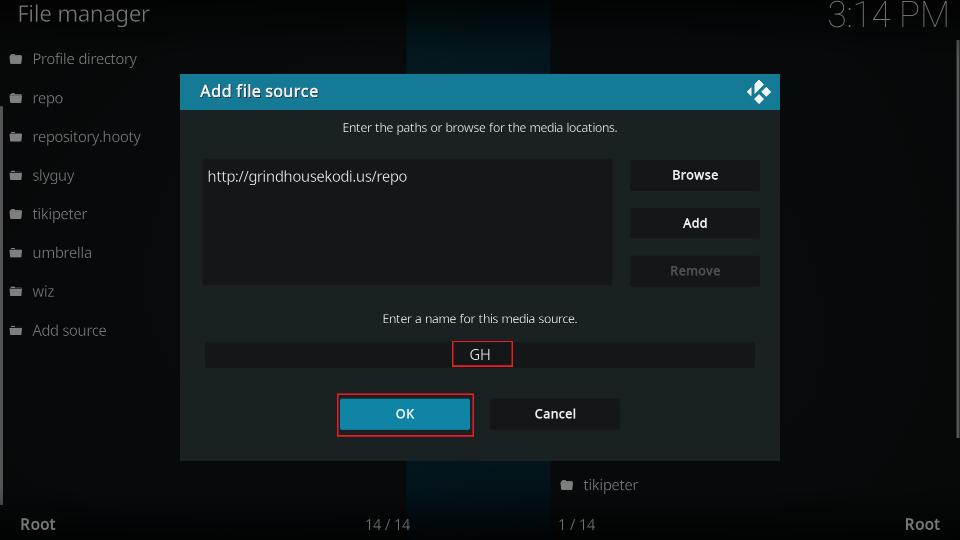
7. Click OK to save the changes.
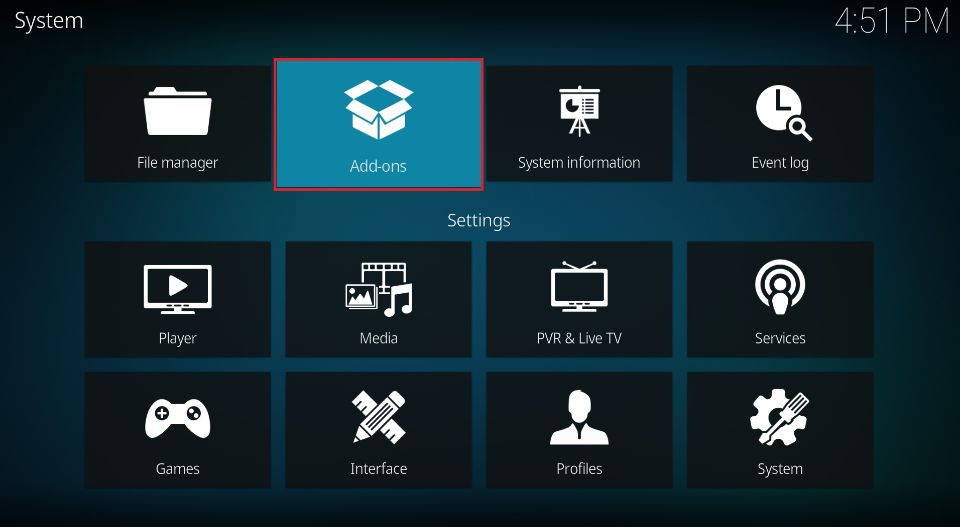
8. Now press the back button one time to return to the Settings page. There, click Add-ons (check the image below).
9. Open the option Install from zip file.

10. A warning pop-up will appear on Kodi 19 (but not Kodi 20). Click Yes to continue.
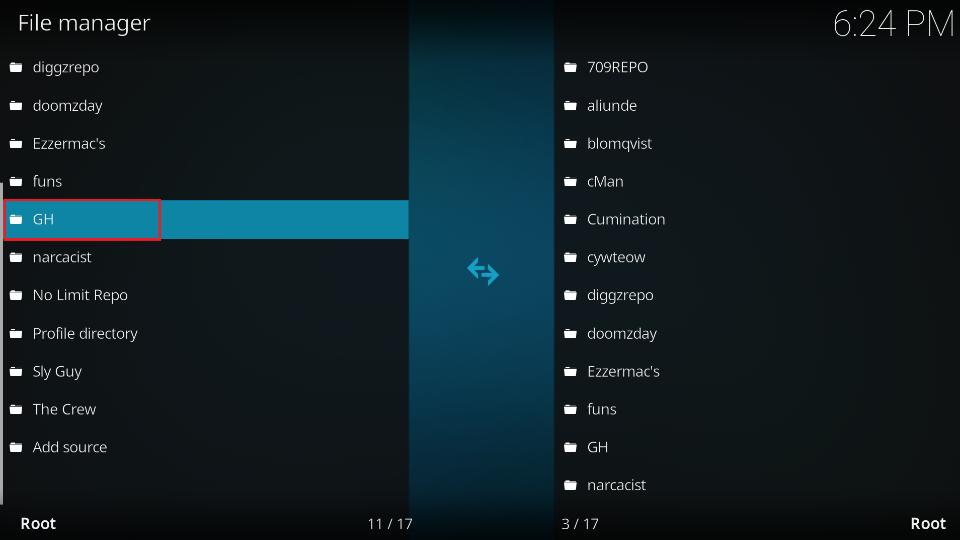
11. Click the source name you provided earlier. It’s GH in this case.
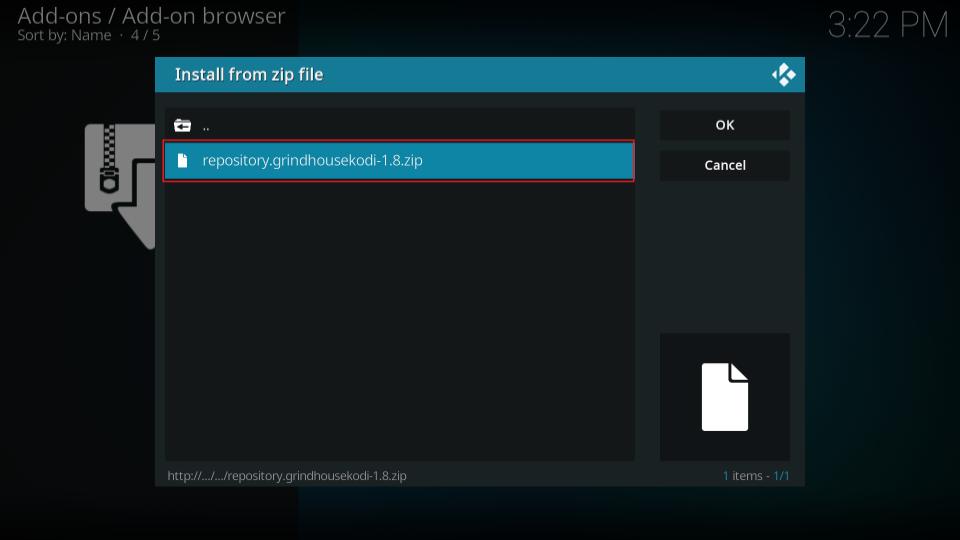
12. Now access the zip file named repository.grindhousekodi-x.x.zip.
Note: Here, x.x replaces the version number. Click the zip file even if the version number in the image below differs from what you see on your screen.
13. Installing the Grindhouse Repository will take about a minute. So wait for the notification displayed at the top-right corner.
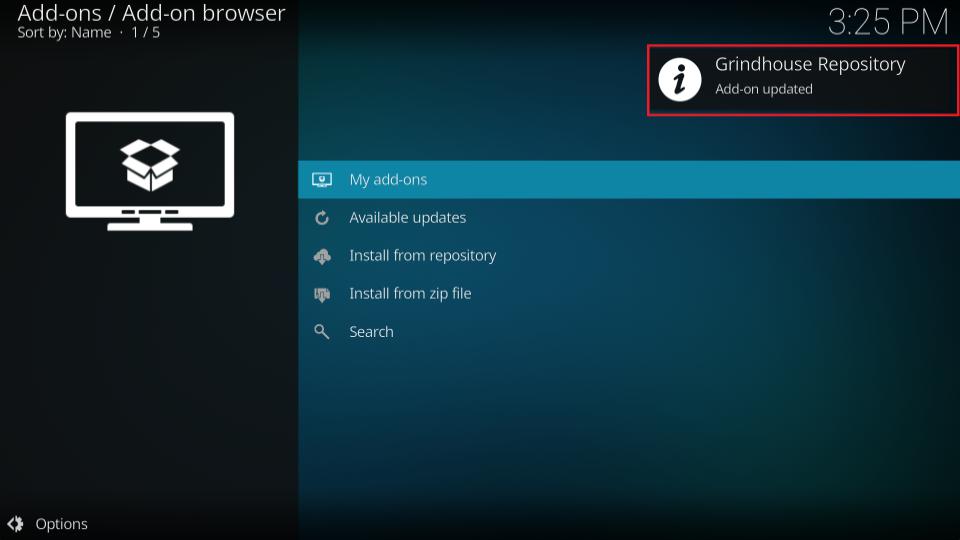
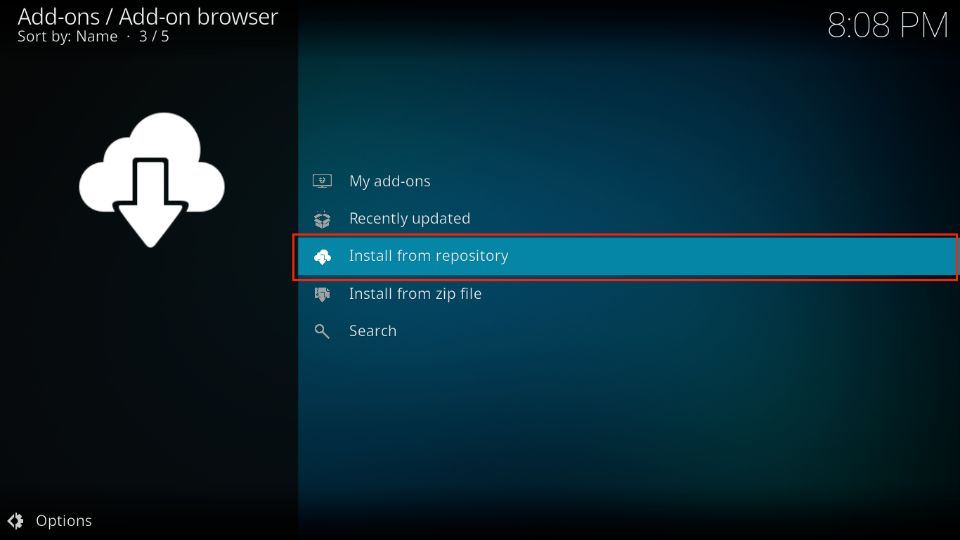
14. Next, go to Install from repository.
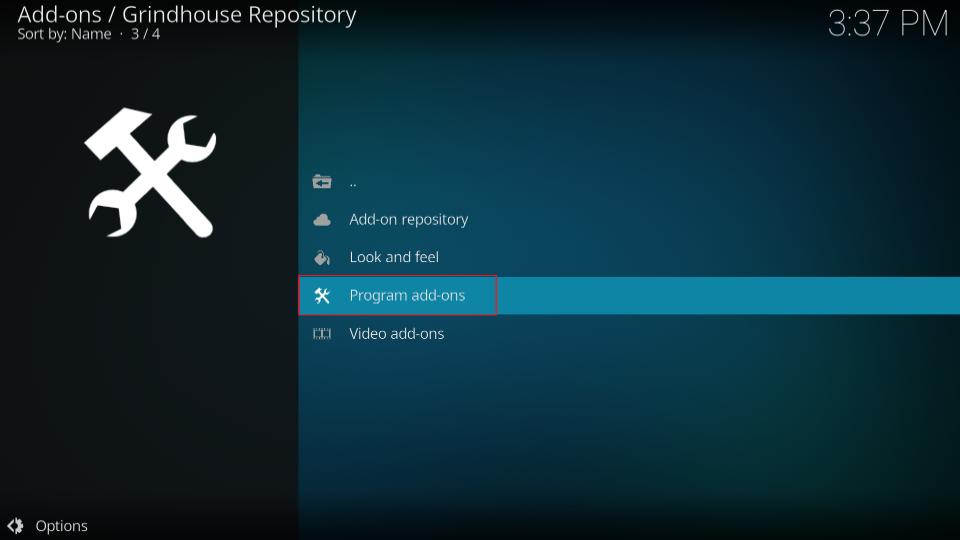
15. Open the Grindhouse Repository.

16. Click Program add-ons.
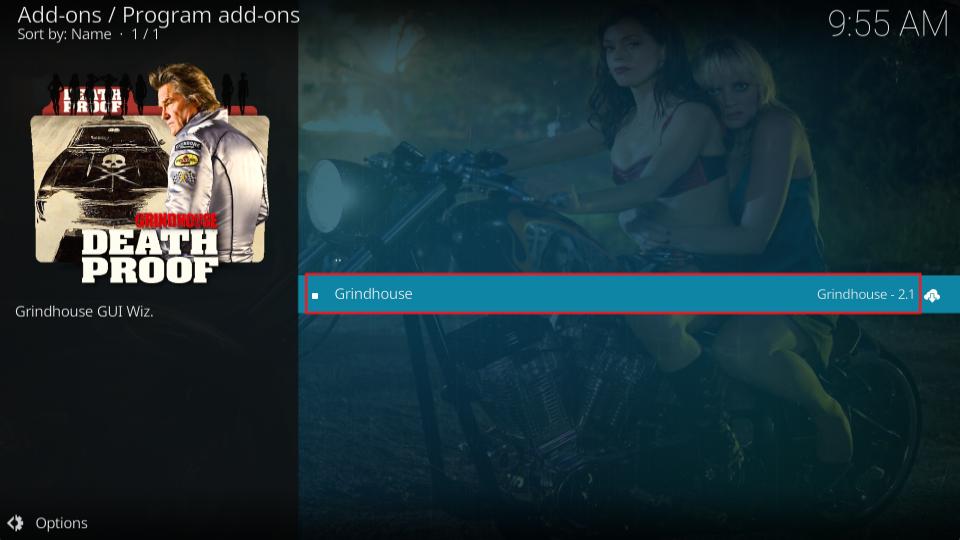
17. Click Grindhouse.
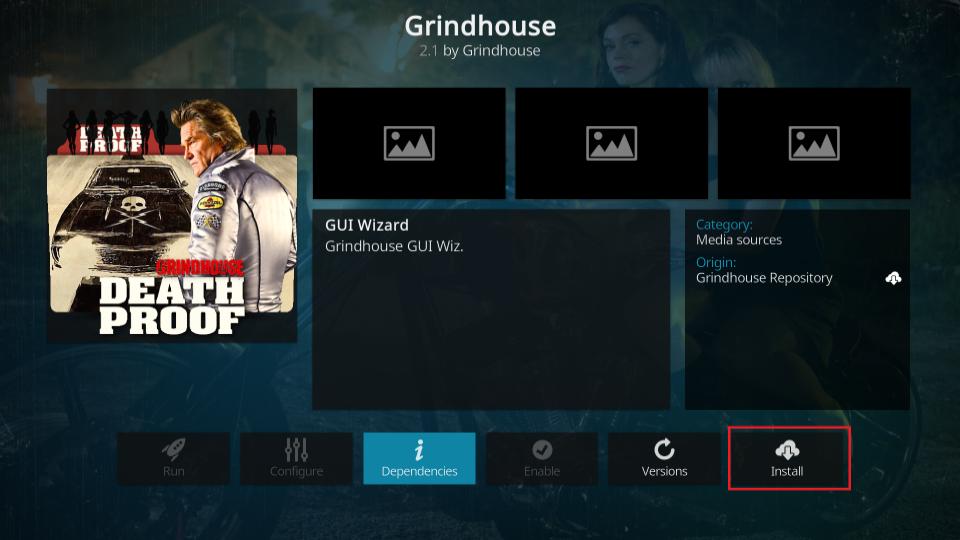
18. Click Install on the following window.
19. Grindhouse Wiz or MF’in Grindhouse Wizard 19 addon may take a few minutes to install. Wait for the notification.
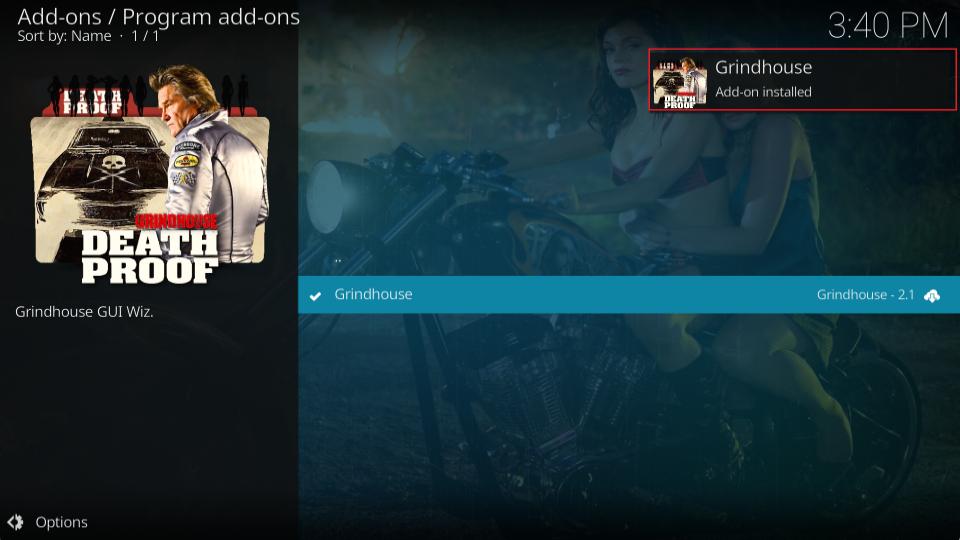
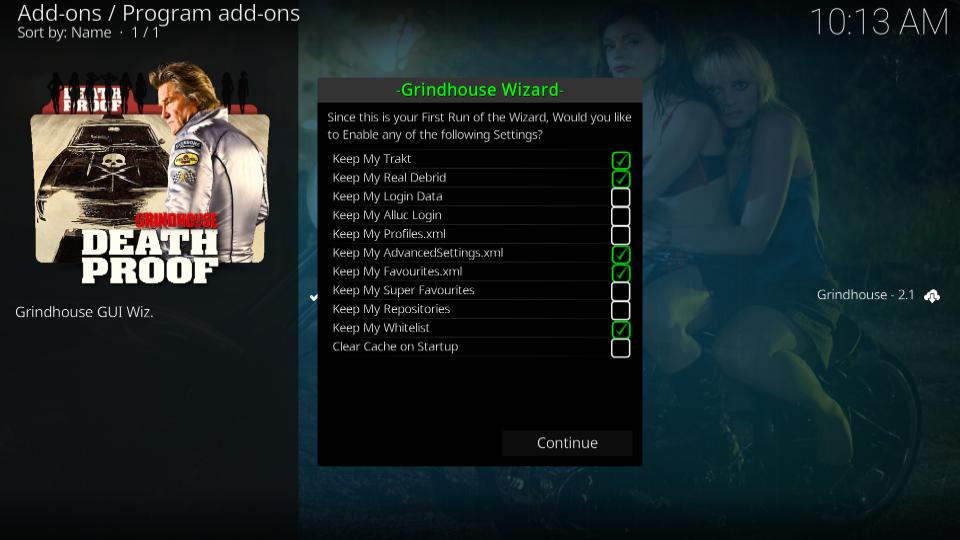
20. Once the Wiz has been installed, the following prompt will be displayed. Click Continue or press the back button.
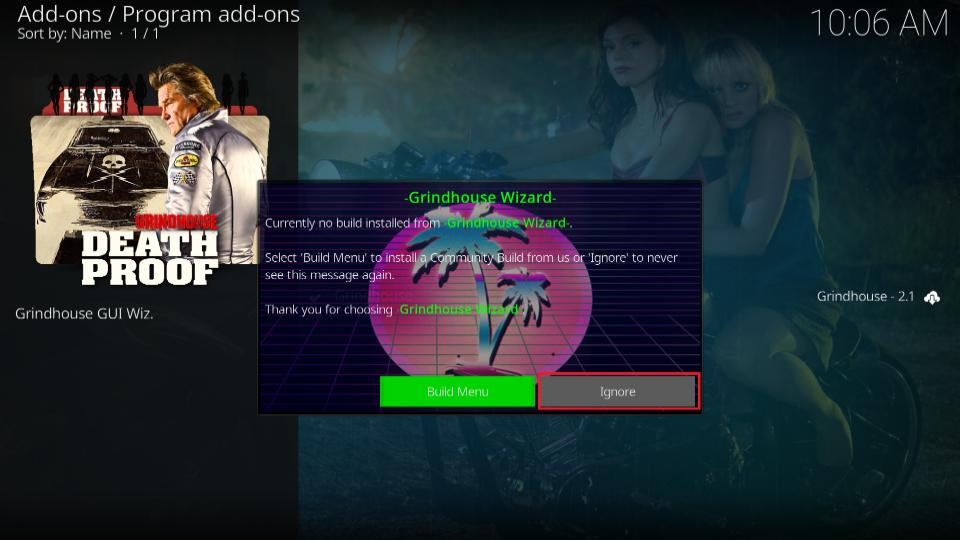
21. You must now see this prompt. Click on the Ignore button.
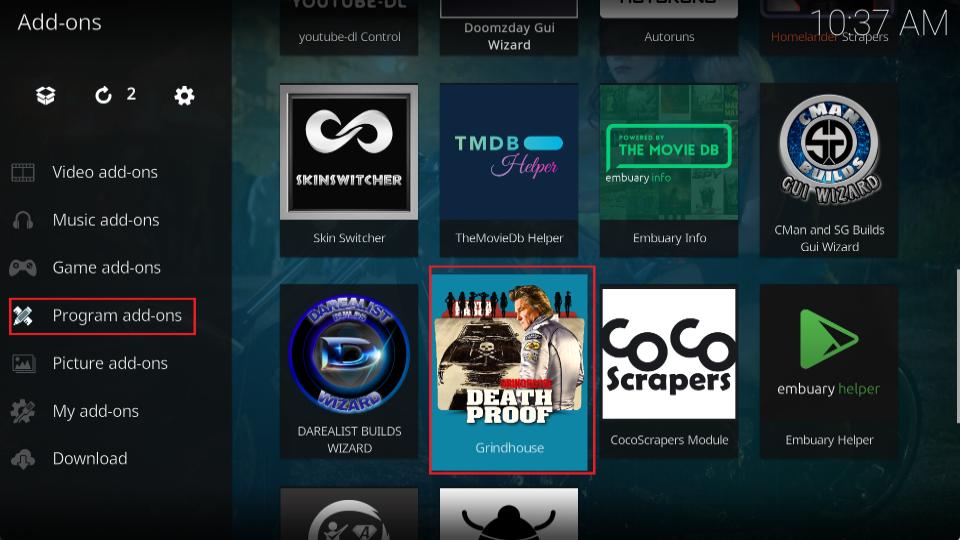
22. Press the back button to return to Kodi’s home screen. Highlight Add-ons on the left and click Grindhouse Wiz or MF’in Grindhouse Wizard 19.
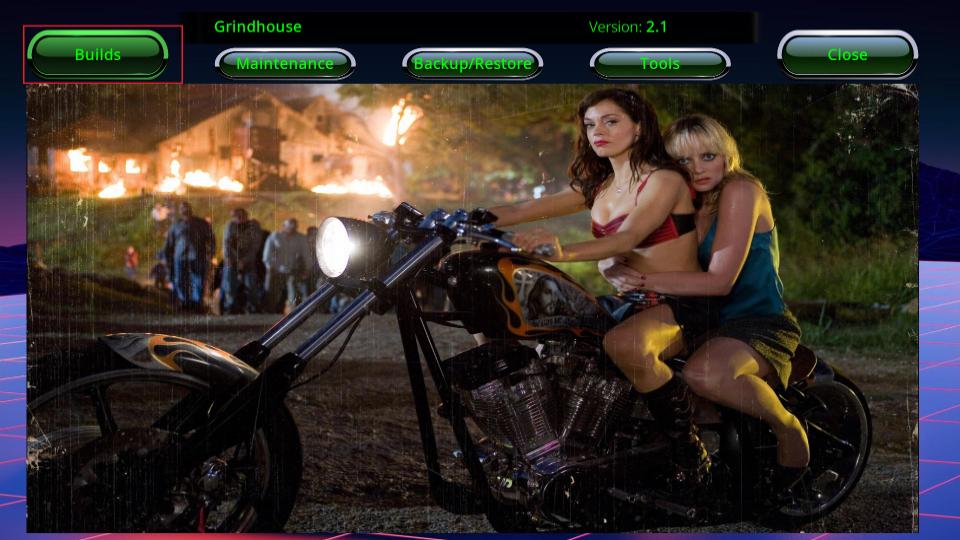
23. You must now see the following screen. Click Builds.
24. The list of the available builds appears on the screen. Go ahead and click the build you wish to install for your version of Kodi.
I am installing Blue Lite from the MF’in Grindhouse Wizard 19 and Kodi 19 builds for demonstration purposes.
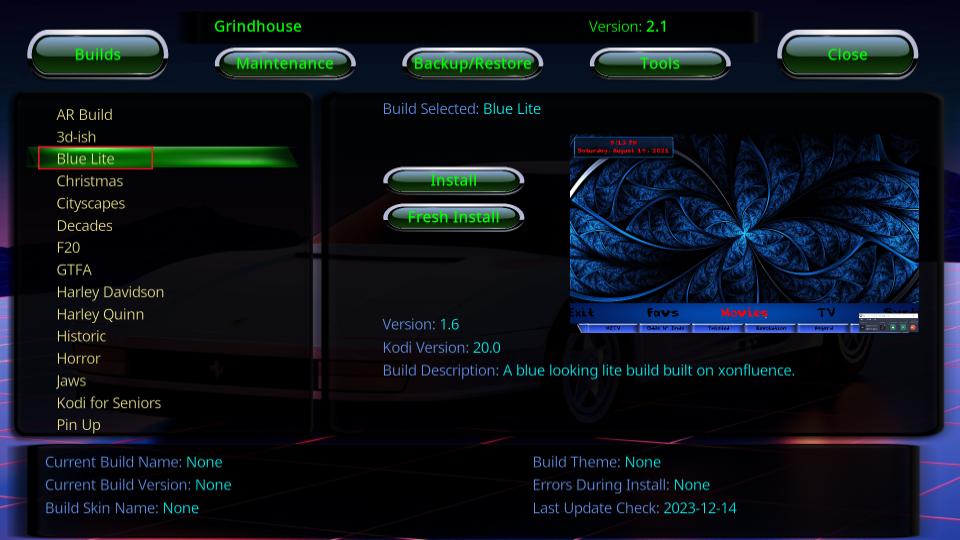
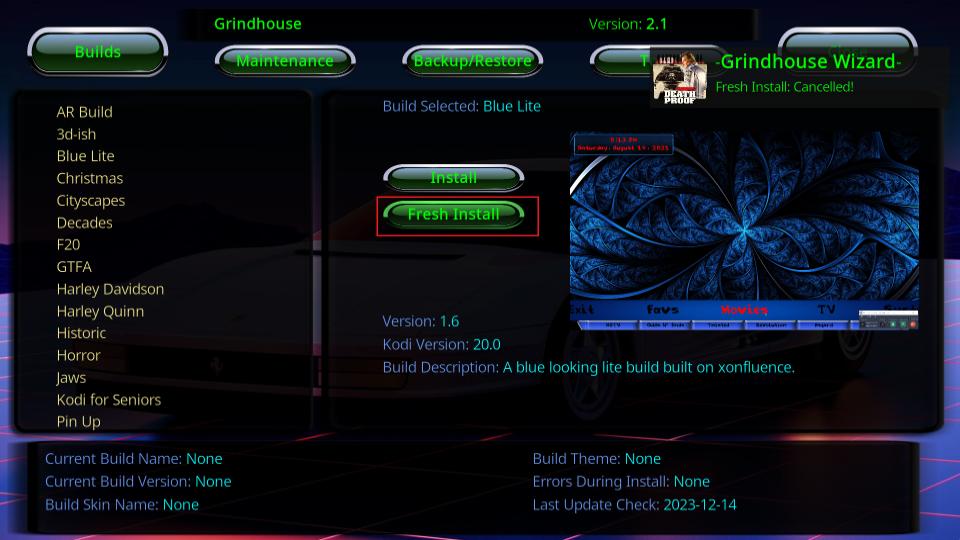
25. Now go ahead and click Install.
Note: You may click Install instead of Fresh Install. I prefer the latter because it cleans Kodi and gives me a fresh start.
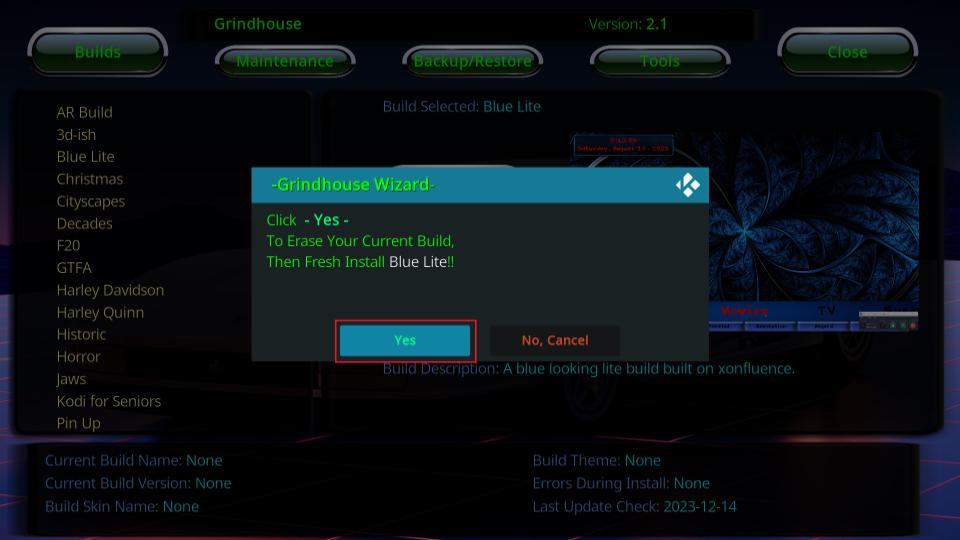
26. The wizard will ask you to download and install the Blue Lite build (or the build you selected). Click Yes, Install to continue.
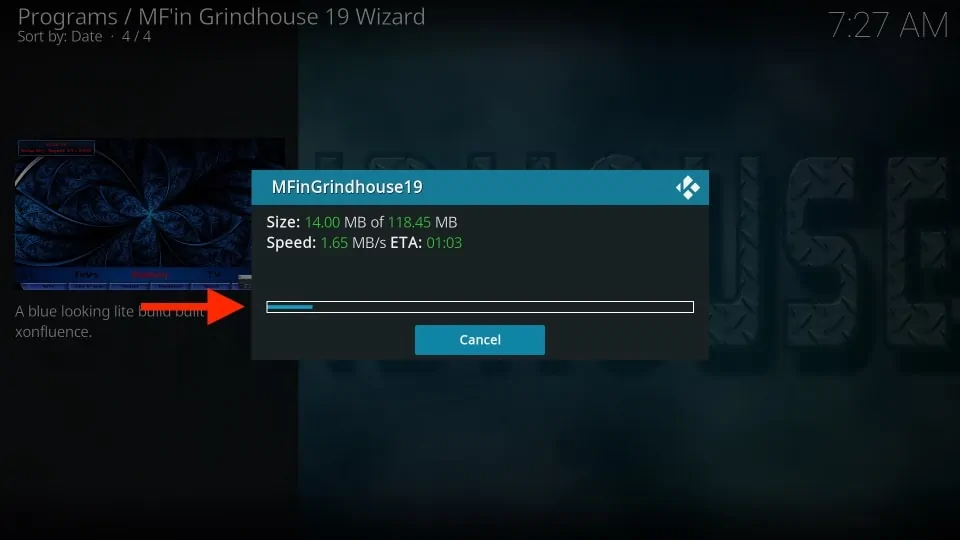
27. The build will now begin to download. It usually takes just a few minutes. However, it also depends on your location and network speed. Wait for the process to complete. After that, the build will automatically start installing.
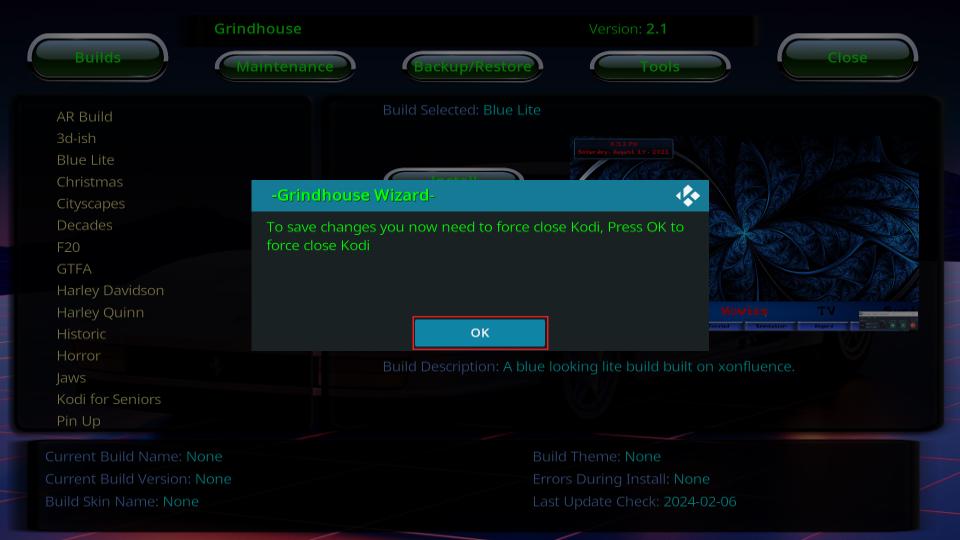
28. Click OK to force close the Kodi application and finalize the Blue Lite build installation.
This is exactly how you install the Grindhouse Builds on Kodi.
Before you start streaming with Kodi Addons or Builds, I would like to warn you that everything you stream on Kodi is visible to your ISP and Government. This means, streaming copyrighted content (free movies, TV shows, live TV, and Sports) might get you into legal trouble.
Thankfully, there is a foolproof way to keep all your streaming activities hidden from your ISP and the Government. All you need is a good VPN for Kodi. A VPN will mask your original IP which is and will help you bypass Online Surveillance, ISP throttling, and content geo-restrictions.
I personally use and recommend ExpressVPN, which is the fastest and most secure VPN. It is compatible with all kinds of streaming apps and devices.
NOTE: We do not encourage the violation of copyright laws. But, what if you end up streaming content from an illegitimate source unintentionally? It is not always easy to tell the difference between a legit and illegal source.
So, before you start streaming on Kodi, here's how to get VPN protection in 3 simple steps.
Step 1: Get the ExpressVPN subscription HERE. It comes with a 30-day money-back guarantee. Meaning, you can use it free for the first 30-days and if you are not satisfied with the performance (which is highly unlikely), you can ask for a full refund.
Step 2: Click HERE to download and install the ExpressVPN app on your streaming device. If you are using a FireStick, I have given the exact steps starting with Step 4 below.
Step 3: Click the Power icon to connect to a VPN server. That's all. Your connection is now secure with the fastest and best VPN for Kodi.

The following are the steps to install Kodi VPN on your Fire TV devices. If you have other streaming devices, follow Step 1-3 above.
Step 4: Subscribe to ExpressVPN HERE (if not subscribed already).
Step 5: Go to Fire TV Stick home screen. Click Find followed by Search option (see image below).

Step 6: Type Expressvpn in the search bar and select when it shows up.

Step 7: Click Download.

Step 8: Open the ExpressVPN app and Sign in using the email ID and password that you created while buying the ExpressVPN subscription.

Step 9: Click the Power icon to connect to a VPN server. That’s all. Your FireStick is now secured with the fastest VPN.

How to Use Grindhouse Kodi Build: A Quick Look
Grindhouse has an extensive collection of Kodi builds. You can pick any build you like from the list. Since we installed the Blue Lite build for demonstration, let’s take a quick look at it. Blue Lite Kodi build has the following home screen:
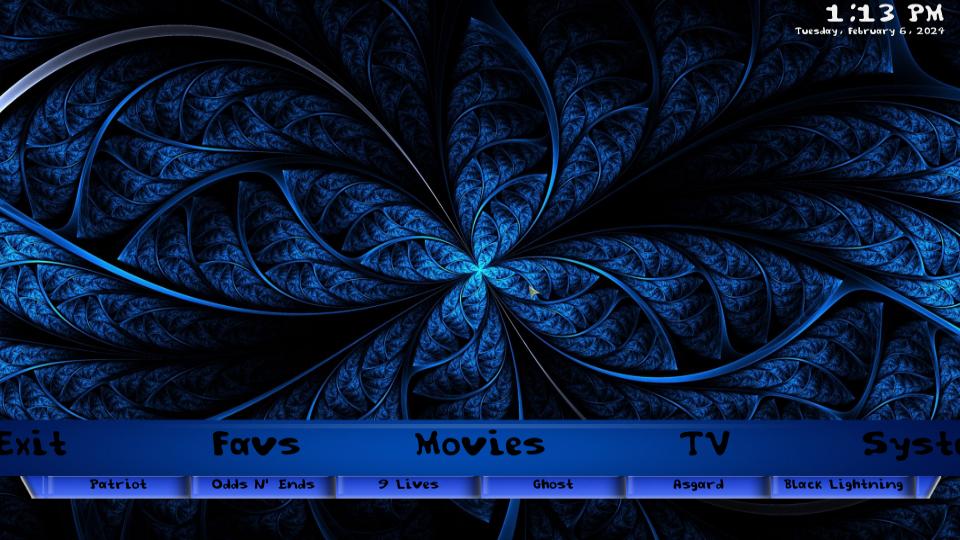
The wallpapers are dynamic and change every few seconds. It has the following set of home menu items you can use for streaming purposes:
– TV
– Movies
– Favs (only if you have added items to favorites)
When you hover over a home menu item, the related options are displayed below as a sub-menus. Here is the list of popular addons you will find here:
– Asgard
– Black Lightening
– Patriot
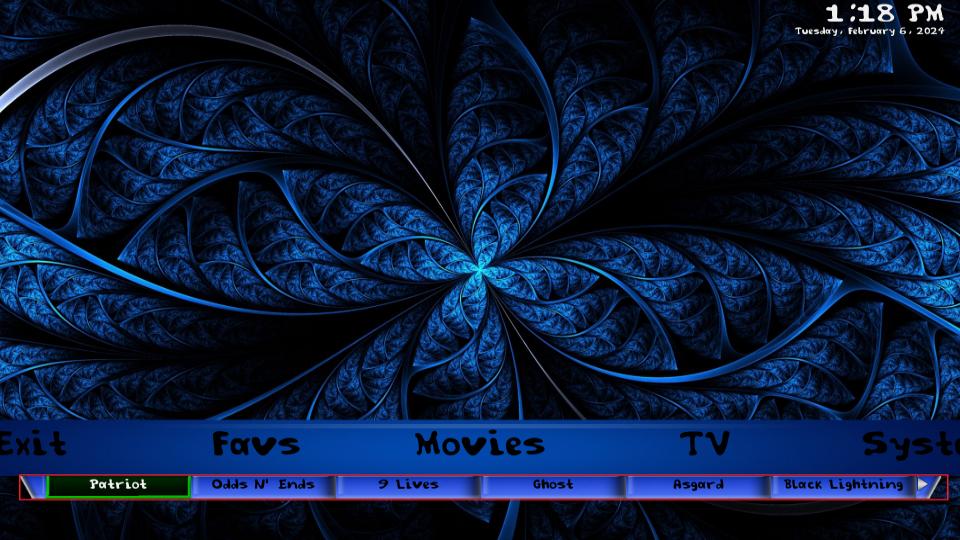
As you can see, this build is primarily for Movies and TV Shows. However, addons like The Crew have some Live TV options as well.
The build keeps things lightweight and minimal by stripping down to basics. If you want more options, you can try one of the other, more feature-rich Grindhouse Kodi builds. Also, you can explore and install more addons from our list of Best Kodi Addons. Here is our guide on how to install any addon over a build.
Verdict
Grindhouse is a decent repository of Kodi builds. It offers a diverse range of builds for all sorts of devices. Try a few builds, and you will find one you want to stick with.
Blue Lite is one of my favorite Grindhouse Kodi builds. It is extremely lightweight and does not exceed 150 MB of installation data. It has just a bunch of addons, but they are the most popular ones and do a fine job of streaming movies and shows. This build does not have any Live TV option on the home menu. However, multipurpose addons let you stream live satellite TV worldwide. The build’s font is not legible but can be changed in the Skin settings.
Related:
- How to Install Misfit Mods Lite Kodi Build
- How to Install DaButcher Kodi Build
- How to Install Atomic Matrix Kodi Build
- How to Install Hard Nox Kodi Build

Suberboost Your FireStick with My Free Guide
Stay Ahead: Weekly Insights on the Latest in Free Streaming!
No spam, ever. Unsubscribe anytime.

Unless you have Realbebrid do not bother with this one folks!
I have Grindhouse Techy on Kodi 19.3 and want to add an addon to the build but cannot find the file manager from the build.
Won’t let me watch anything keeps asking for real debris authorisation
Hi Zara. Grindhouse seems to be currently down. Please try a different build from our list of best Kodi Builds. There are a lot to choose from, such as Xenon or Doomzday.
Grindhouse does not install on KODI 19…………..
Hi Mark, it’s working. I just checked. Please try again. You may have encountered a temporary issue.