 In this guide, I will show you how to install the Joker Builds on Kodi. These builds work on all the devices including FireStick & Fire TV, Android TV Boxes & Smart TVs, Windows, Mac, & Linux, as well as iOS and Android mobile devices.
Update: This build is currently unavailable. See our list of the best Kodi builds for some alternatives.
The Joker Wizard Builds are relatively new. However, the Wizard has some decent builds you would want to try. It also has the lightweight builds for low-spec/low-RAM devices as well.
You will find several popular Kodi addons with the Joker Kodi builds. This will get you streaming instantly.
I have tested and used the Joker builds and find them worthy enough to be part of our list of the best builds for Kodi.
Attention Kodi Users!
Governments and ISPs worldwide monitor your online activities. If you use third-party Kodi addons, you should always use a reliable Kodi VPN to hide your identity and prevent issues with your streaming experience. Currently, your IP is visible to everyone.
I use ExpressVPN, the fastest and most secure VPN in the industry. It is very easy to install on any device, including Amazon Fire TV Stick, PC, Mac, and Smartphones. It also includes a 30-day money-back guarantee. If you're not satisfied with their service, you can request a refund. ExpressVPN is offering a special NEW YEAR deal: get 4 months free and save 78% on the 2-year plan.
Install and Use Best Kodi VPN | Why you must use a VPN at all times
How to Install the Joker Builds on Kodi
When you are installing a third-party Kodi build, you must first allow the downloads from unknown sources. For that, a small change in the Kodi security settings needs to be made. So, here are the steps to follow before we get to the installation steps for the build:
Legal Disclaimer: This guide is for informational purposes only. FireStickTricks.com does not own, host, operate, resell, or distribute any apps, services, or content mentioned.
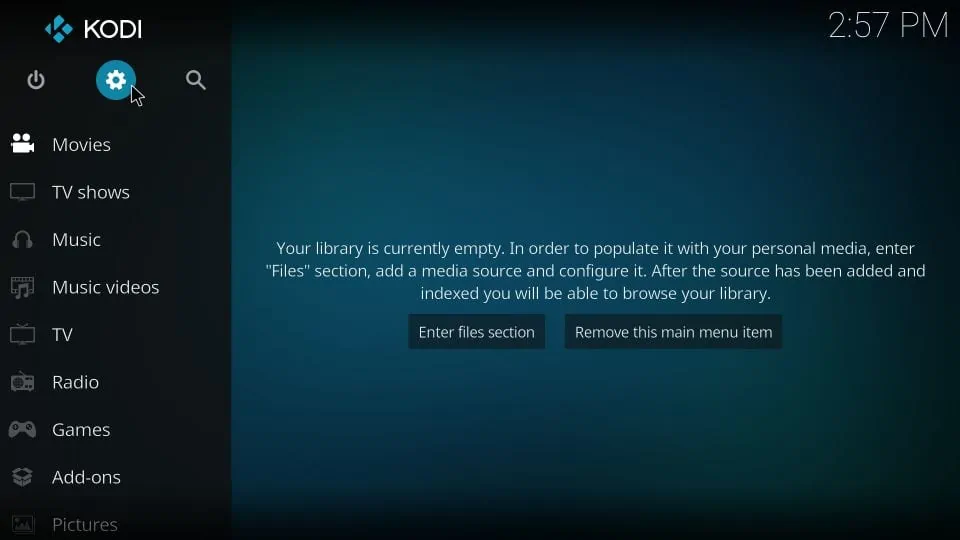
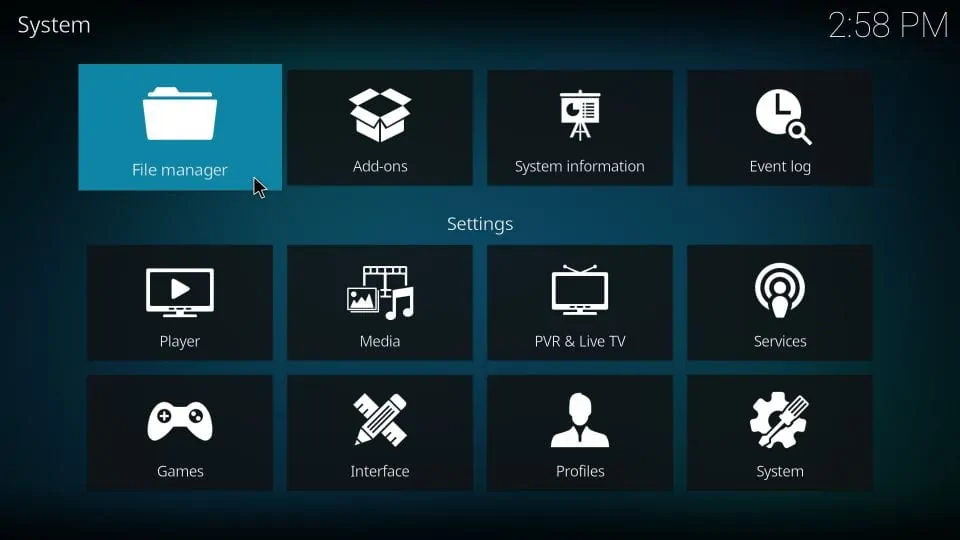
1: Open the Kodi application. This is the home screen. Click the option Settings. It is the gear icon in the top-left corner.
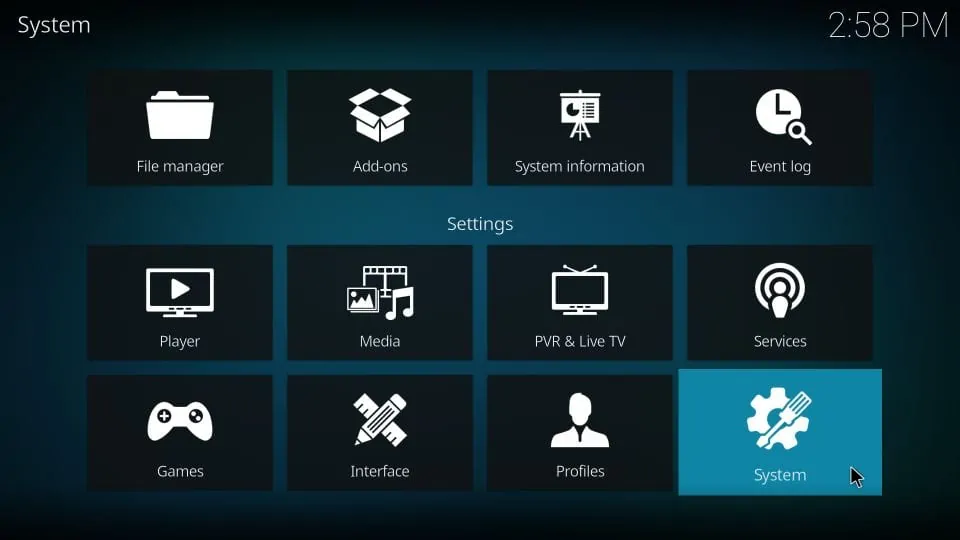
2: Now, this window will appear. Select and click System.
3: You may now choose the option Add-ons in the left menu.
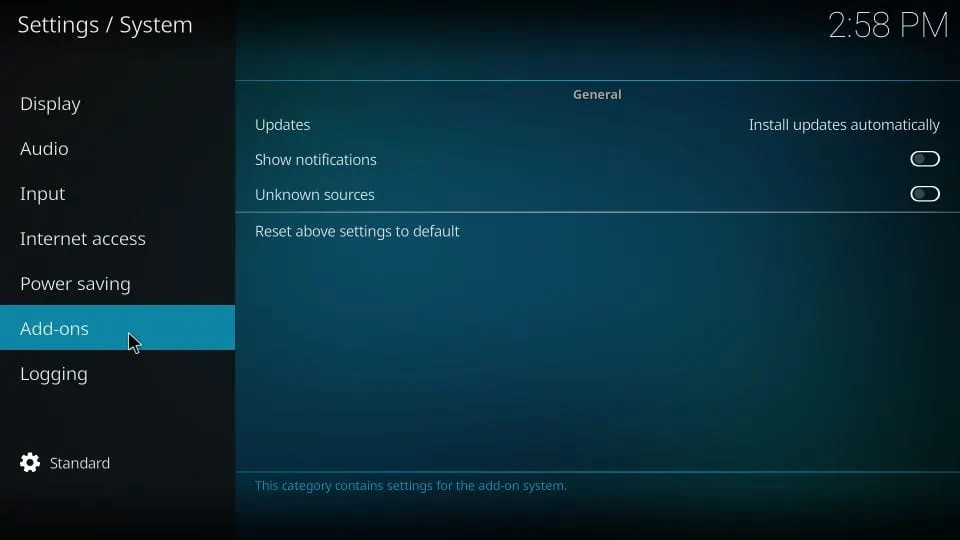
4: The related options appear on the right side. Click Unknown Sources and turn it ON if you find that it is OFF.

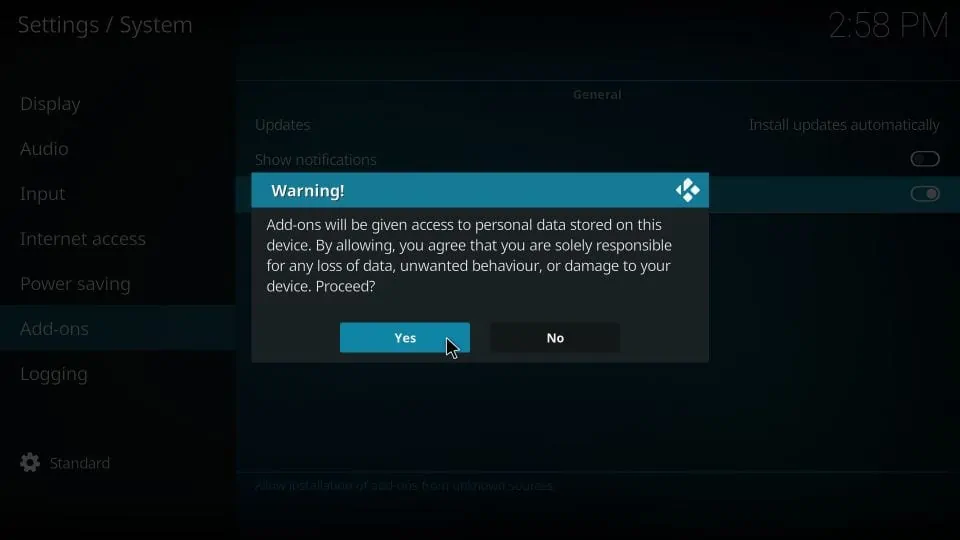
5: To confirm that you wish to keep the Unknown Sources turned on, click Yes on the following prompt.
You can now get started with the installation of Joker Builds on Kodi.
Installation Steps for Joker Builds
Follow the steps below and install the builds:
1: Open the Kodi Settings one more time from the home screen by clicking the gear icon
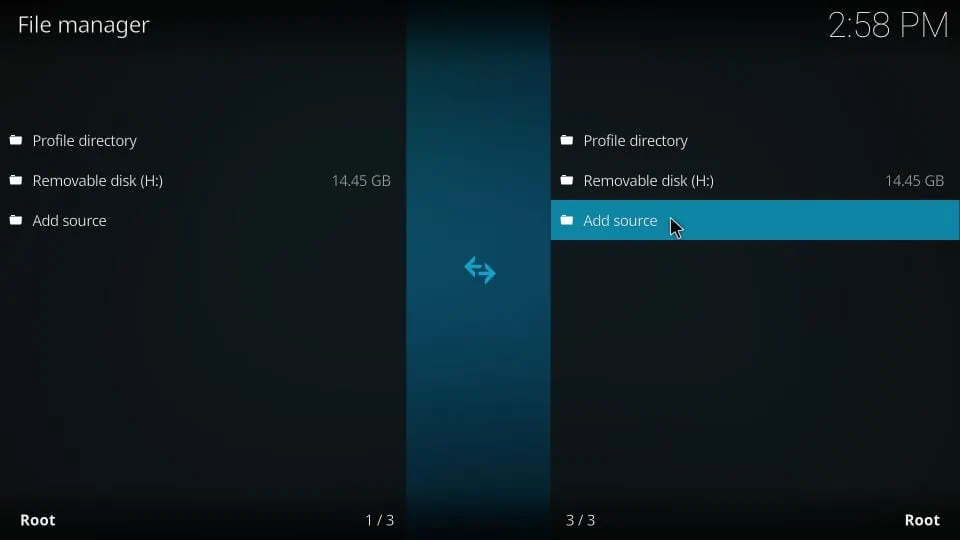
2: Within the Kodi Settings, go ahead and click the option File manager.
3: This is the window that you see now. Click the option Add source on either side of the window.
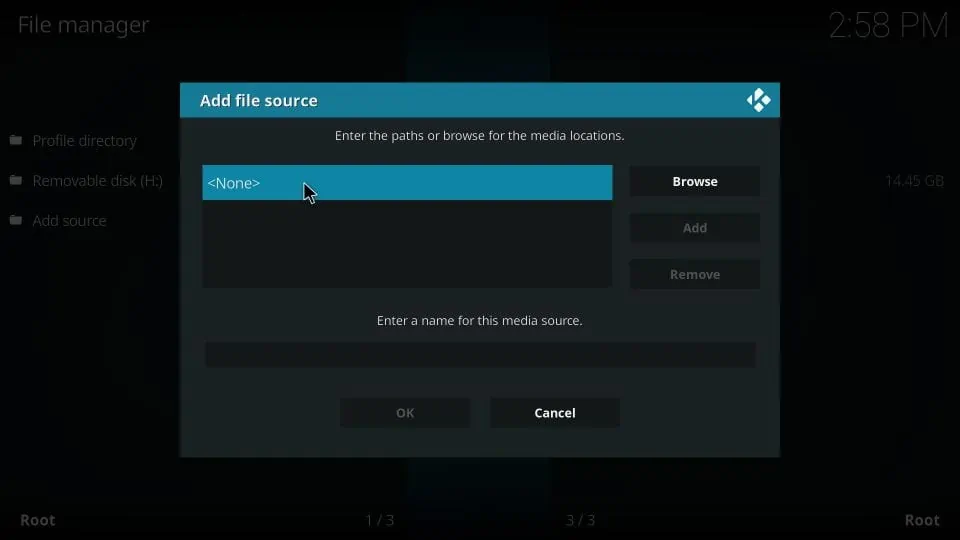
5: This is the popup window that should appear on your Kodi screen now
Click where you can see the option <None>
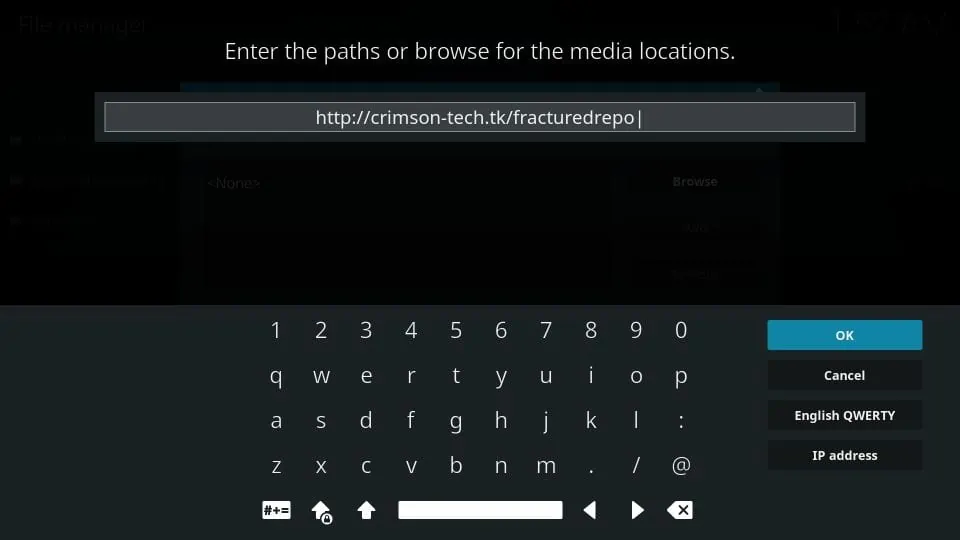
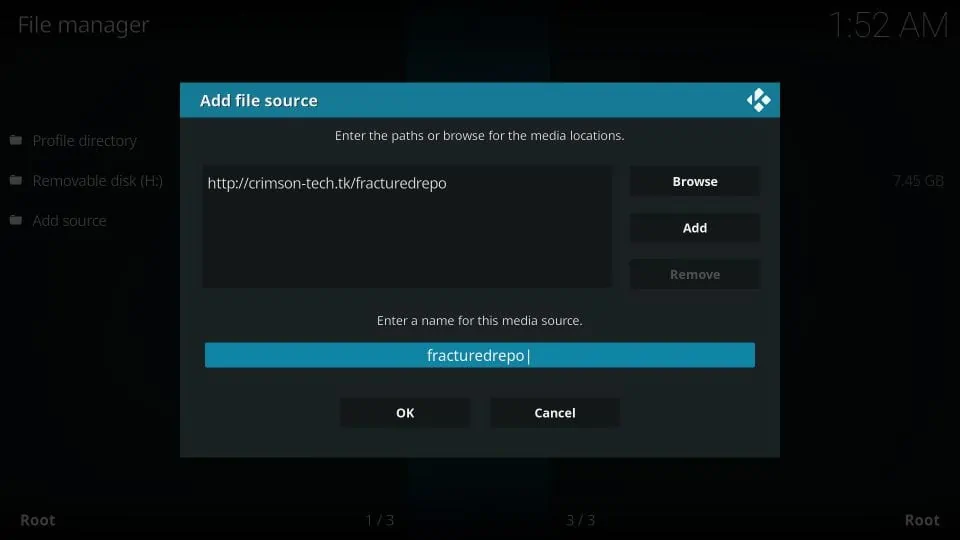
6: On this window, type the source URL http://crimson-tech.tk/fracturedrepo
Use the new URL: http://defcon-one.tk/fracturedrepo/
Type the URL carefully and correctly or else the build won’t install
Click OK when you are ready
7: You should now return to this popup window
Now, highlight the section where it asks you to enter the source name
You may choose any name you wish to identify this source with later
I am keeping the default name fracturedrepo
Click OK
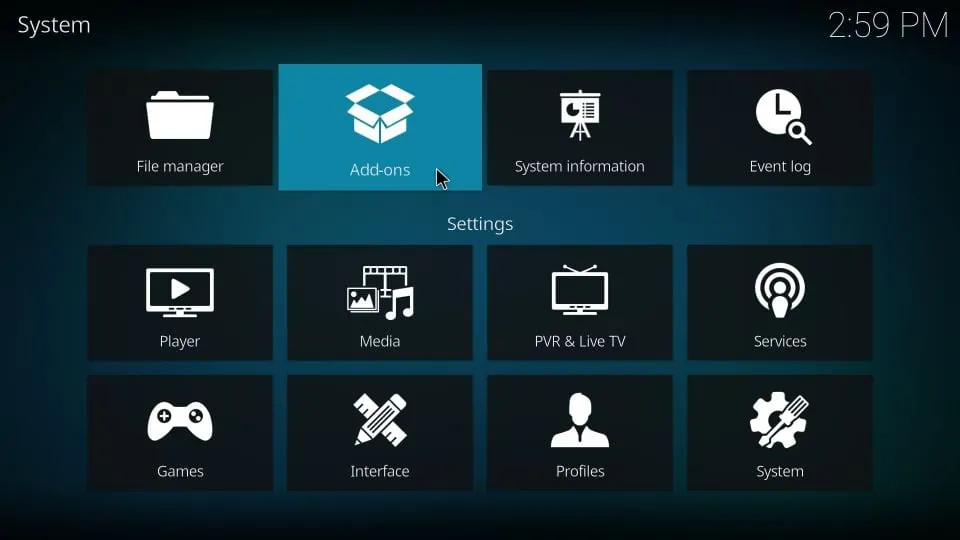
8: Go back to the Settings window again
Press the back button once or navigate from the Kodi home screen
Click Add-ons
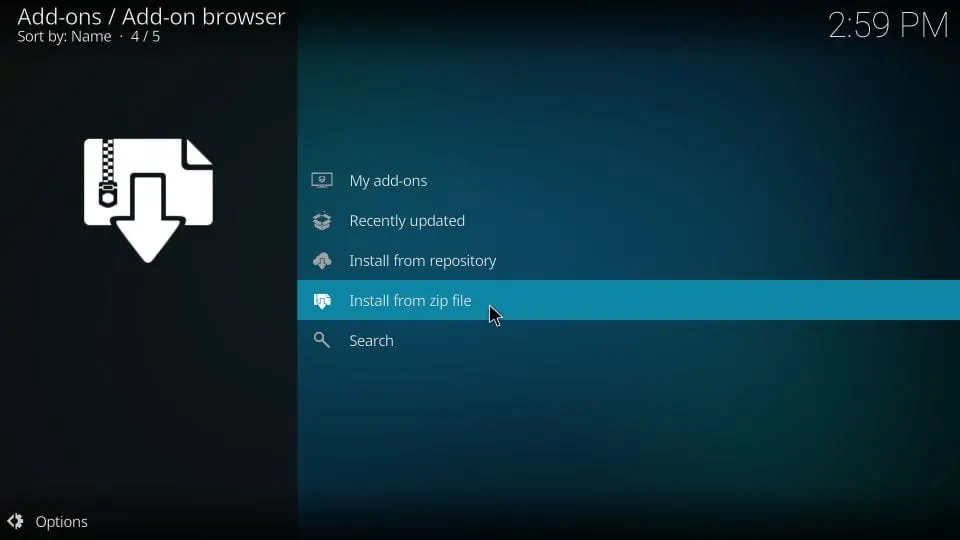
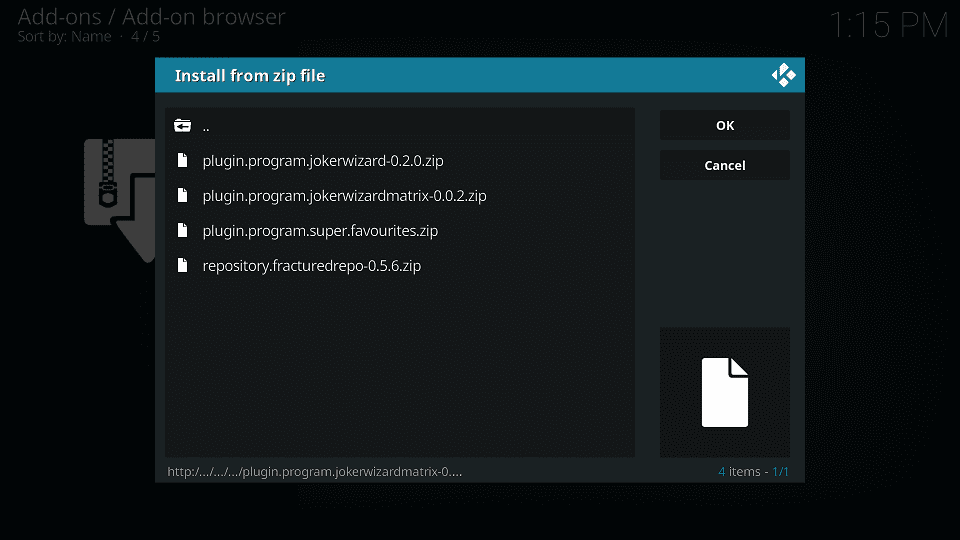
9: Open the menu option Install from zip file
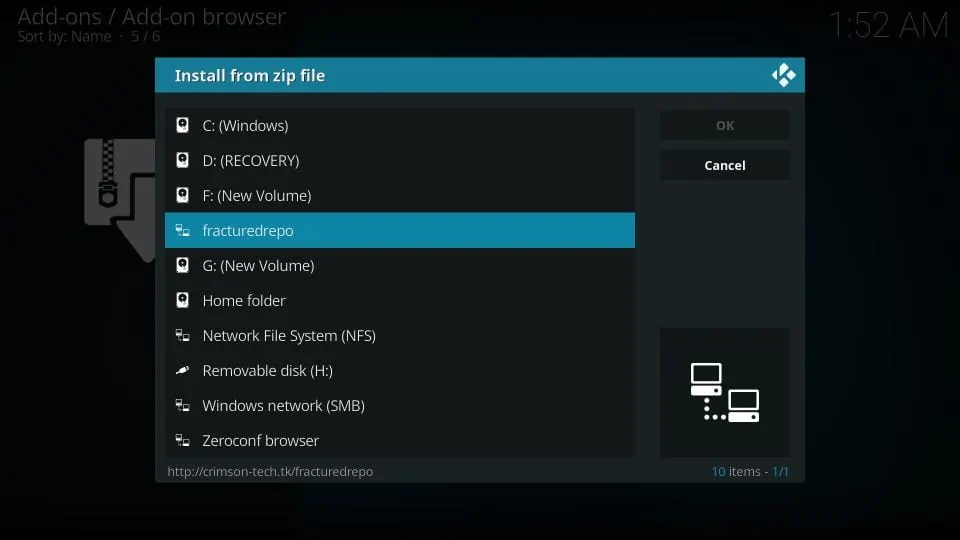
10: The following window will pop up. Here, you can see the source name that you added earlier. Click the name
It is fracturedrepo for this guide
11: If you are using Kodi 19 Matrix, click the zip file plugin.program.jokerwizardmatrix-x.x.x.zip
If you are still using Kodi 18 Leia, click plugin.program.jokerwizard-x.x.x.zip
Note: The file version number on your screen might be different from the image below
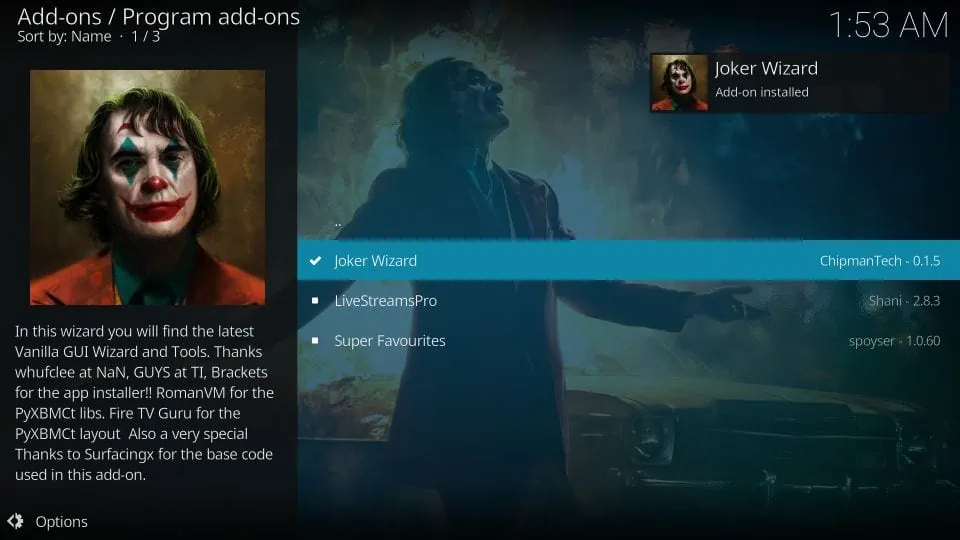
12: You should see the notification in the top-right corner saying Joker Wizard Add-on installed
This will take 2-3 minutes!
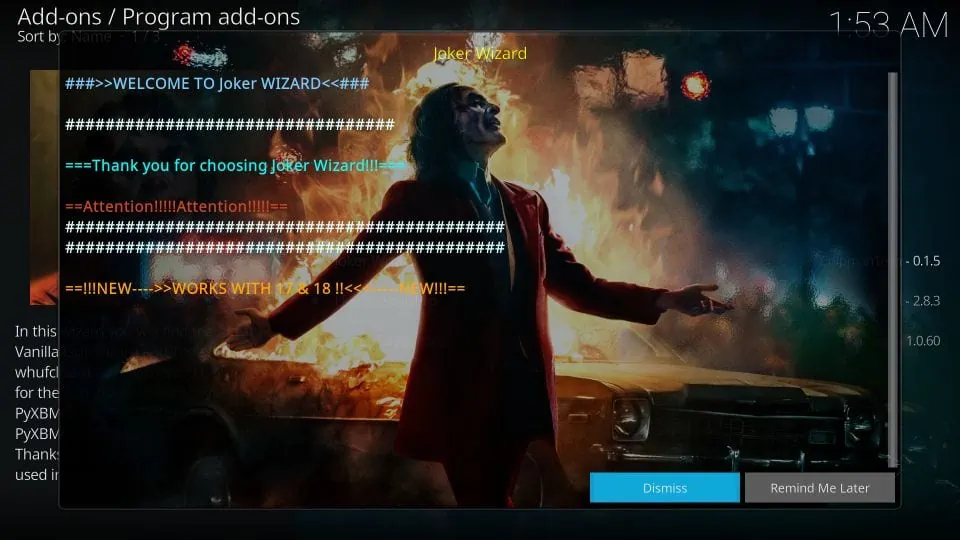
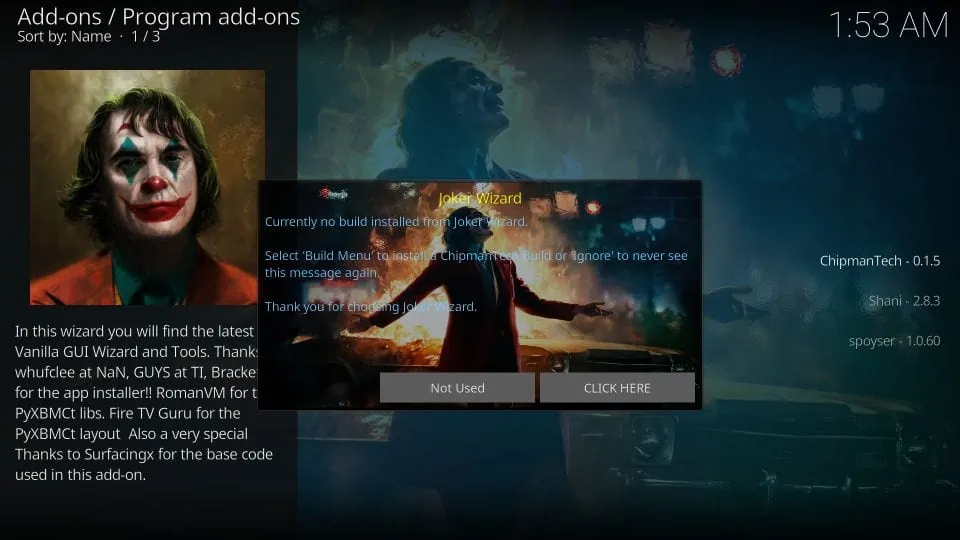
13: Moments after the installation of the Wizard, this popup is displayed
Click Dismiss or just press the back button
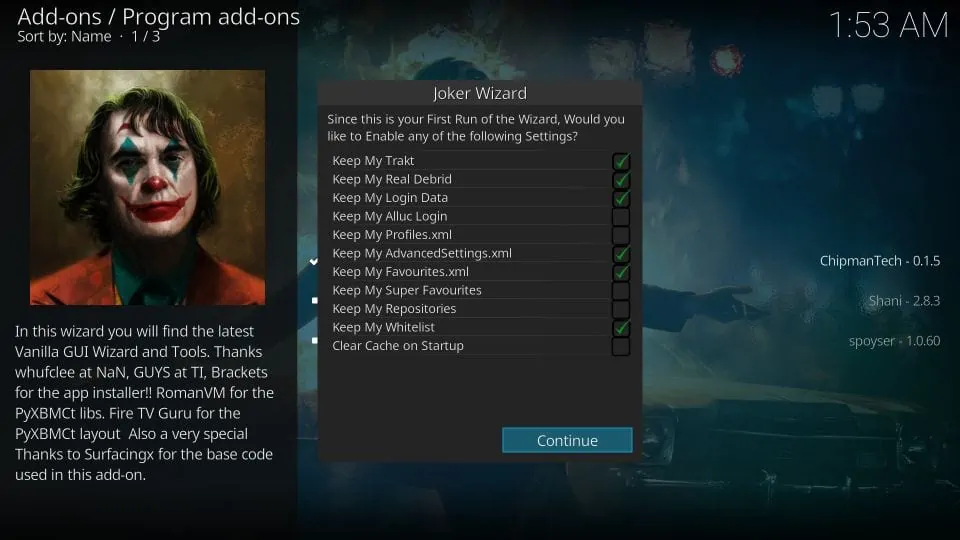
14: Another popup is displayed
Click Continue or just press the back button
15: Press the back button again when you see this popup window
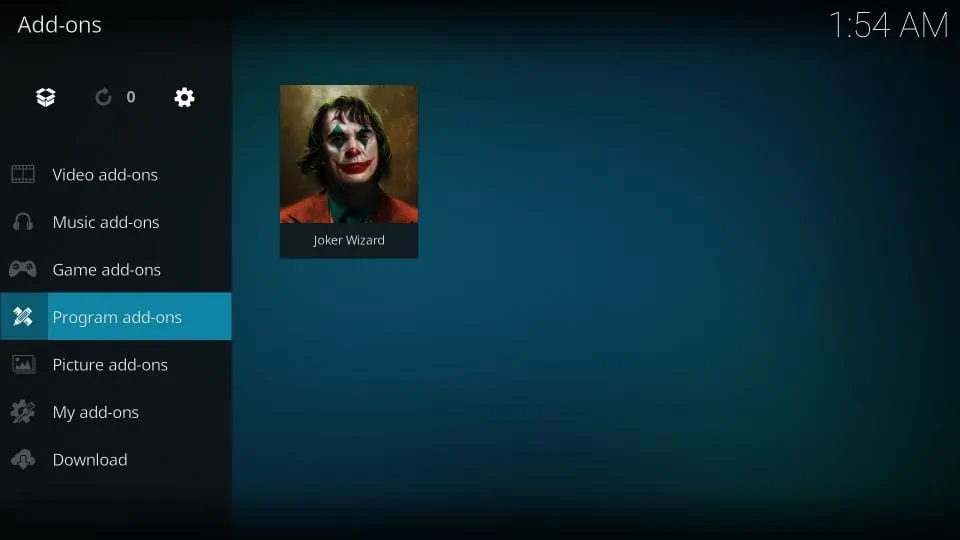
16: We will now go back to the home screen of Kodi. Keep pressing the back button repeatedly until you get there
From the home screen, navigate to Add-ons > Program add-ons
Open the Joker Wizard
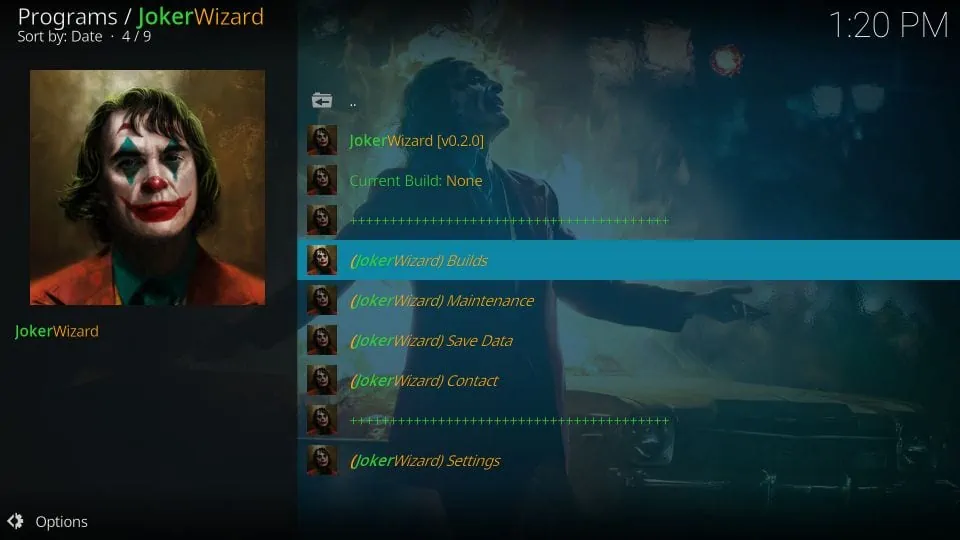
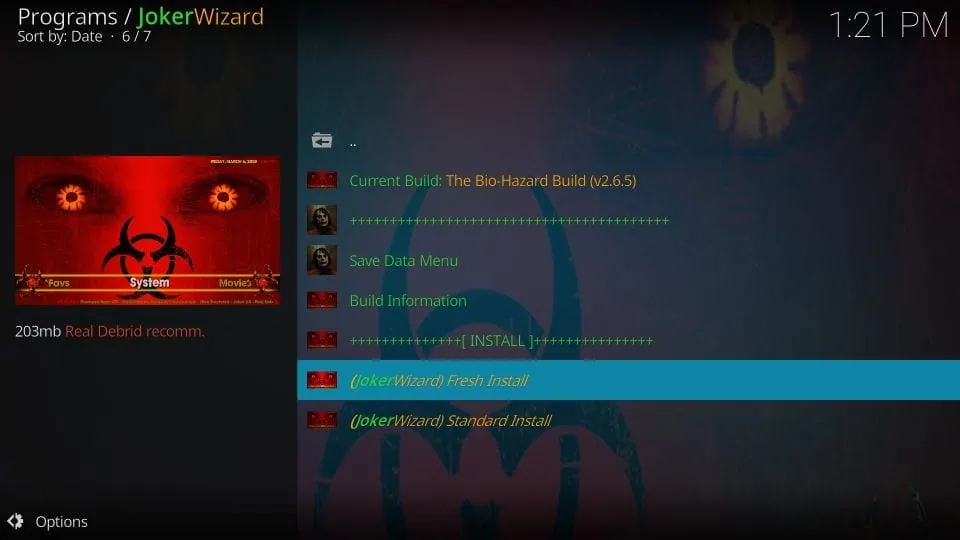
17: This is how the interface of the Joker Wizard looks like
Click Builds
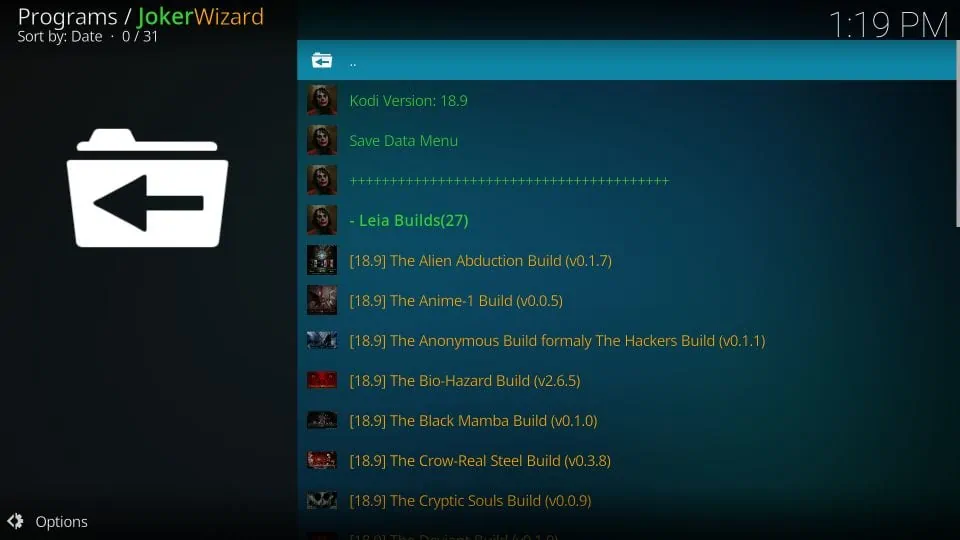
18: You should see the list of the Joker Kodi builds. Click the build you wish to install
I am using The Bio-Hazard build for demonstration purposes. If this build is not available, you may choose any other build
19: Click Fresh Install
By clicking this option, you will erase any existing data on Kodi and install the build fresh.
You may also choose the Standard Install option, but it may cause problems later
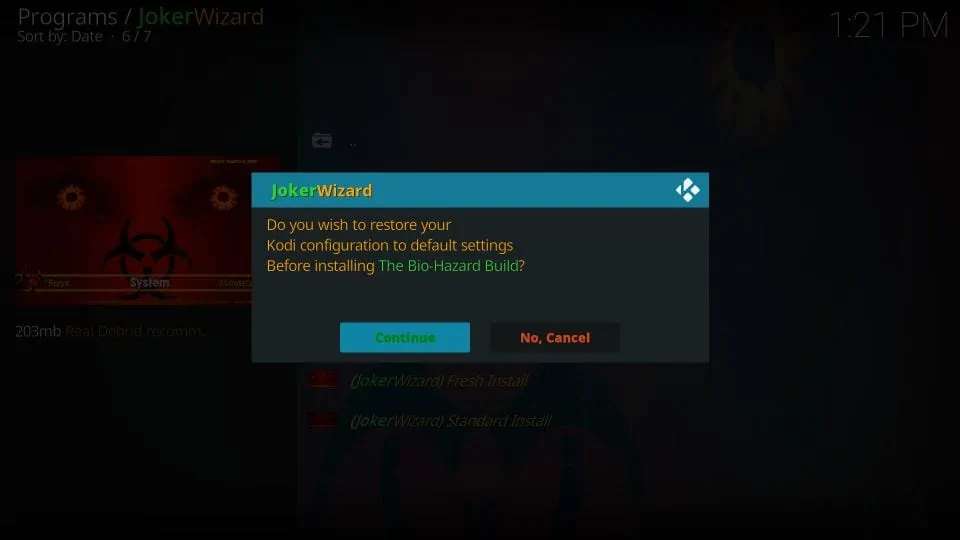
20: Click Continue when this prompt is displayed asking if you wish to erase existing data before installing the build
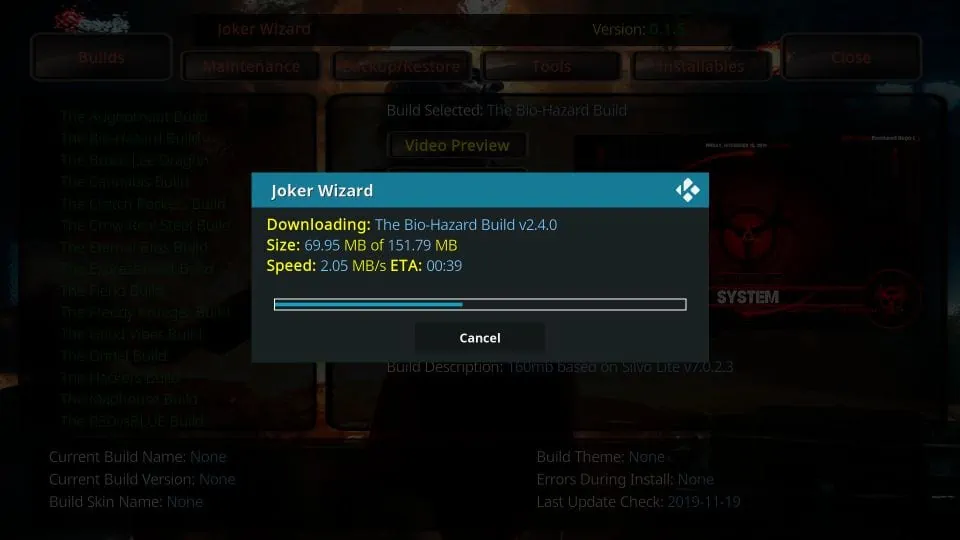
21: Within moments, the Joker Wizard will start installing the Joker Builds
This is going to take a few minutes depending upon your network connection (and even your location)
Wait!
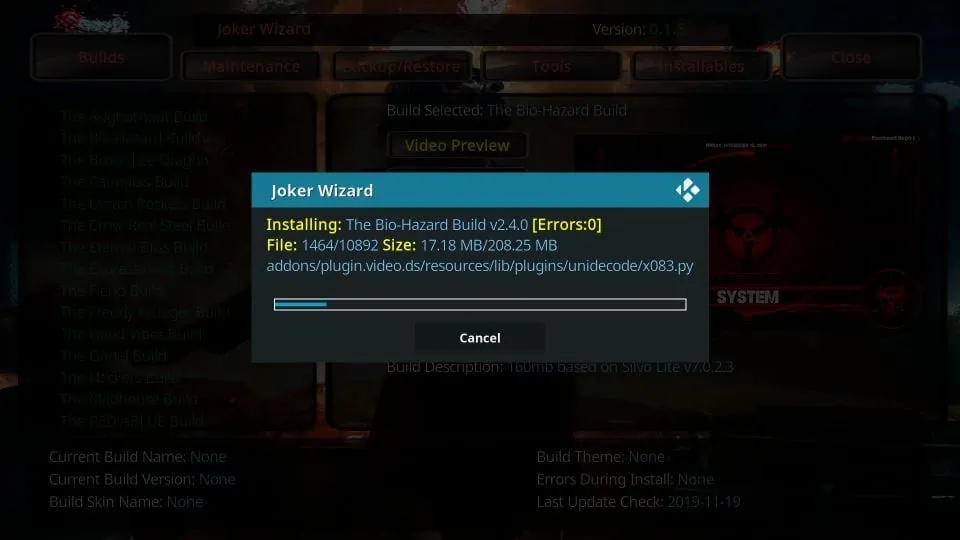
22: When the build has downloaded, it will install
This again takes some time
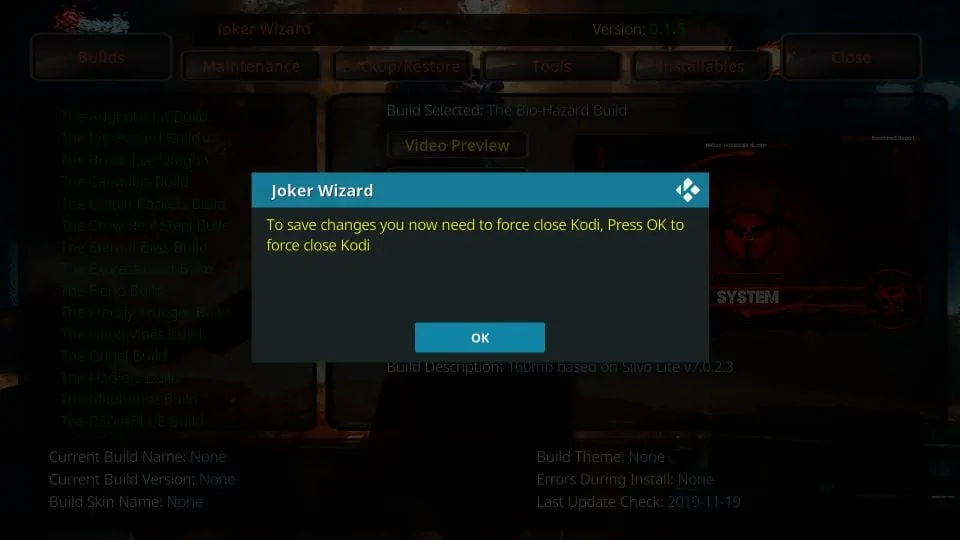
23: When the Joker Kodi build has eventually installed, this prompt appears asking you to click OK to force close Kodi
Click OK
That will be it. The Joker build you installed will get activated when you open the Kodi app the next time.
Before you start streaming with Kodi Addons or Builds, I would like to warn you that everything you stream on Kodi is visible to your ISP and Government. This means, streaming copyrighted content (free movies, TV shows, live TV, and Sports) might get you into legal trouble.
Thankfully, there is a foolproof way to keep all your streaming activities hidden from your ISP and the Government. All you need is a good VPN for Kodi. A VPN will mask your original IP which is and will help you bypass Online Surveillance, ISP throttling, and content geo-restrictions.
I personally use and recommend ExpressVPN, which is the fastest and most secure VPN. It is compatible with all kinds of streaming apps and devices.
NOTE: We do not encourage the violation of copyright laws. But, what if you end up streaming content from an illegitimate source unintentionally? It is not always easy to tell the difference between a legit and illegal source.
So, before you start streaming on Kodi, here's how to get VPN protection in 3 simple steps.
Step 1: Get the ExpressVPN subscription HERE. It comes with a 30-day money-back guarantee. Meaning, you can use it free for the first 30-days and if you are not satisfied with the performance (which is highly unlikely), you can ask for a full refund.
Step 2: Click HERE to download and install the ExpressVPN app on your streaming device. If you are using a FireStick, I have given the exact steps starting with Step 4 below.
Step 3: Click the Power icon to connect to a VPN server. That's all. Your connection is now secure with the fastest and best VPN for Kodi.

The following are the steps to install Kodi VPN on your Fire TV devices. If you have other streaming devices, follow Step 1-3 above.
Step 4: Subscribe to ExpressVPN HERE (if not subscribed already).
Step 5: Go to Fire TV Stick home screen. Click Find followed by Search option (see image below).

Step 6: Type Expressvpn in the search bar and select when it shows up.

Step 7: Click Download.

Step 8: Open the ExpressVPN app and Sign in using the email ID and password that you created while buying the ExpressVPN subscription.

Step 9: Click the Power icon to connect to a VPN server. That’s all. Your FireStick is now secured with the fastest VPN.

Overview of the Joker Kodi Build
We have installed The Bio-Hazard build. So, that’s the build we are going to look at. The other Joker builds are fundamentally the same with some differences in the interface and the Kodi addons they come with.
To use the build after the installation, run the Kodi app. You will notice that the build carries out some updates when you open it the first time. Allow it a few minutes to finish the updates. This will make sure the build runs smoothly.
Here is the user interface of Kodi with the Bio-Hazard Joker build:
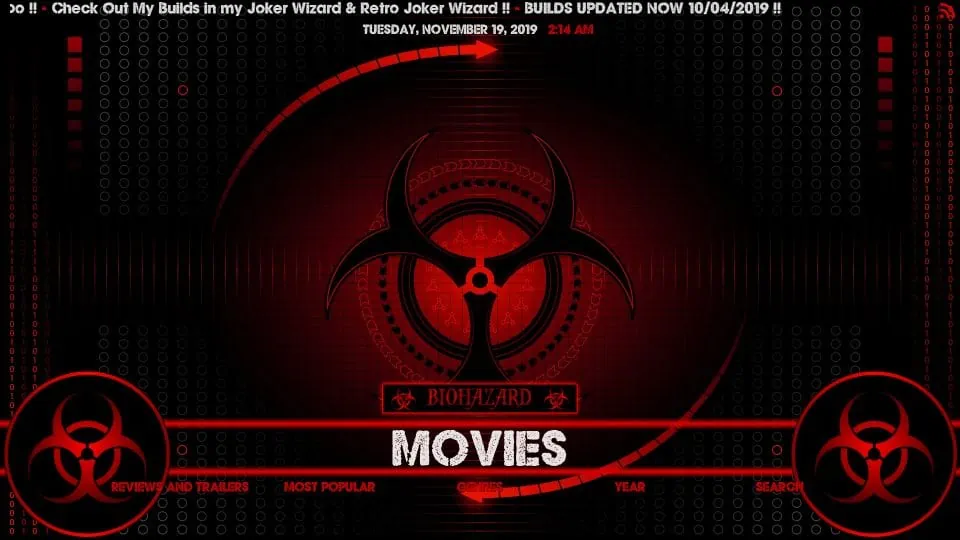
As you can see, Bio Hazard is a minimal and lightweight build. Therefore, it works great on all the devices, including FireStick, which has moderate specs.
You can get started with the build by choosing the desired menu options. Here are the menu items you can use for streaming purposes:
- Movies
- TV Shows
- Sports
- Kids
- Live TV
- Music
Besides the above, here are some of the utility menu items:
- My Apps
- Search
- Faves
- System
The build also has a submenu underneath the main menu. The submenu displays the options based on the menu item you have selected. For example, when you choose Movies, the following submenu options are displayed:
- Reviews and Trailers
- Most Popular
- Genres
- Year
- Search
The build does not display any suggested content or the addons on the home screen. If you are looking to browse the content by add-ons, select System in the main menu and click Add-on Browser in the submenu. Now, navigate to My add-ons > Video add-ons
Here is the list of the addons that come preinstalled with this Joker Kodi build:
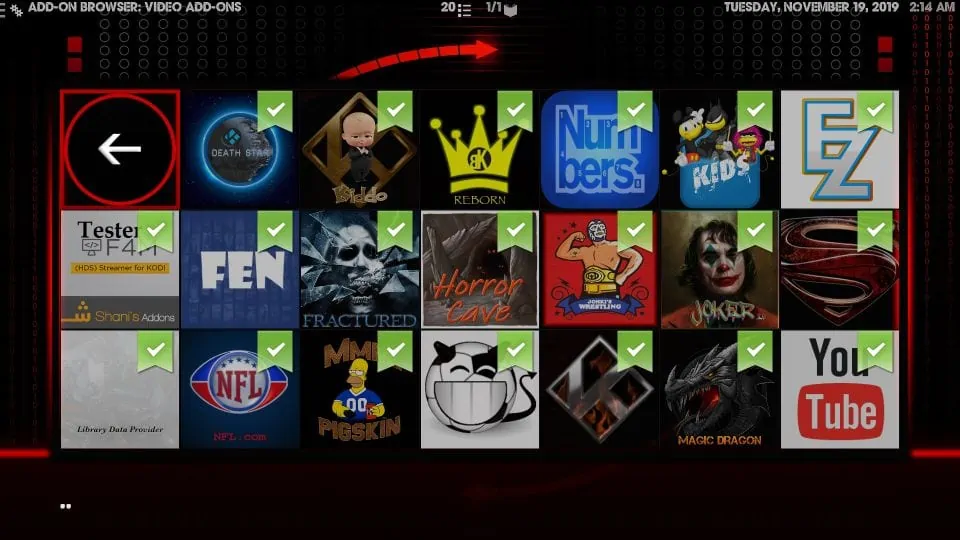
DeathStar, Numbers, Fen, The Magic Dragon, SportsDevil, are some of the popular addons with this build.
Wrapping Up
Joker Builds are not very popular at this time but the Wizard hosts some decent Kodi builds. If you have been using the old Kodi builds, you may find some of these builds refreshing. You can install the Joker Kodi builds quite easily from the Joker Wizard. These builds come with many preinstalled add-ons too. Worth a try!
Related:
- How to Jailbreak an Amazon FireStick
- How to Install the Grind Build on Kodi & FireStick
- How to Install Grindhouse Kodi Build on FireStick
- How to Install The Oath Kodi Addon on FireStick

Suberboost Your FireStick with My Free Guide
Stay Ahead: Weekly Insights on the Latest in Free Streaming!
No spam, ever. Unsubscribe anytime.

We have already installed IPVanish VPN but since installing Joker build VPN seems to have been lost. Although on the Joker wizard network info shows ip address etc as hidden. How can I confirm VPN is in place?
Hi Helen, if the build is displaying a different IP address than your ISP’s, it means the VPN is connected. Why do you think the VPN is not connected?
Any Builds yet for the Matrix ?